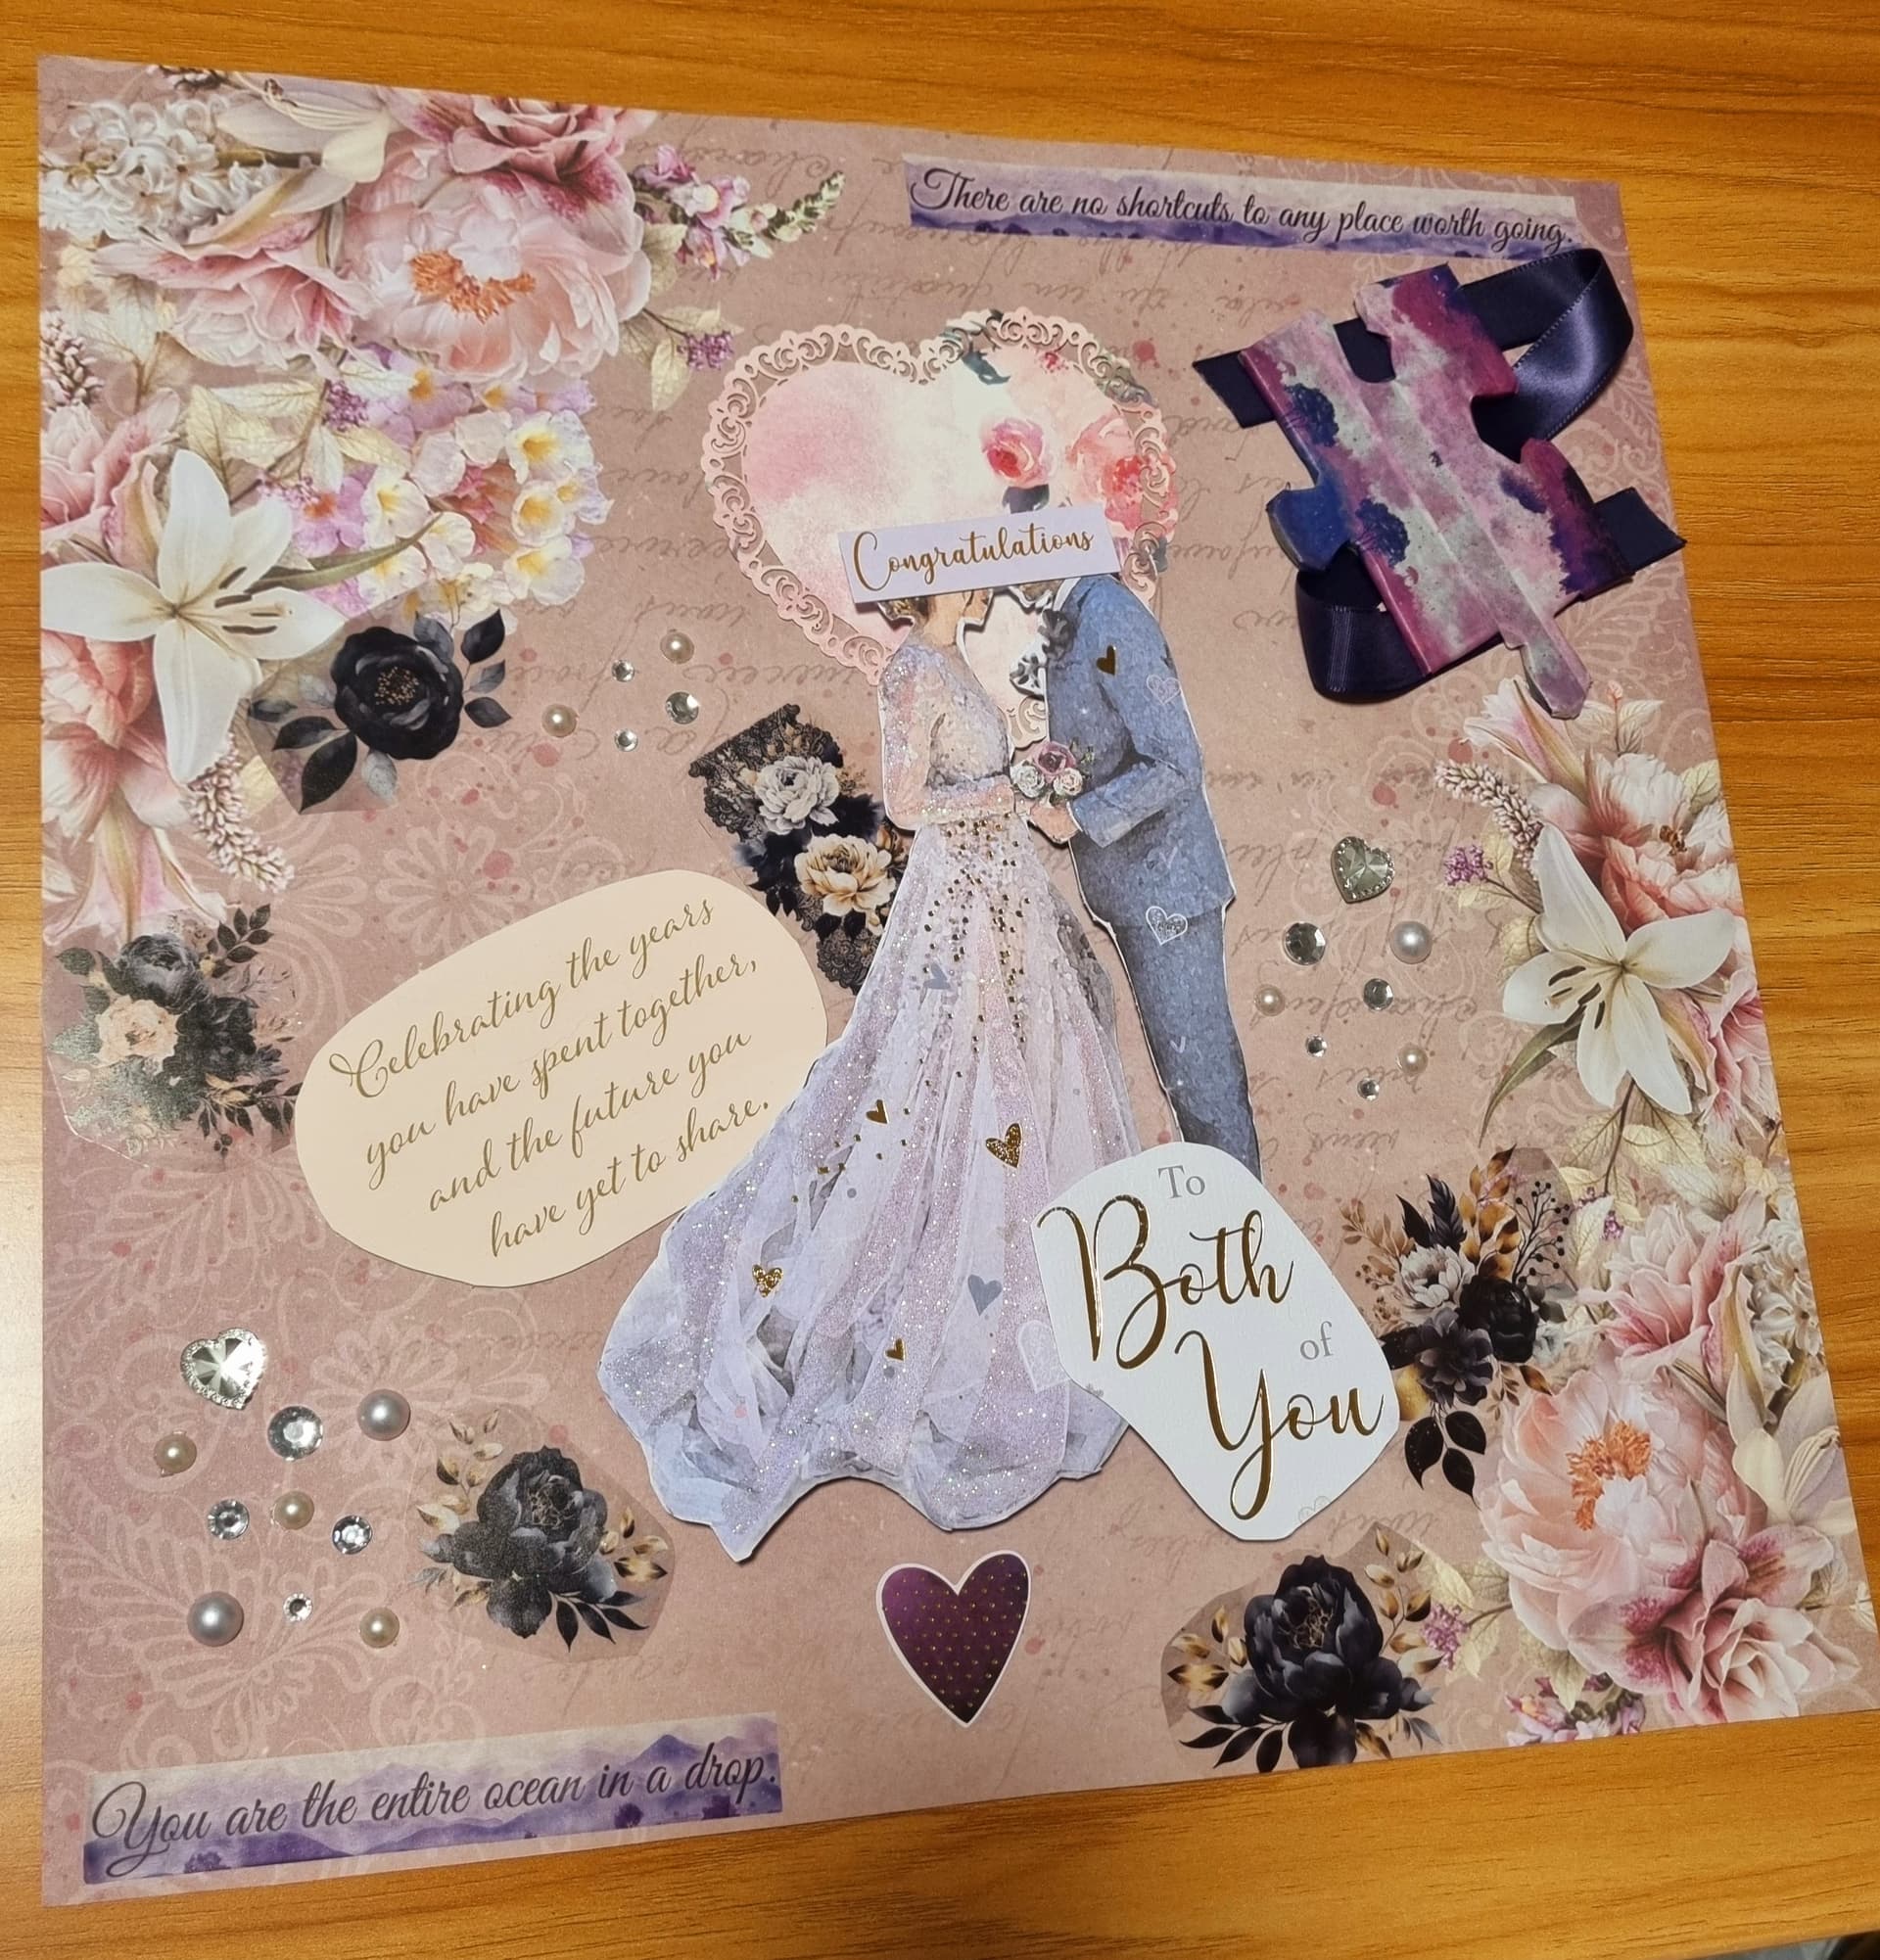
After a bit more brainstorming, I think I am getting close to sticking things down.
Every thing is finally stuck down.
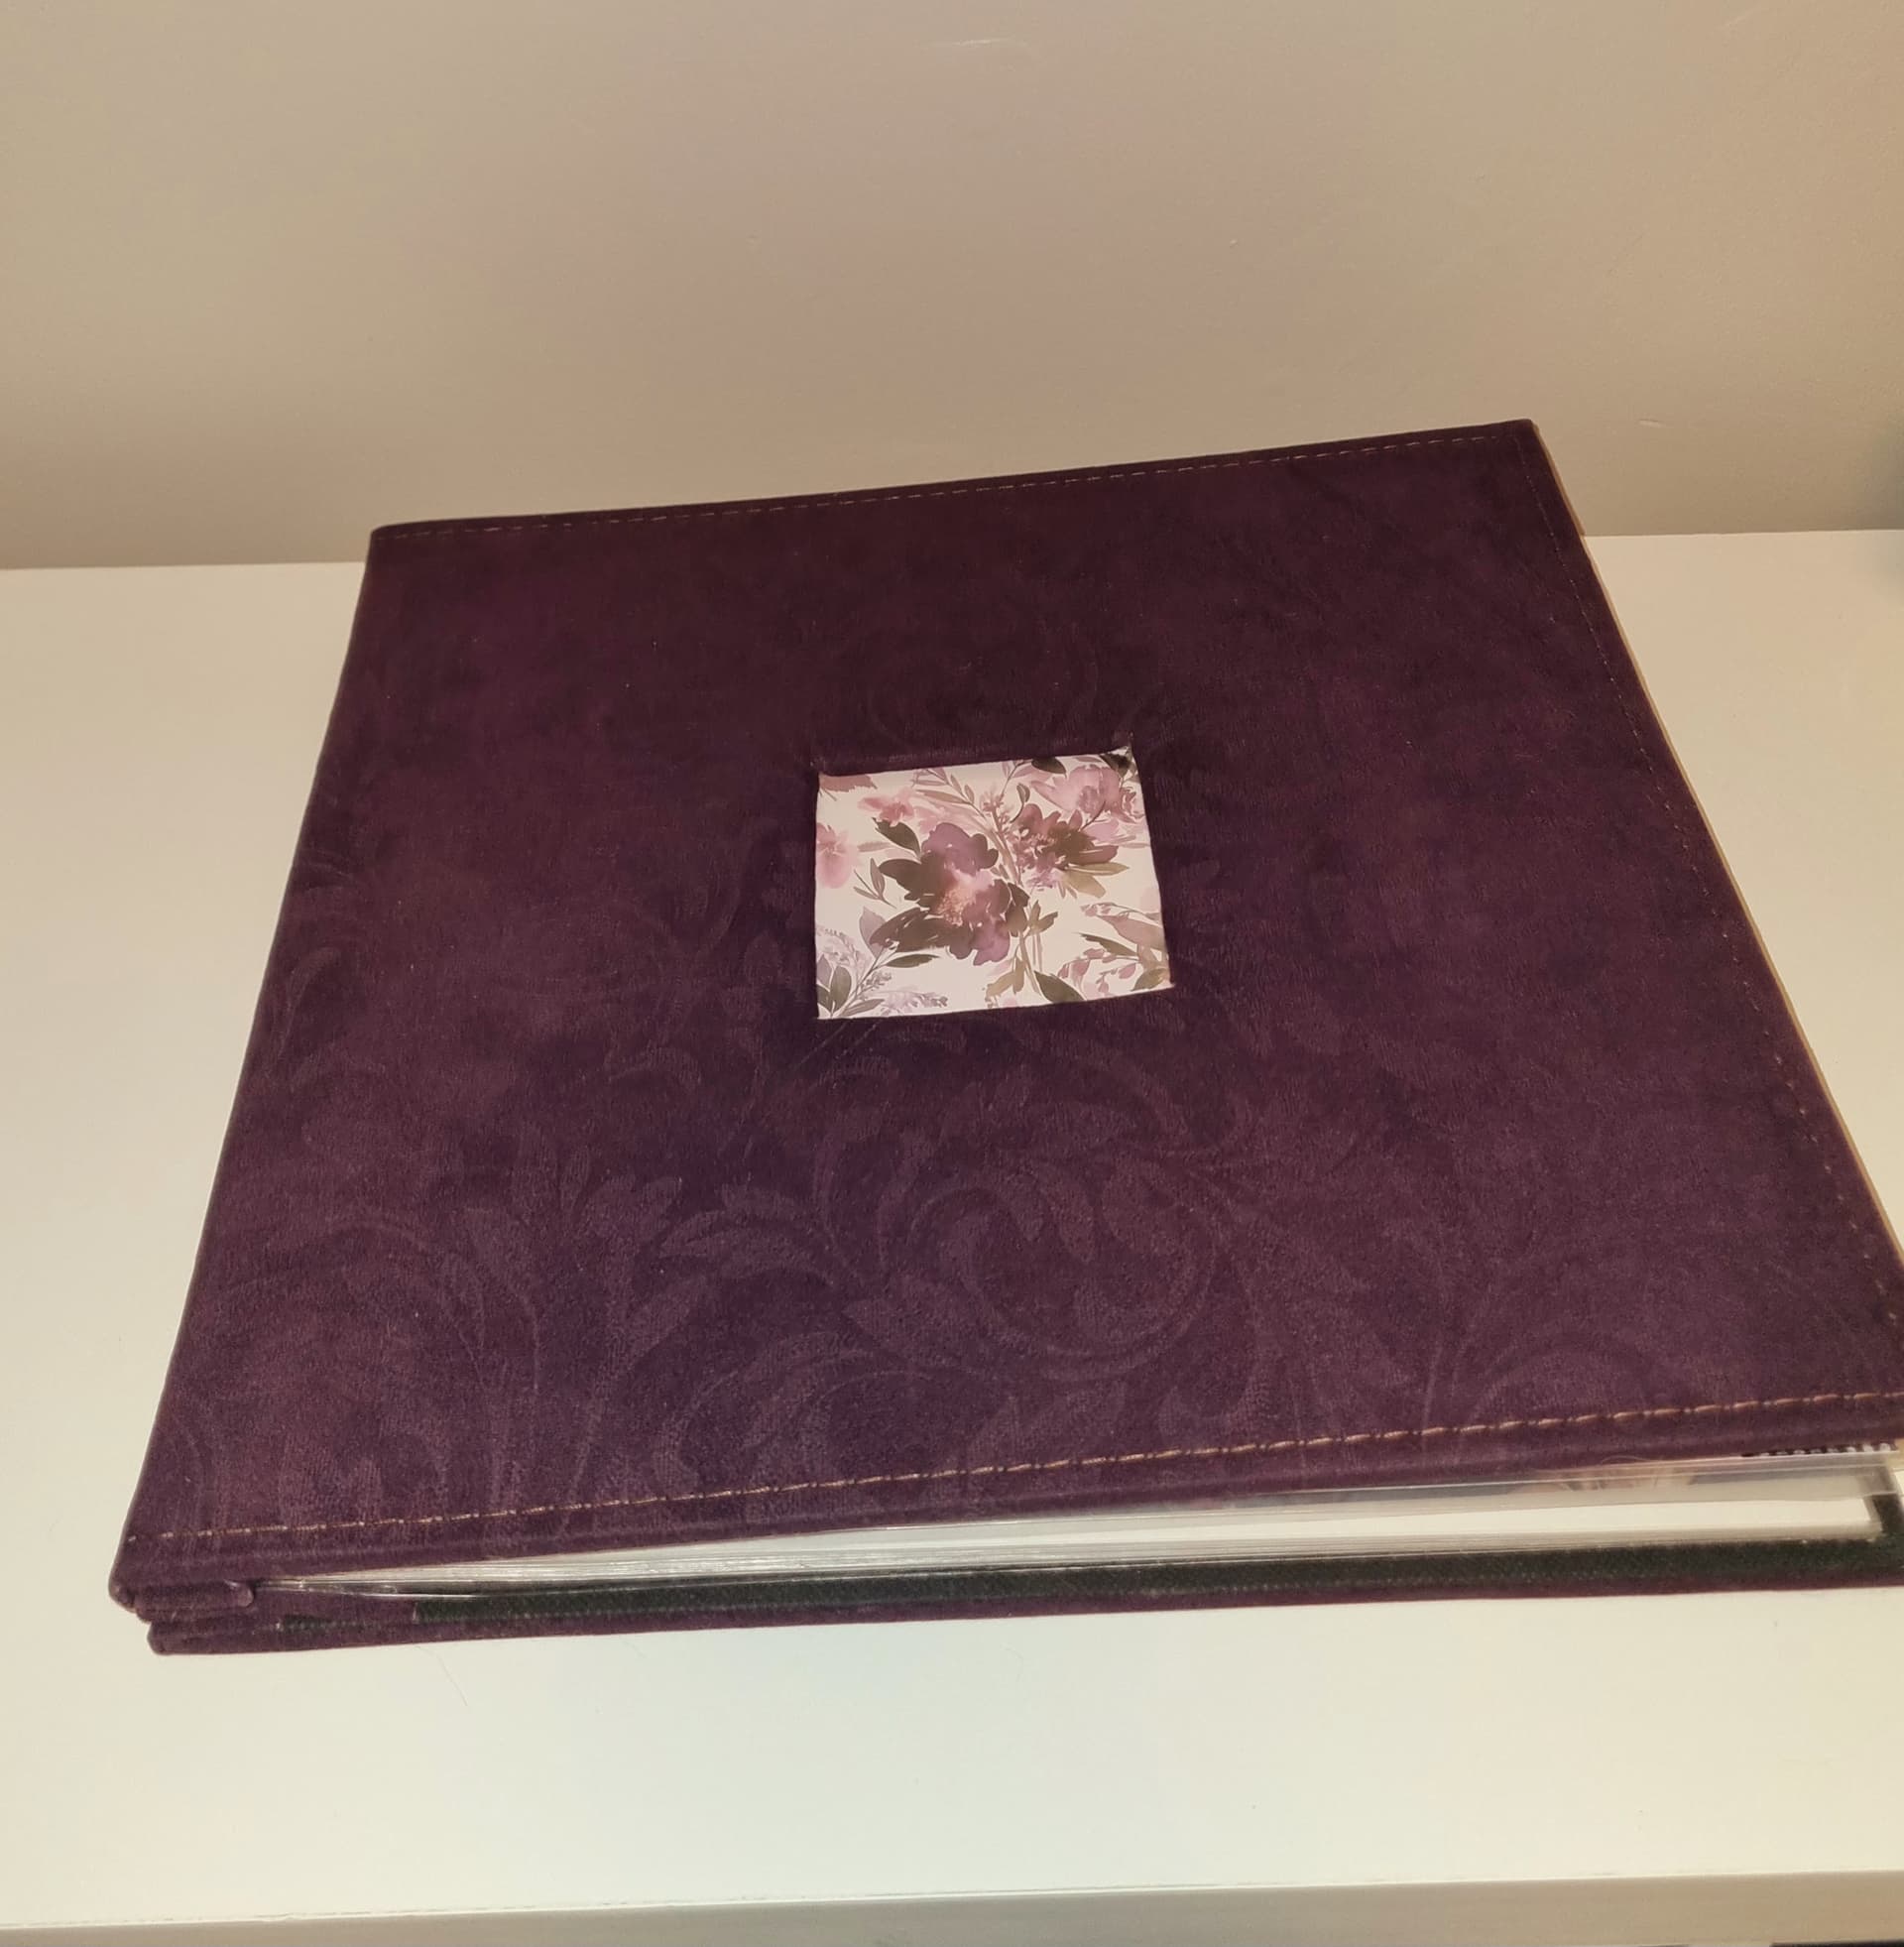
I also think I found my album cover and I had a little spree today picking up lace, stickers, cards, paper, paint and other items to keep adding.
I plant to stick a photo of theirs to this and then pull a few pieces out for one of the wedding pages for "all the pieces coming together.
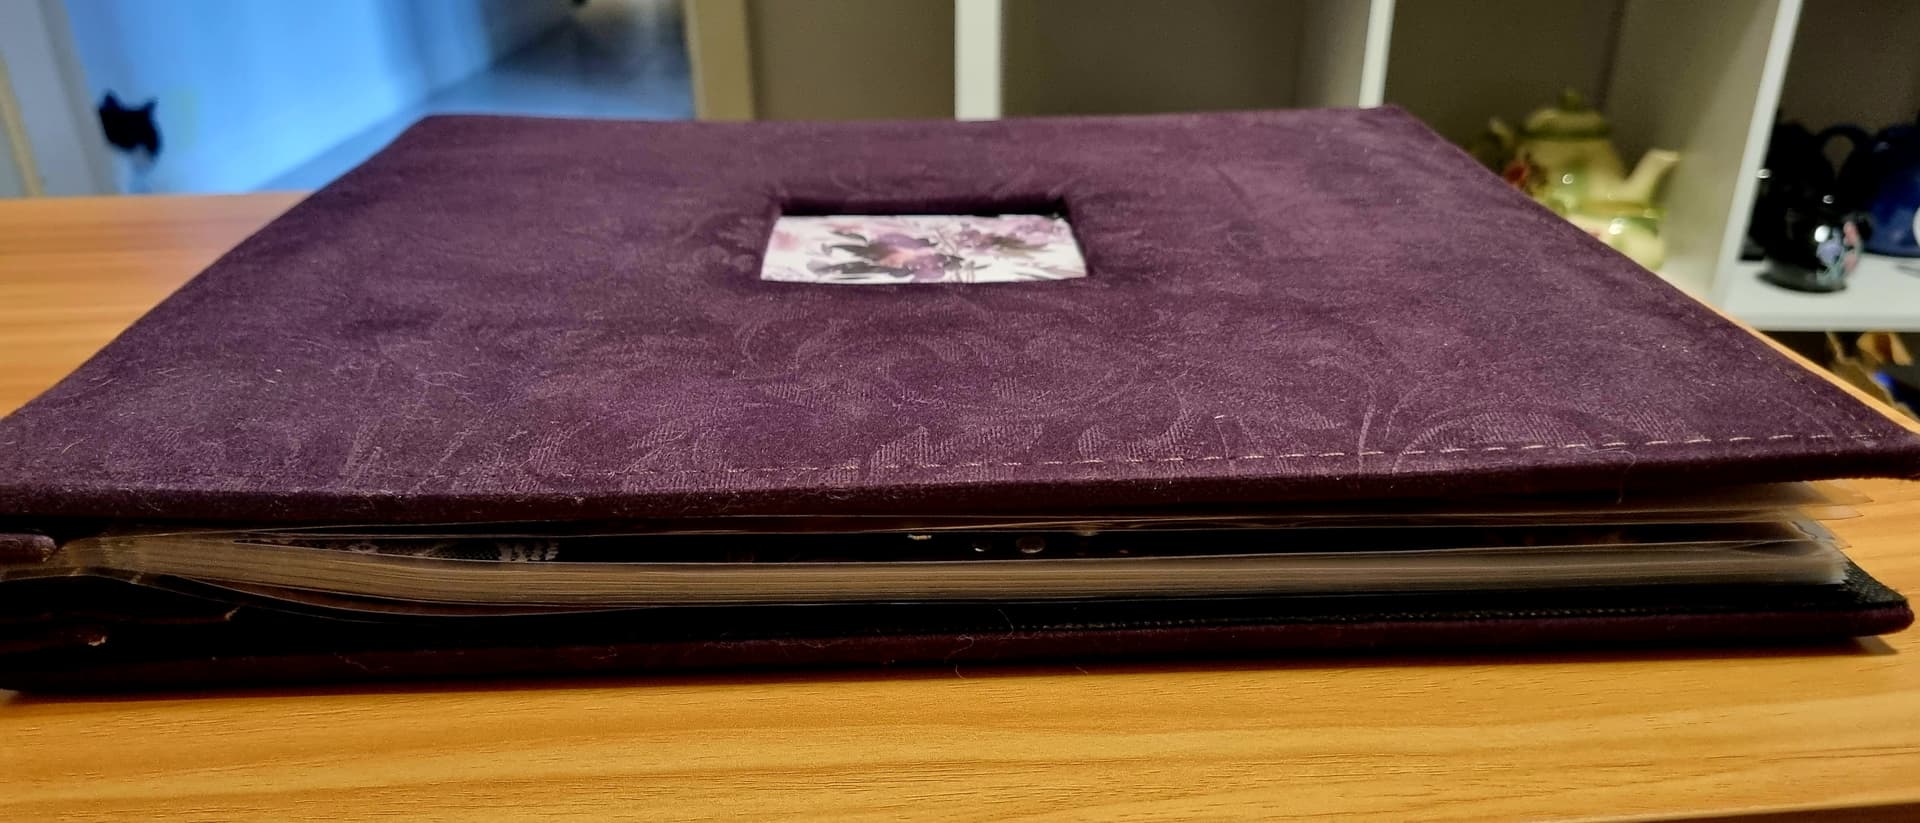
Finally have the album cover.
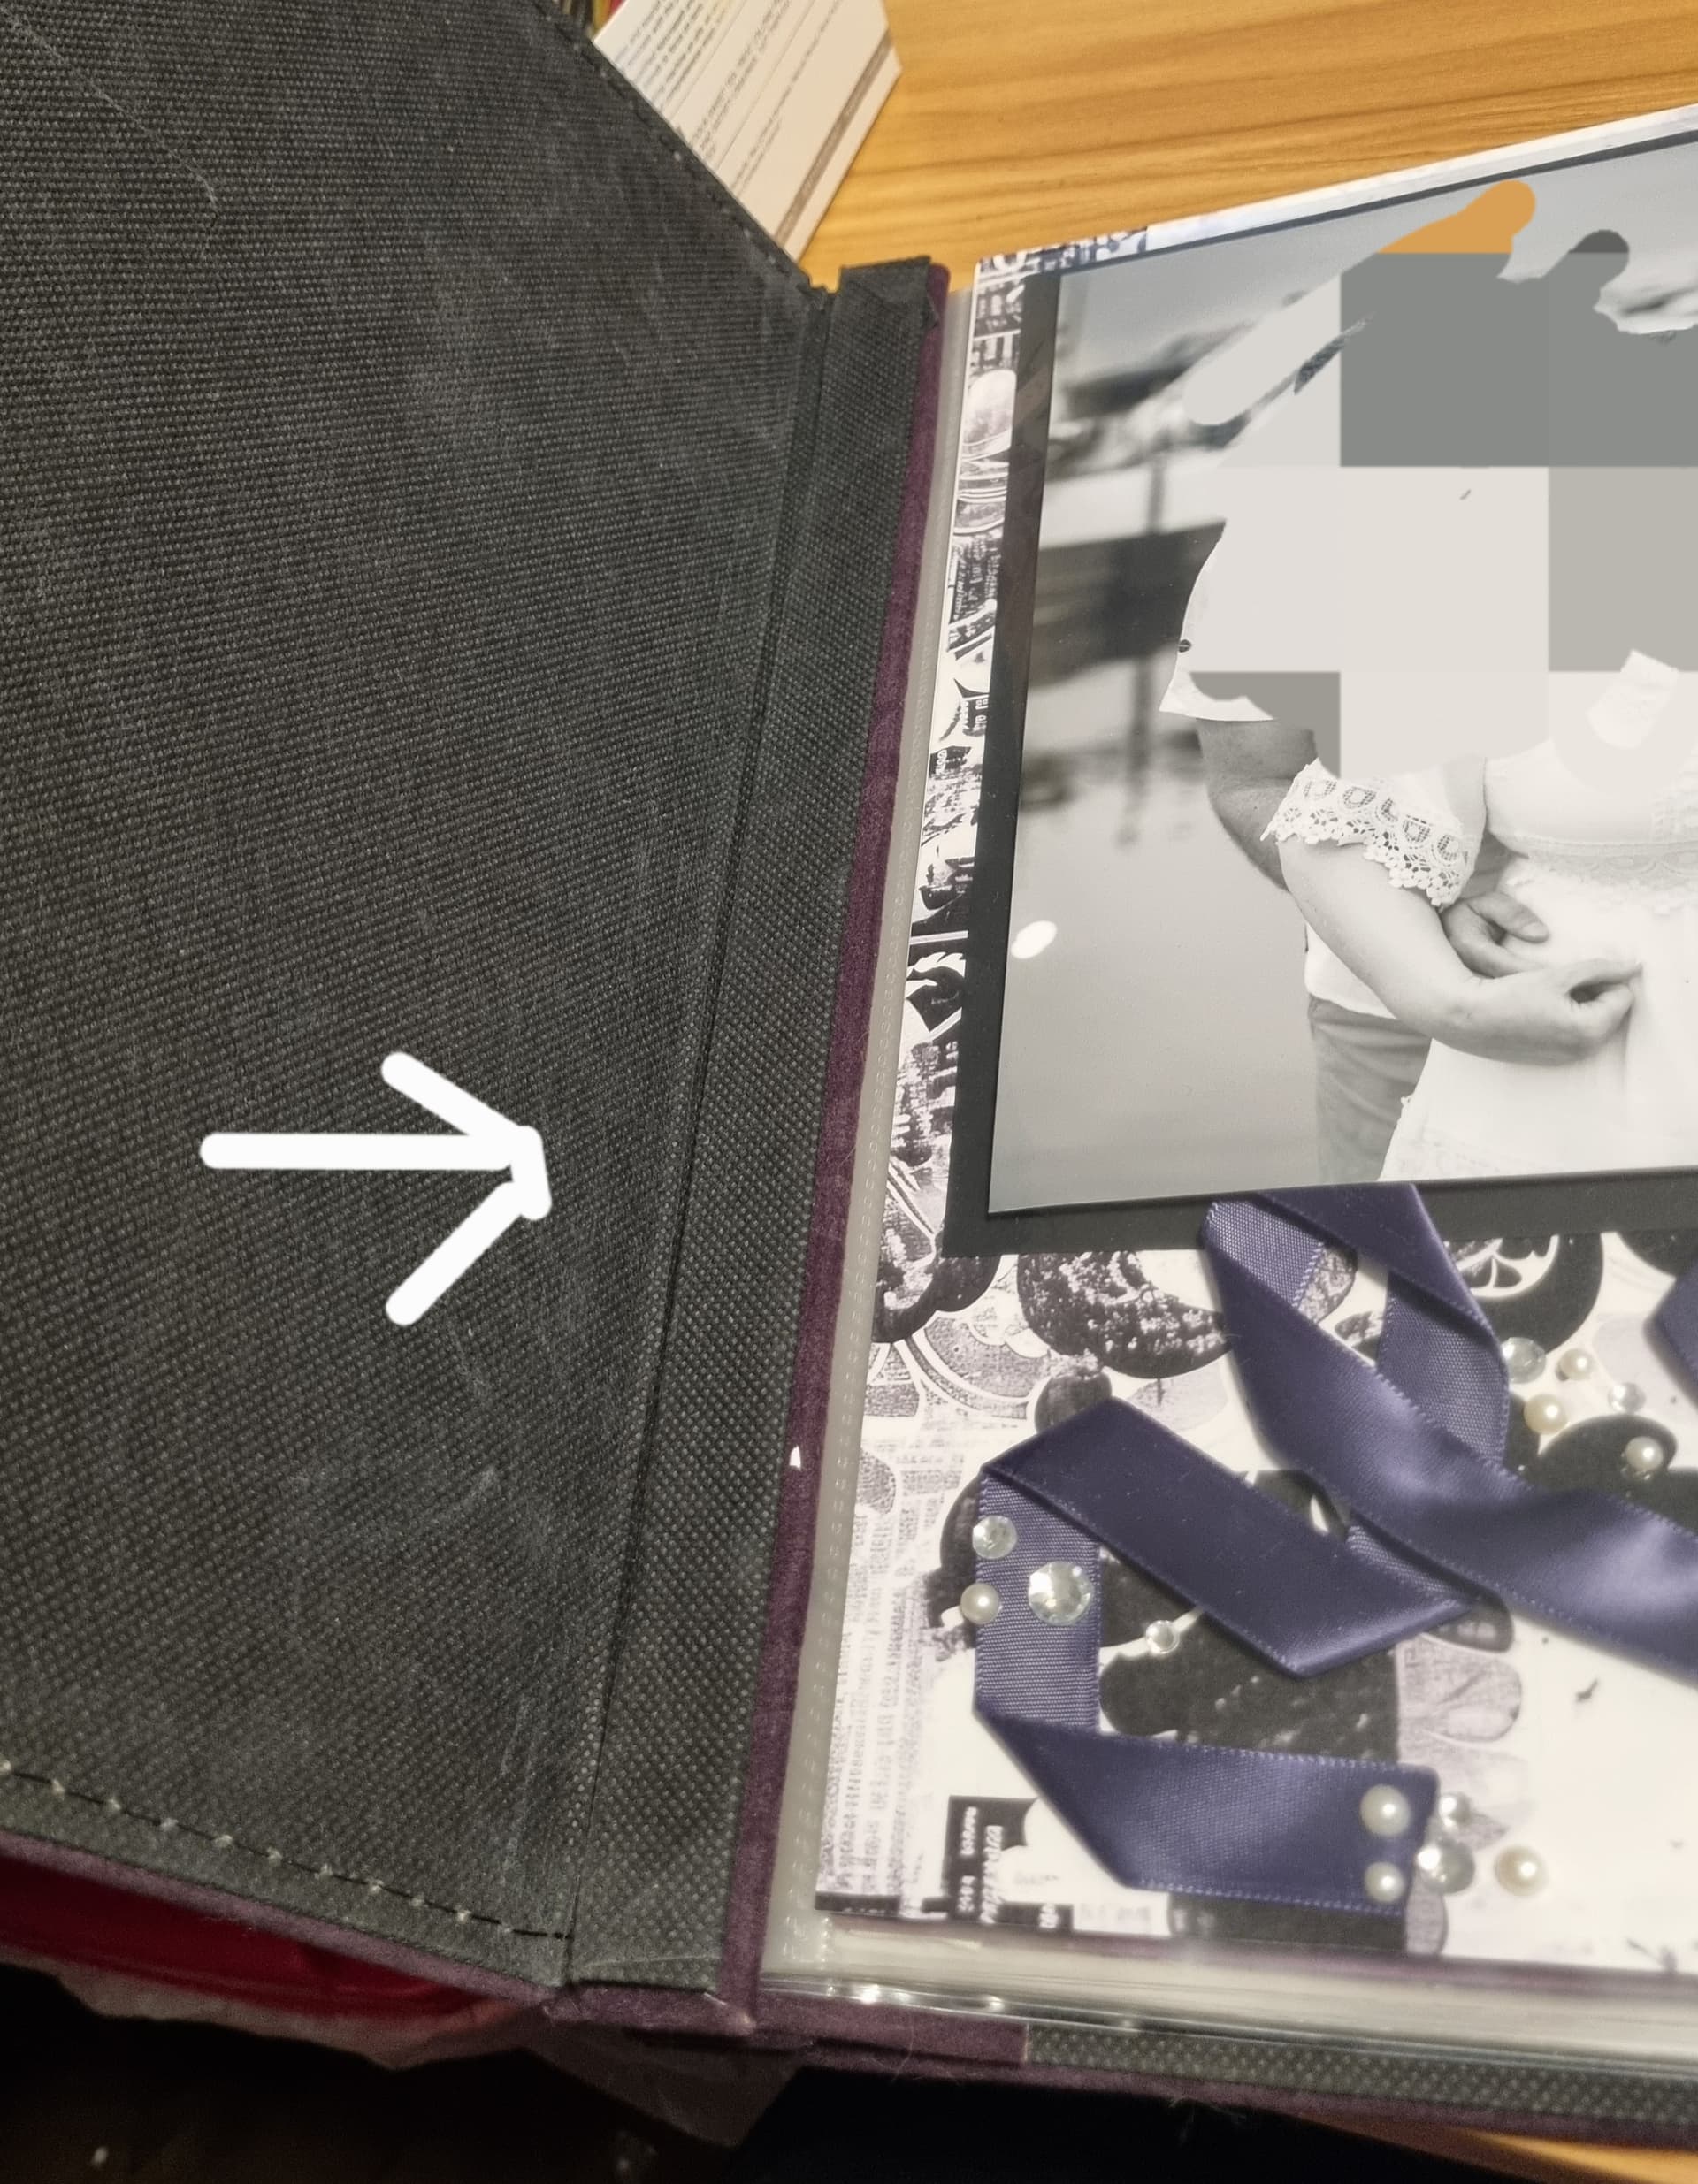
First few pages loaded in.

I have added extra sleeves to make plenty of room.
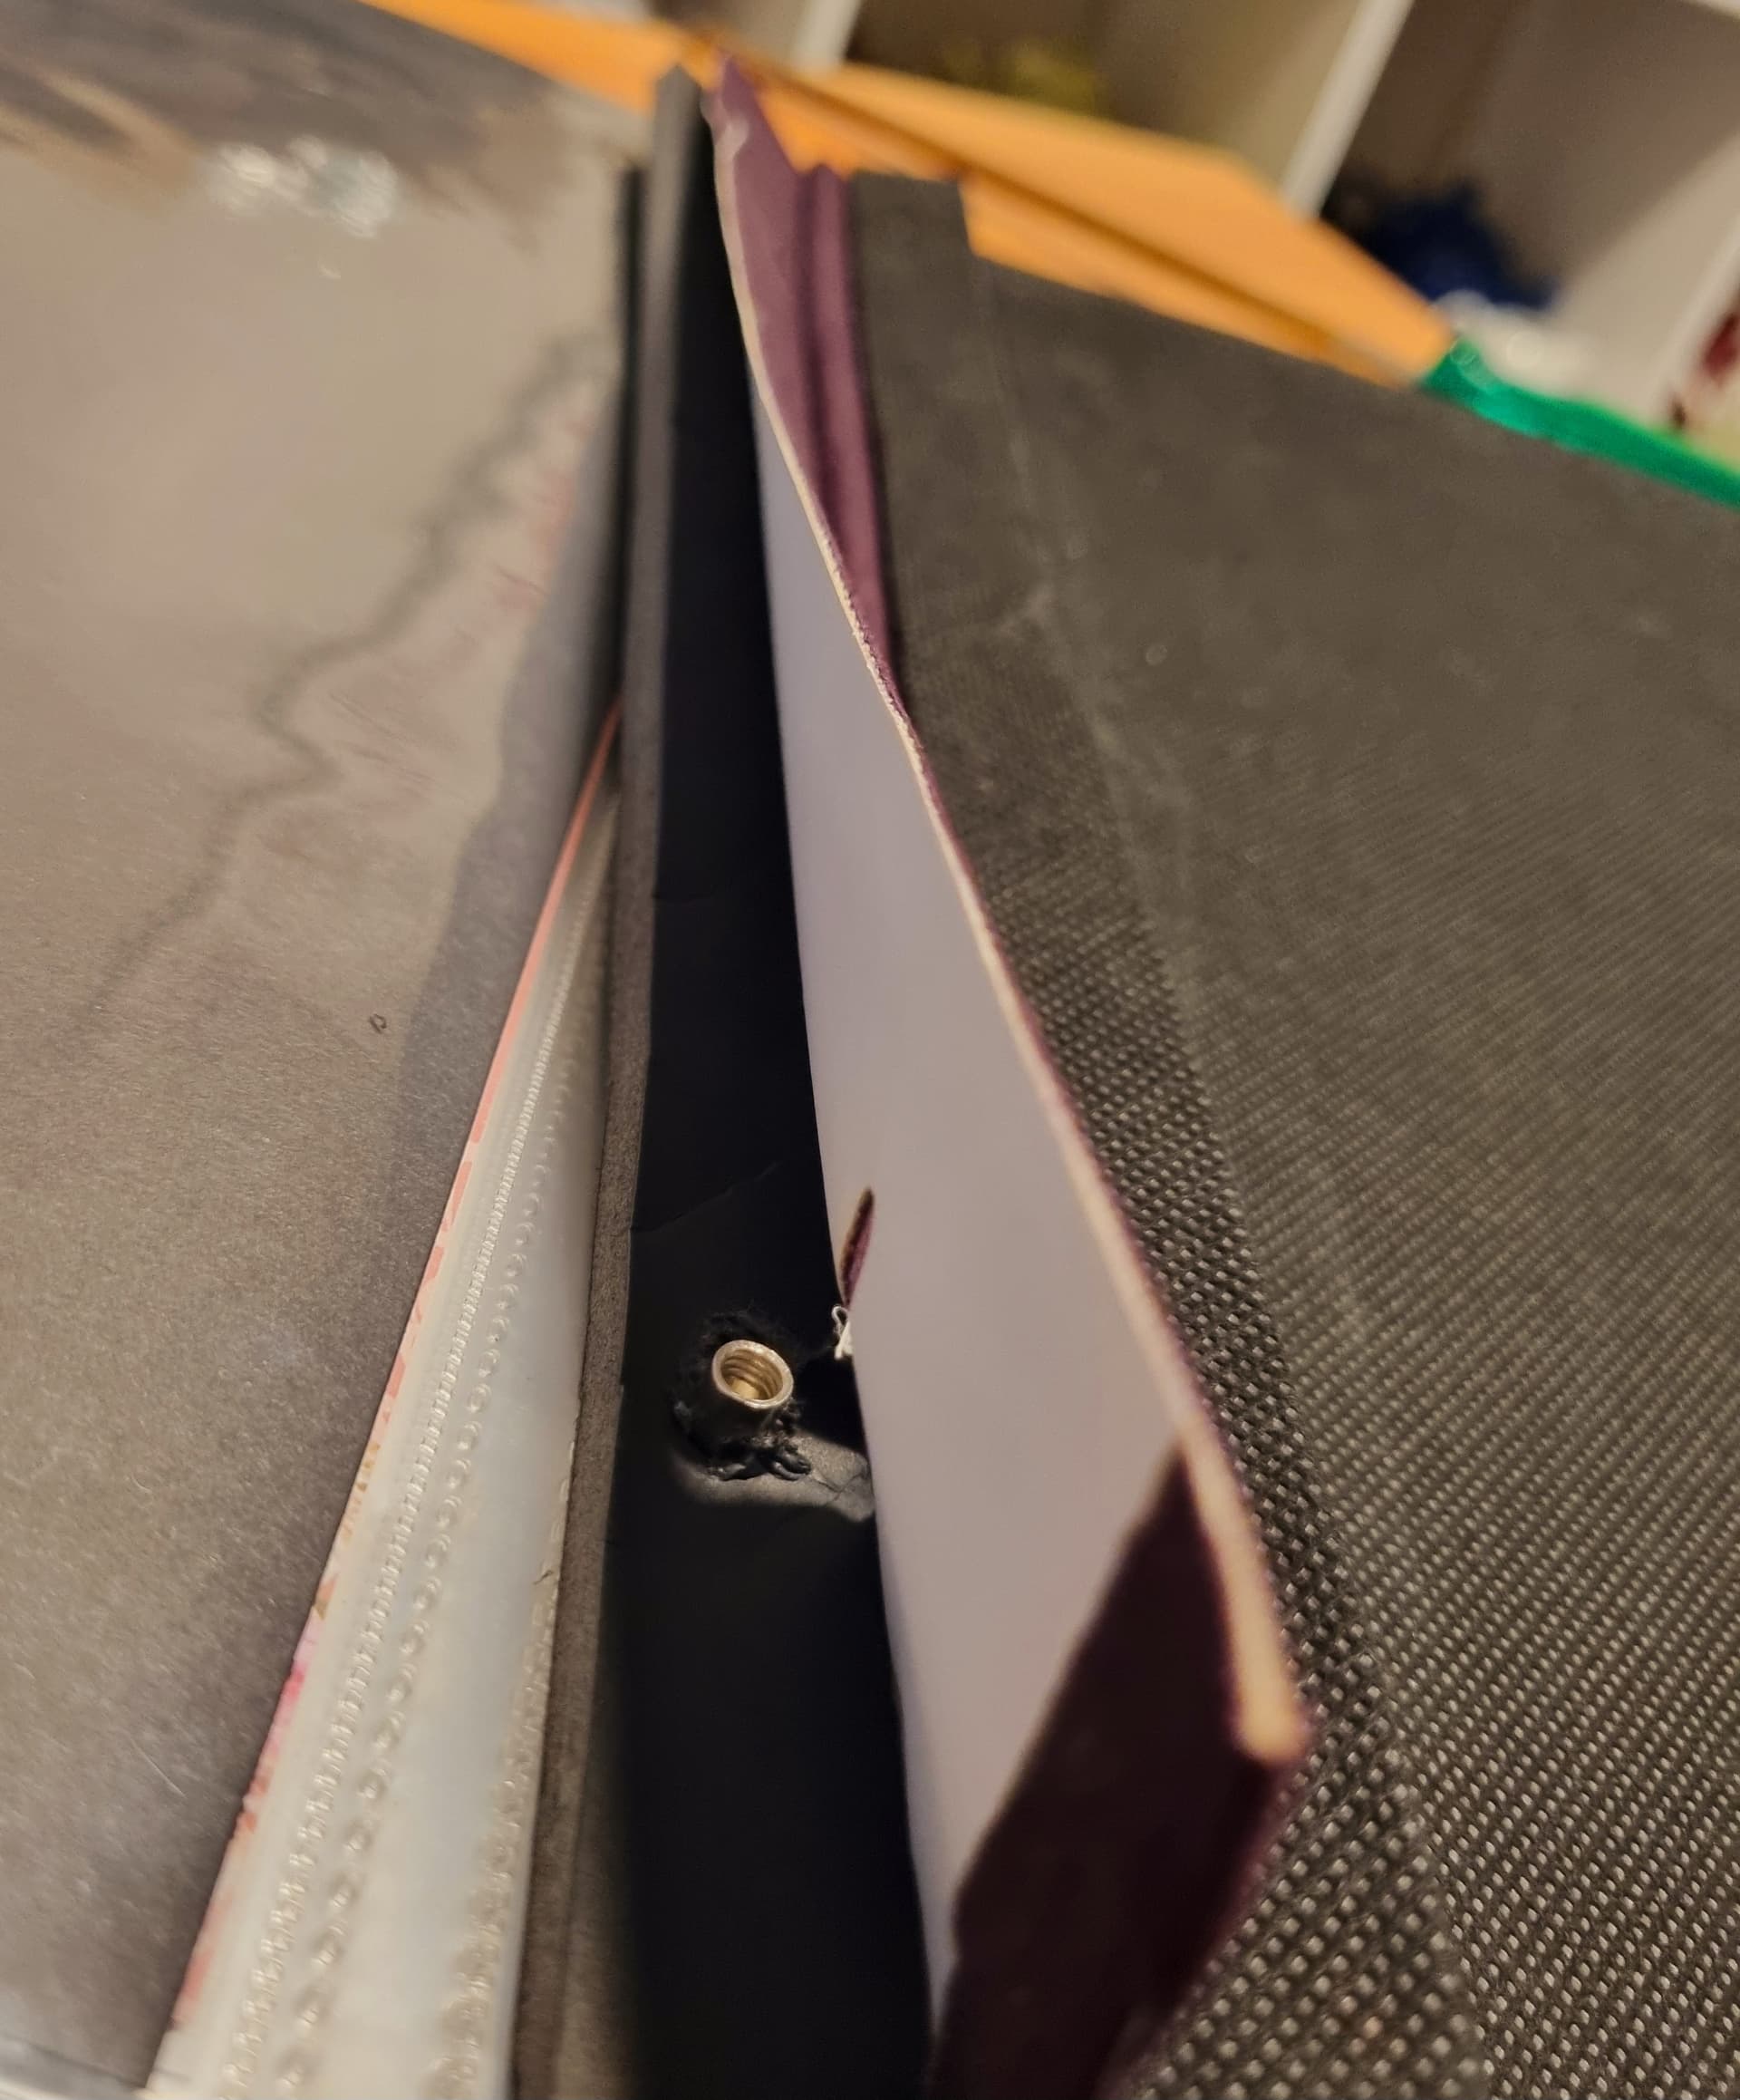
You can see the cover is already starting to lift because of the thickness of each page. I will see how it goes but I will most likely need to add thick spacers in the spine to raise it up to make the album level. If it gets too thick I will need to switch to a D-ring.
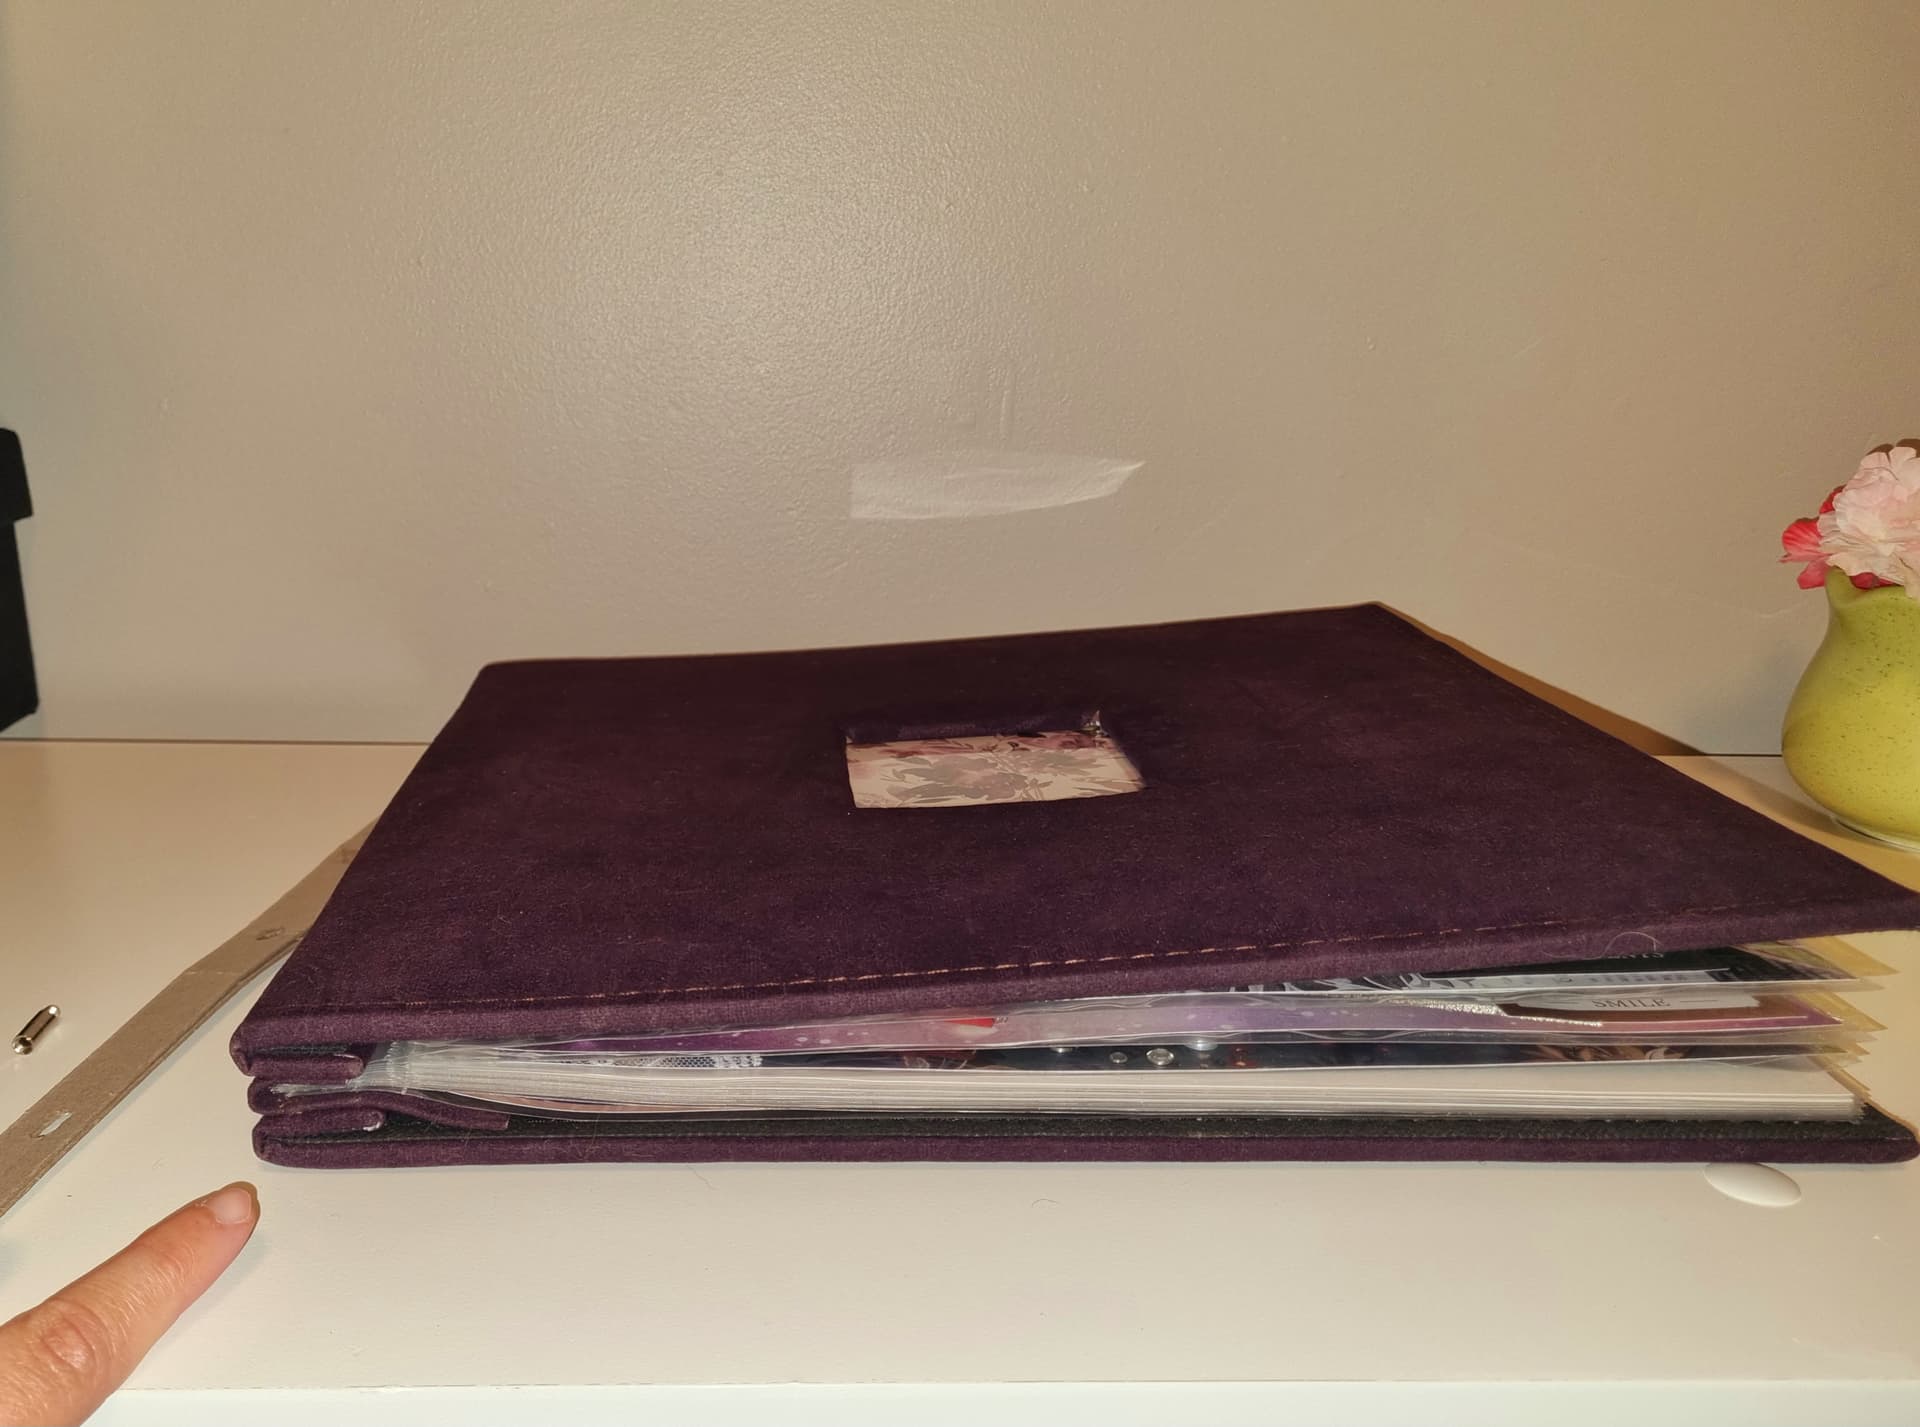
So, today we are expanding the album. D-ring albums are much easier to remove and add pages to without much fuss. Post bound are manageable but fidgety.
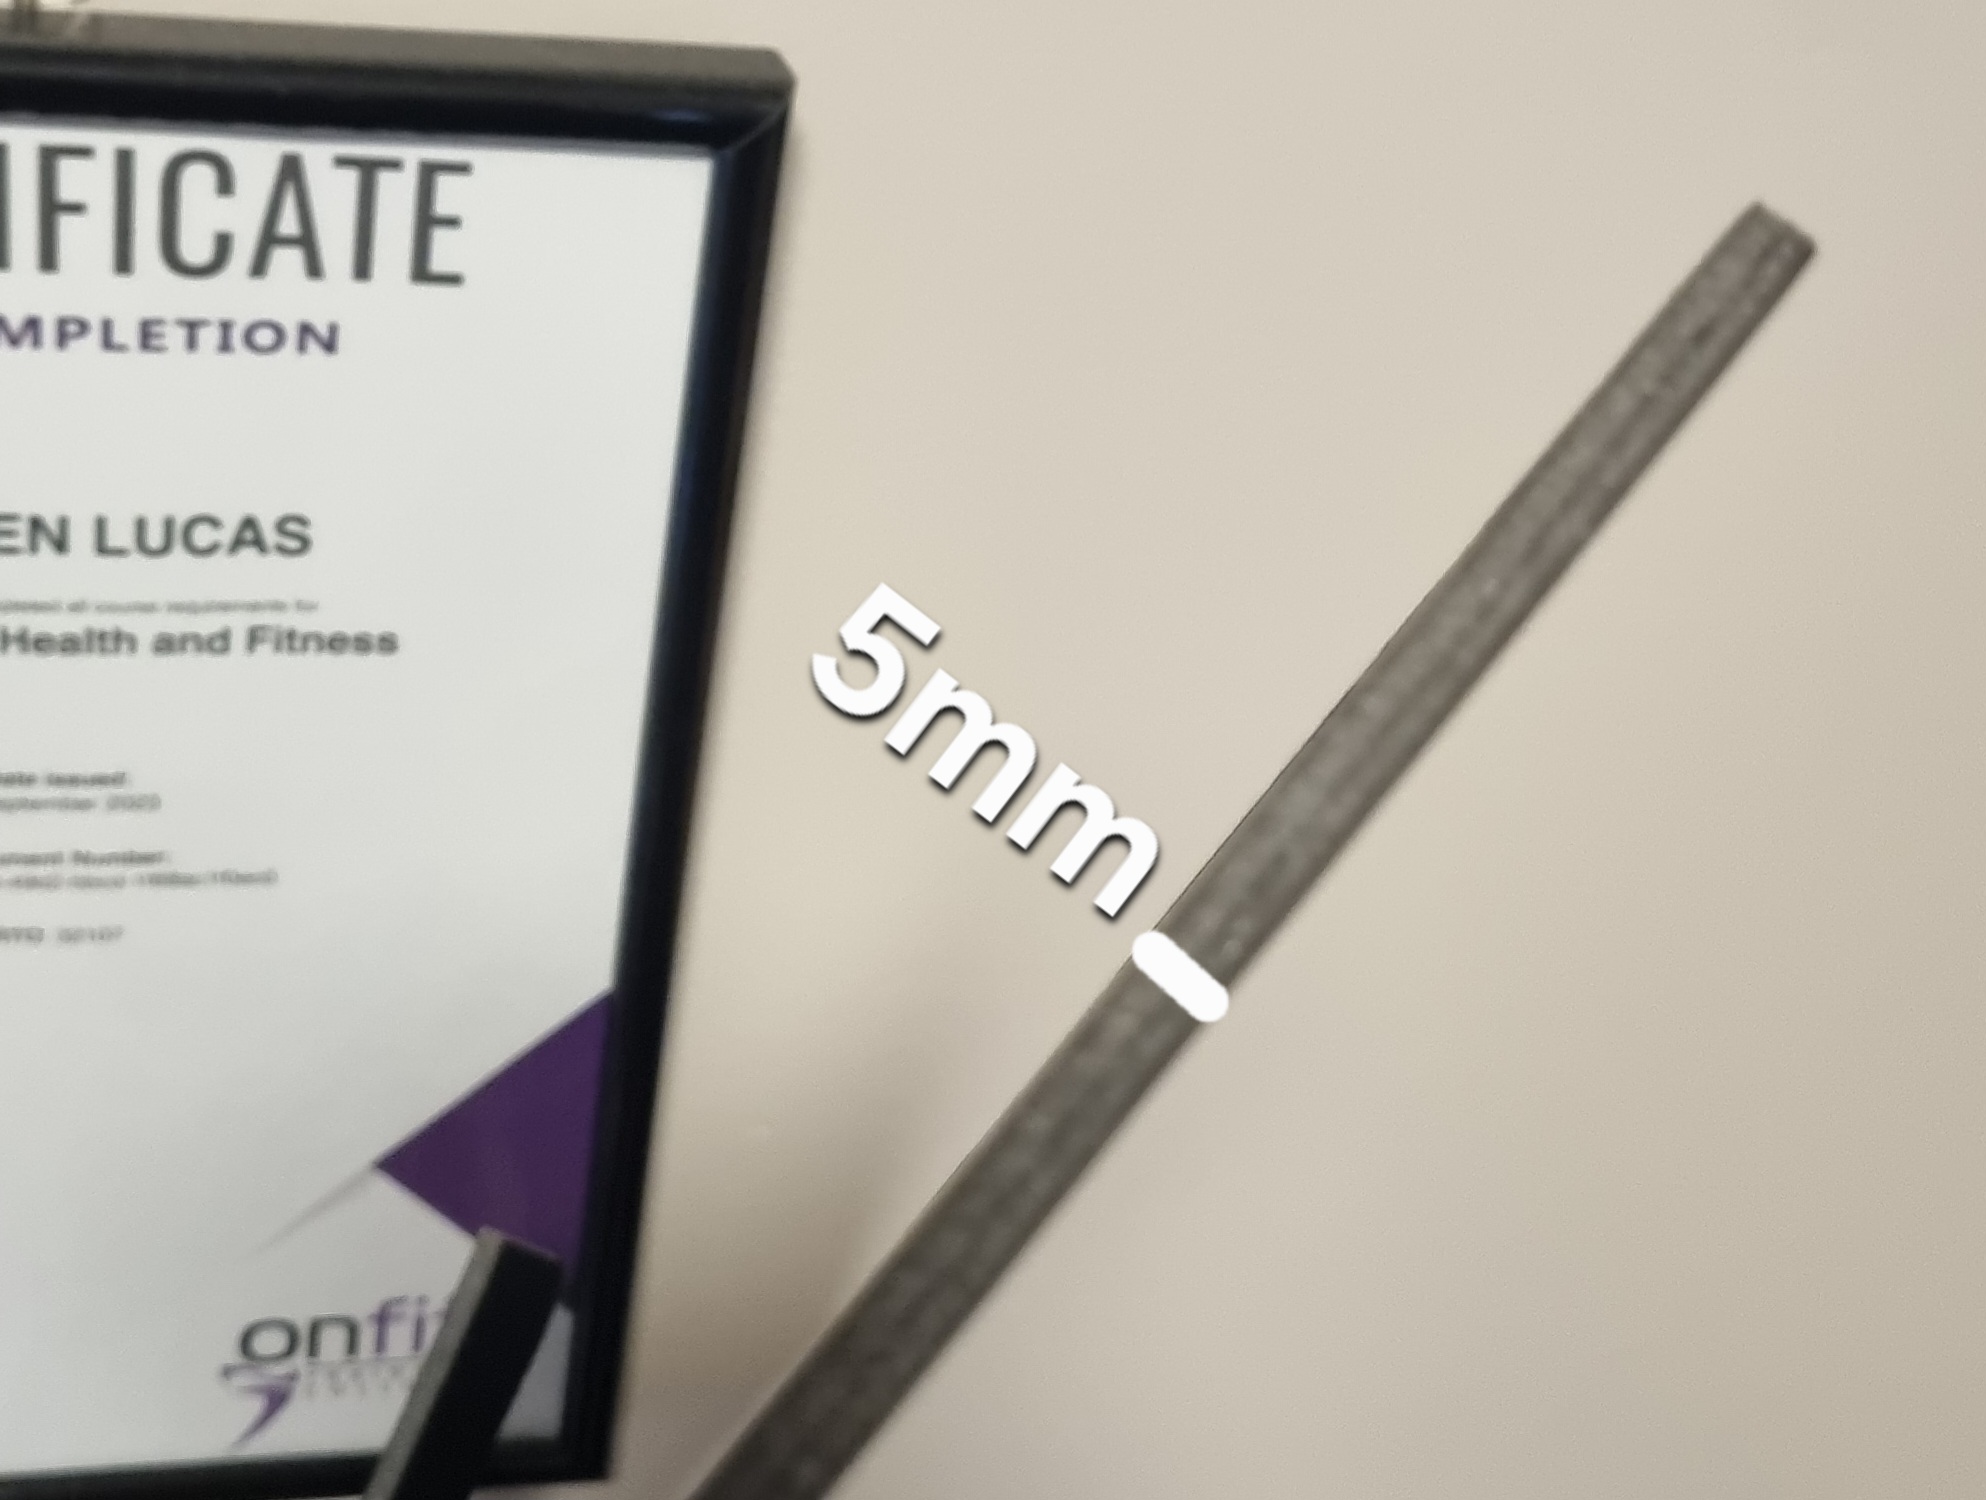
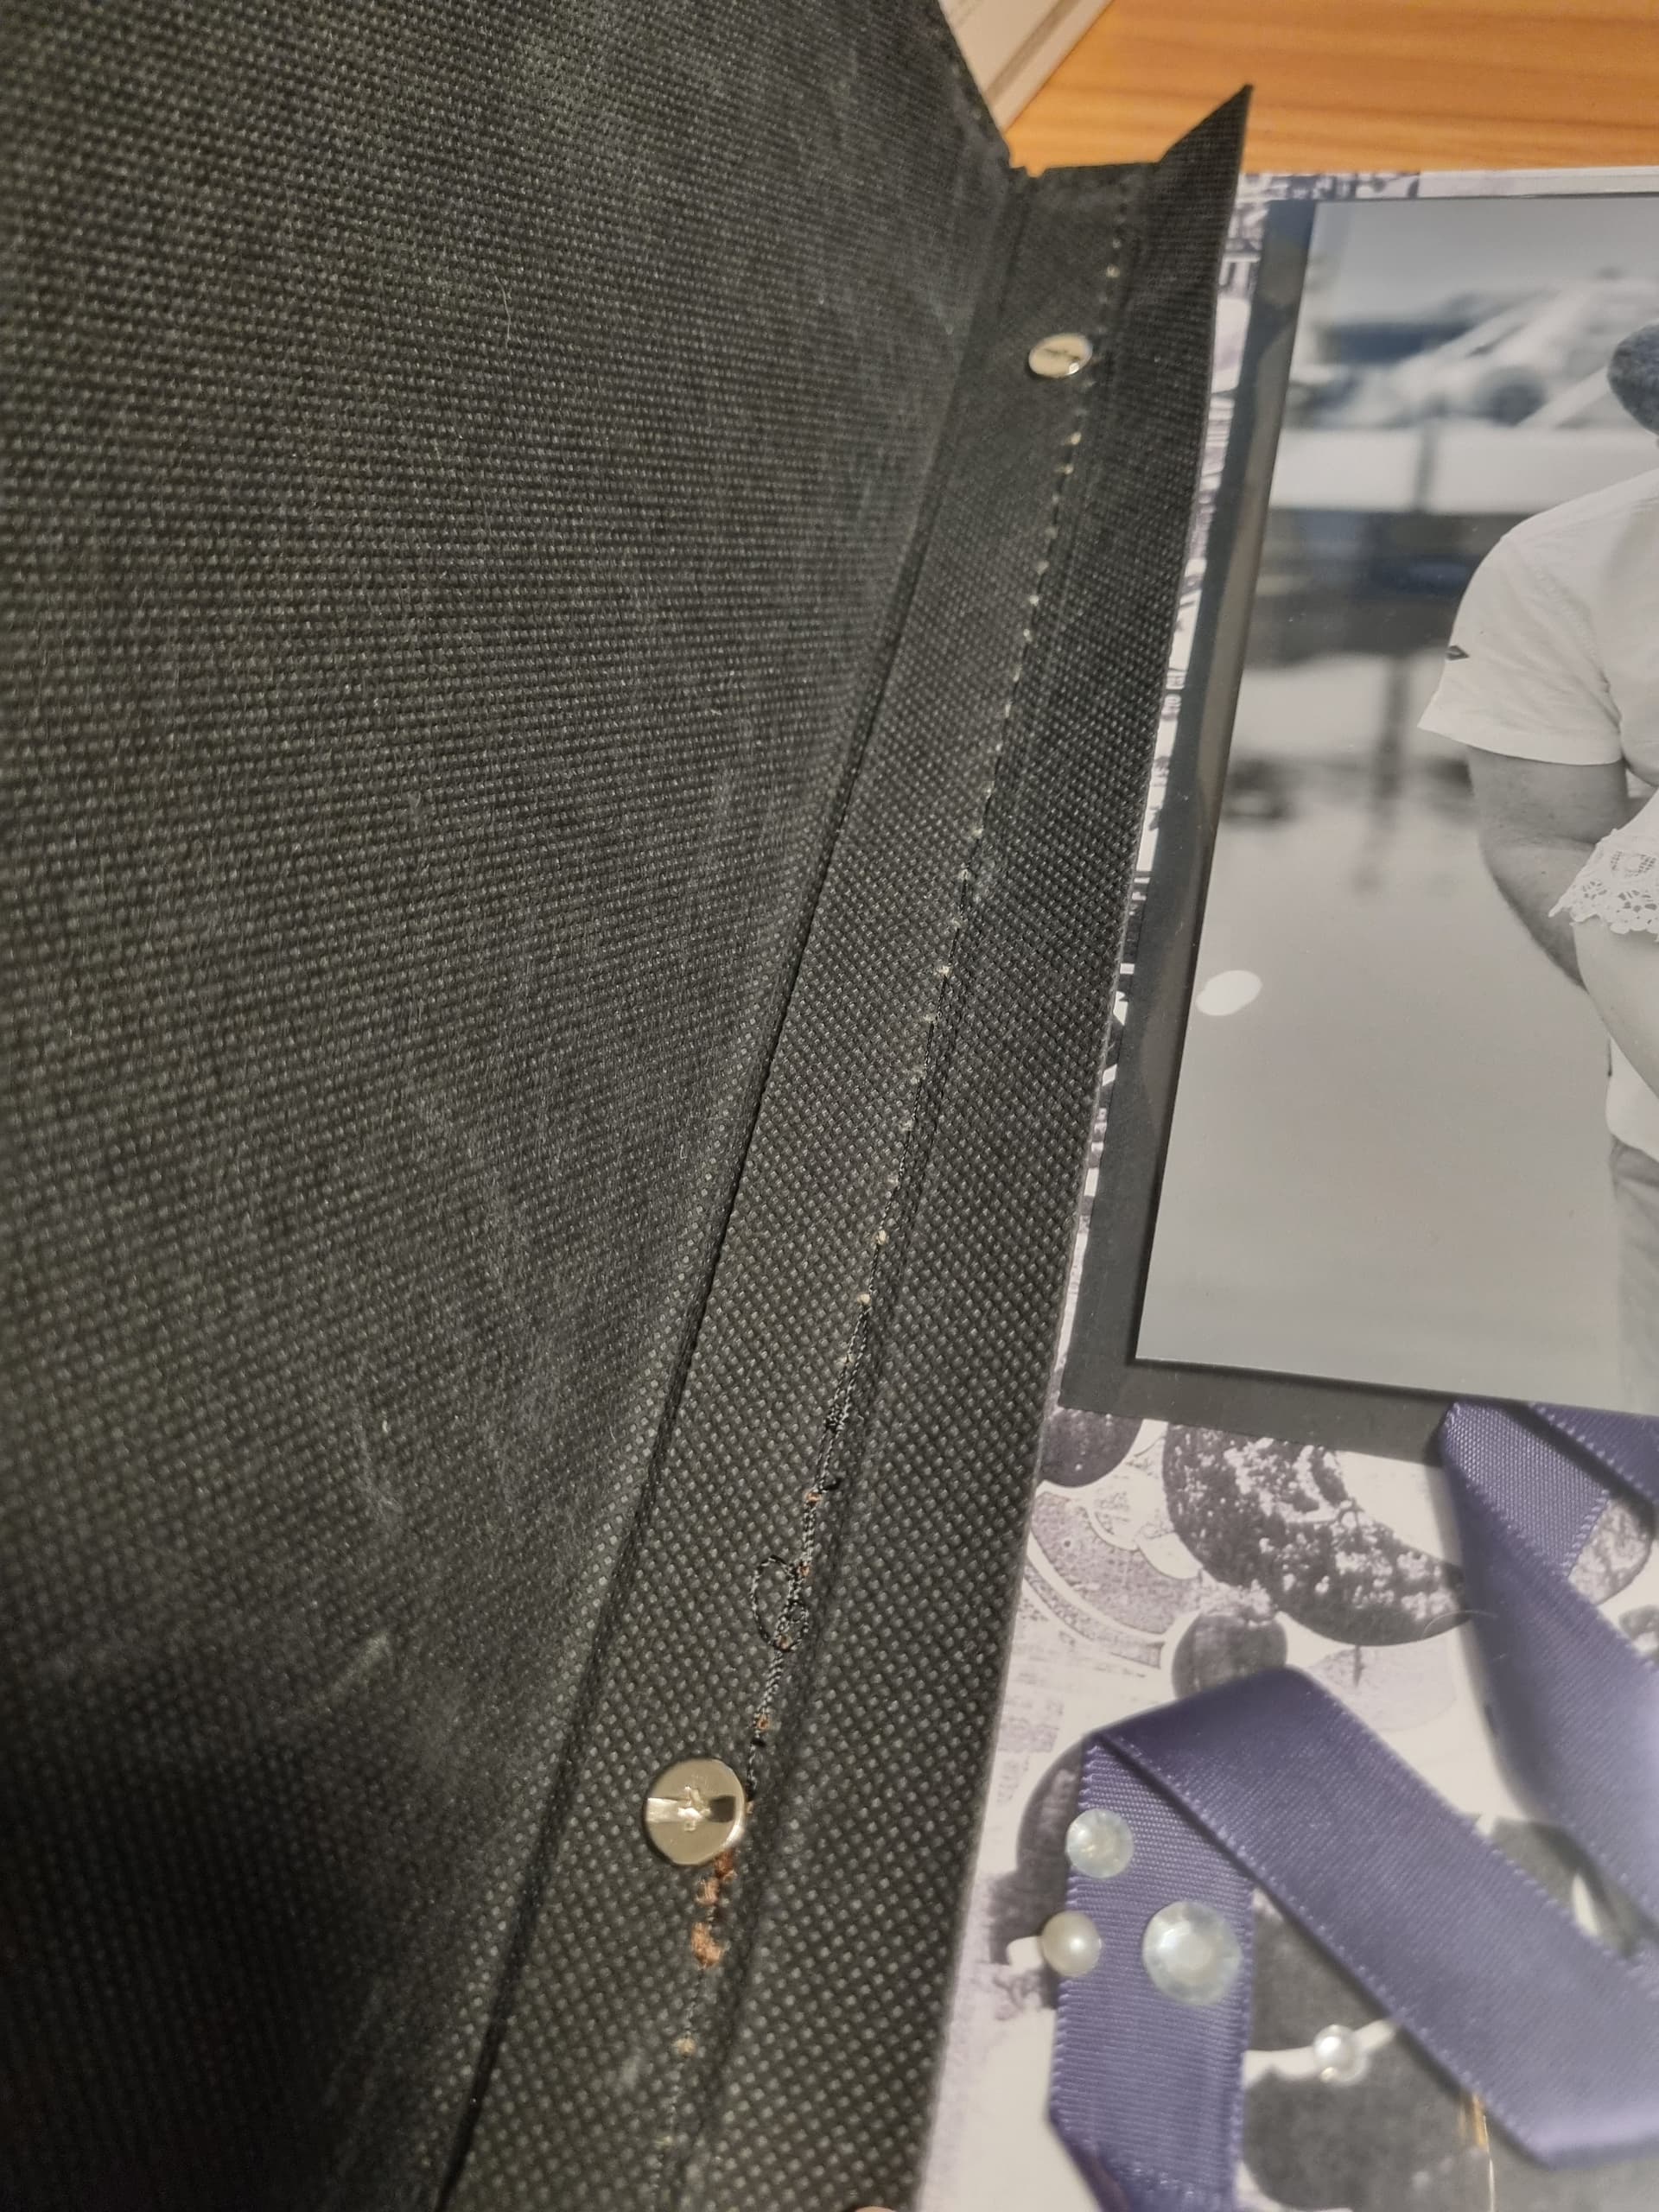
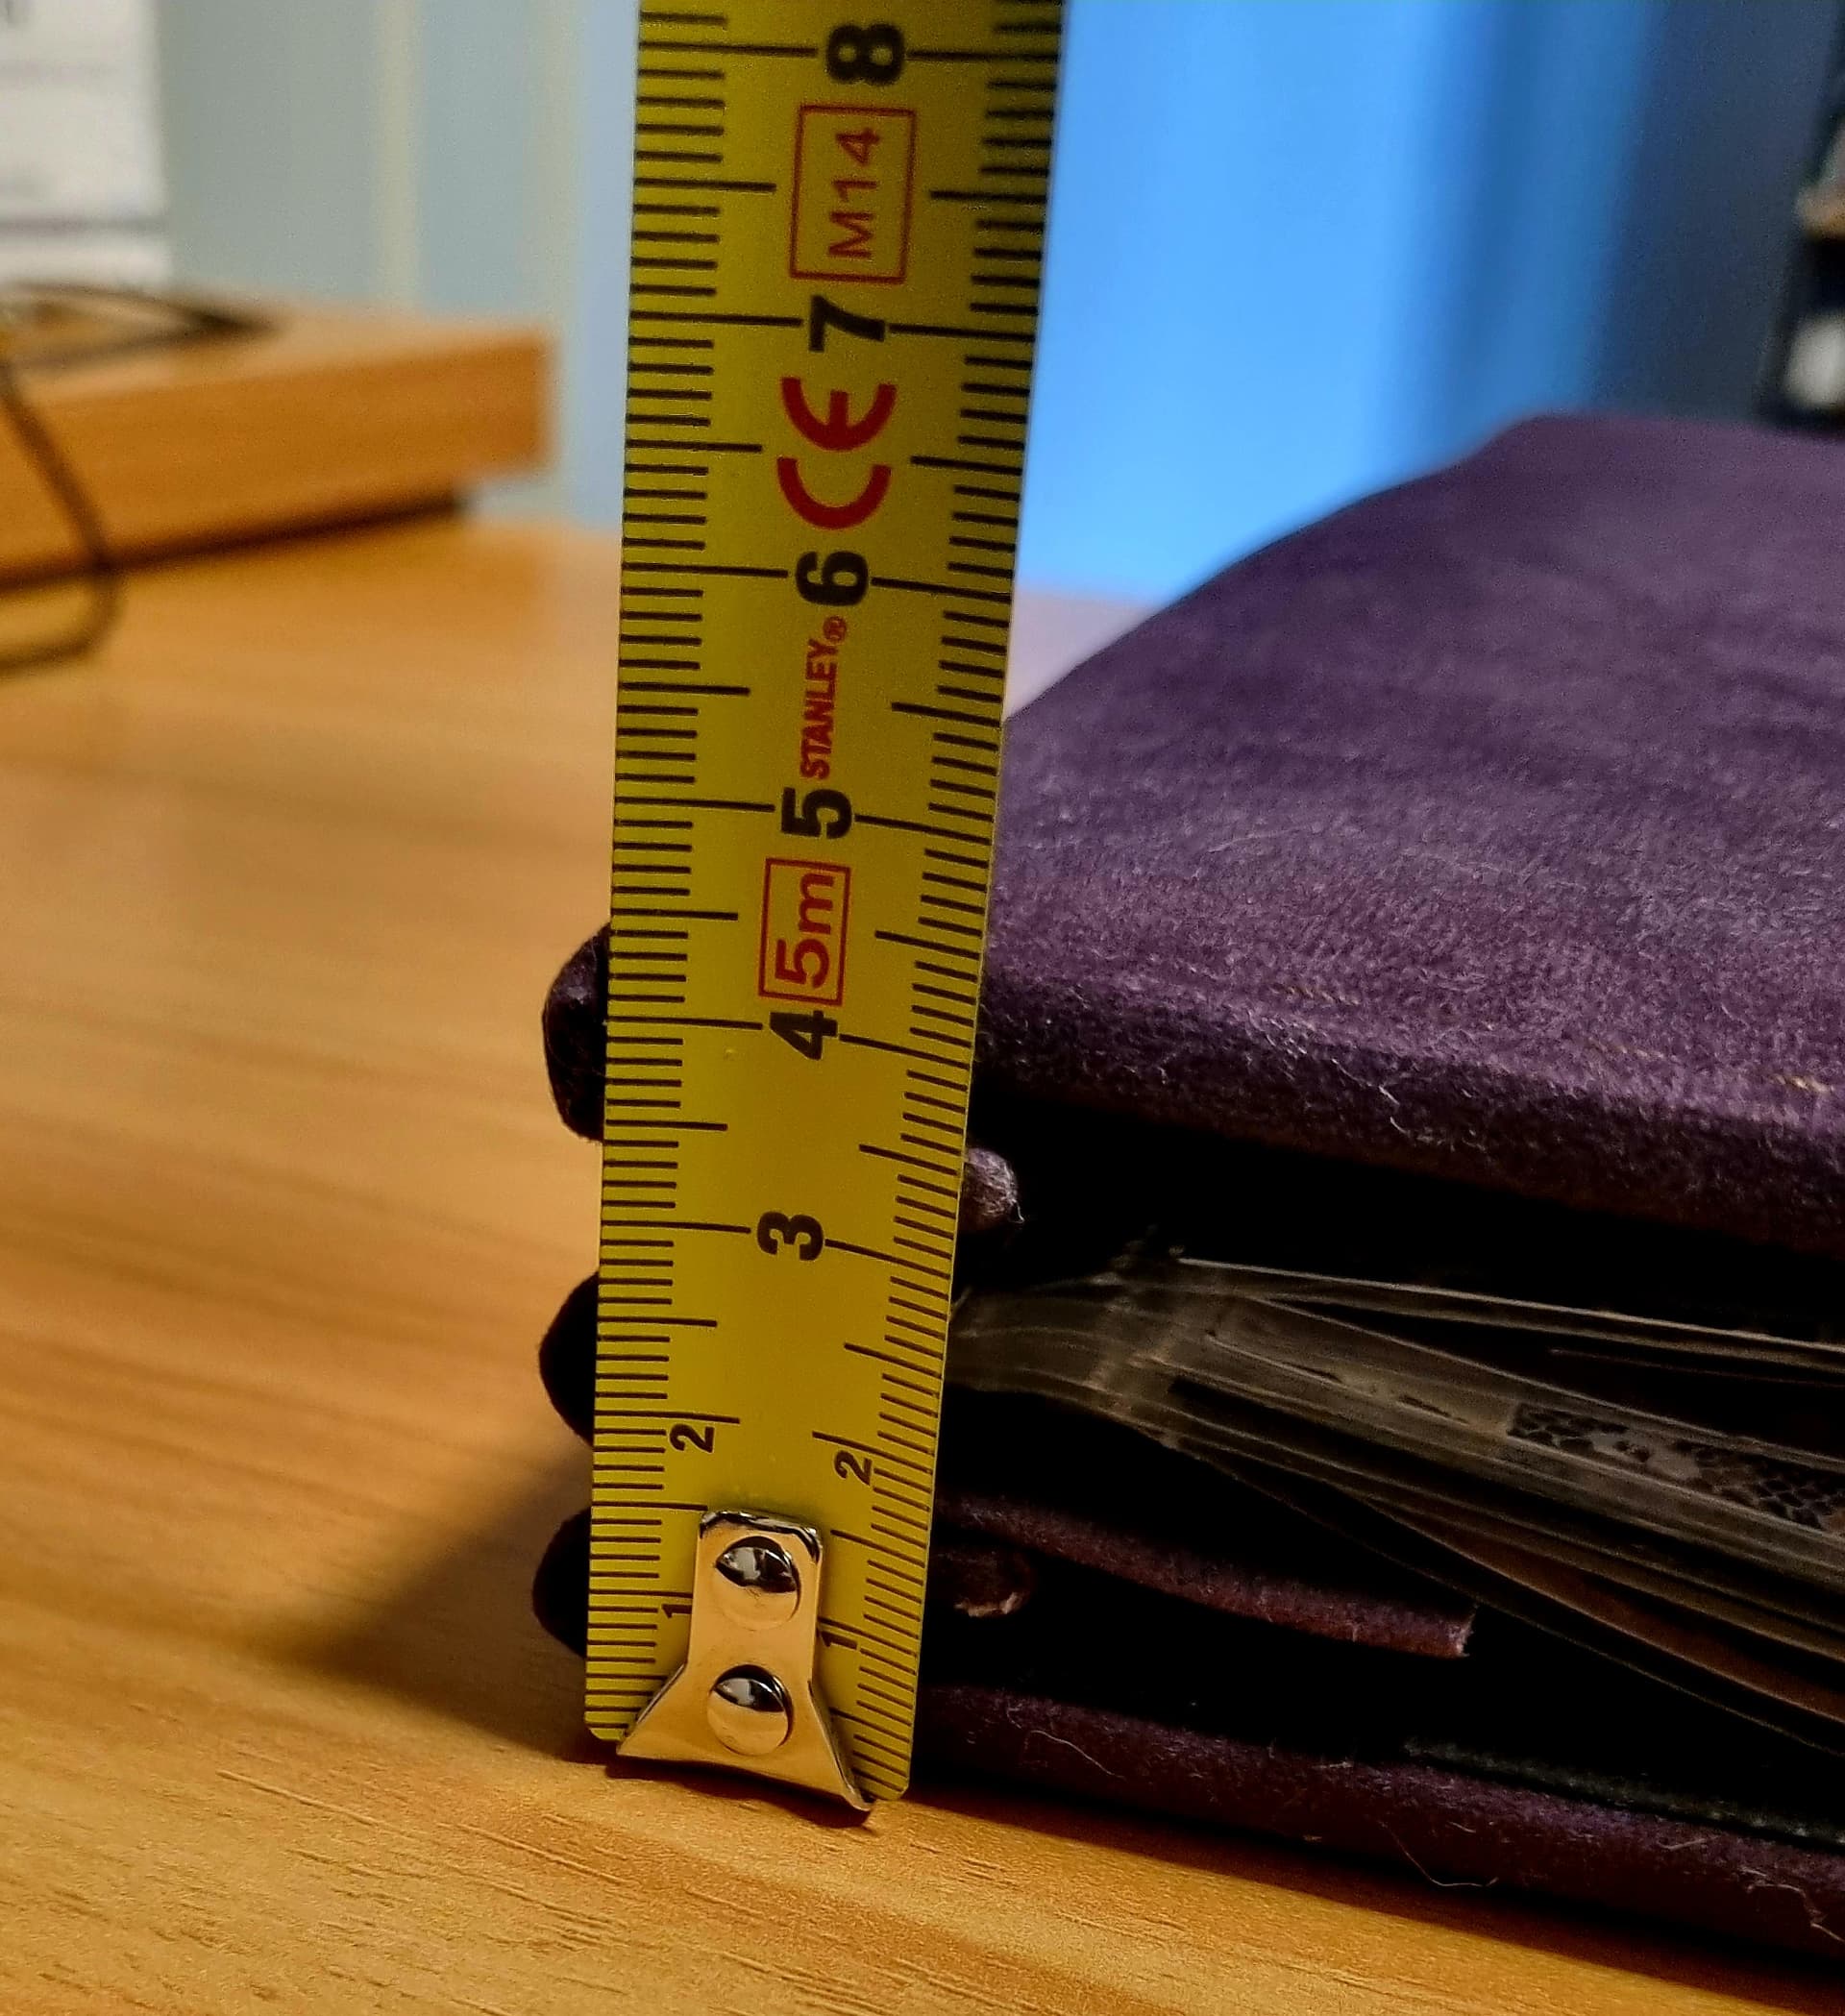
This one was originally 3.5cm thick at the spine with everthing in. This left the other side being pushed up.
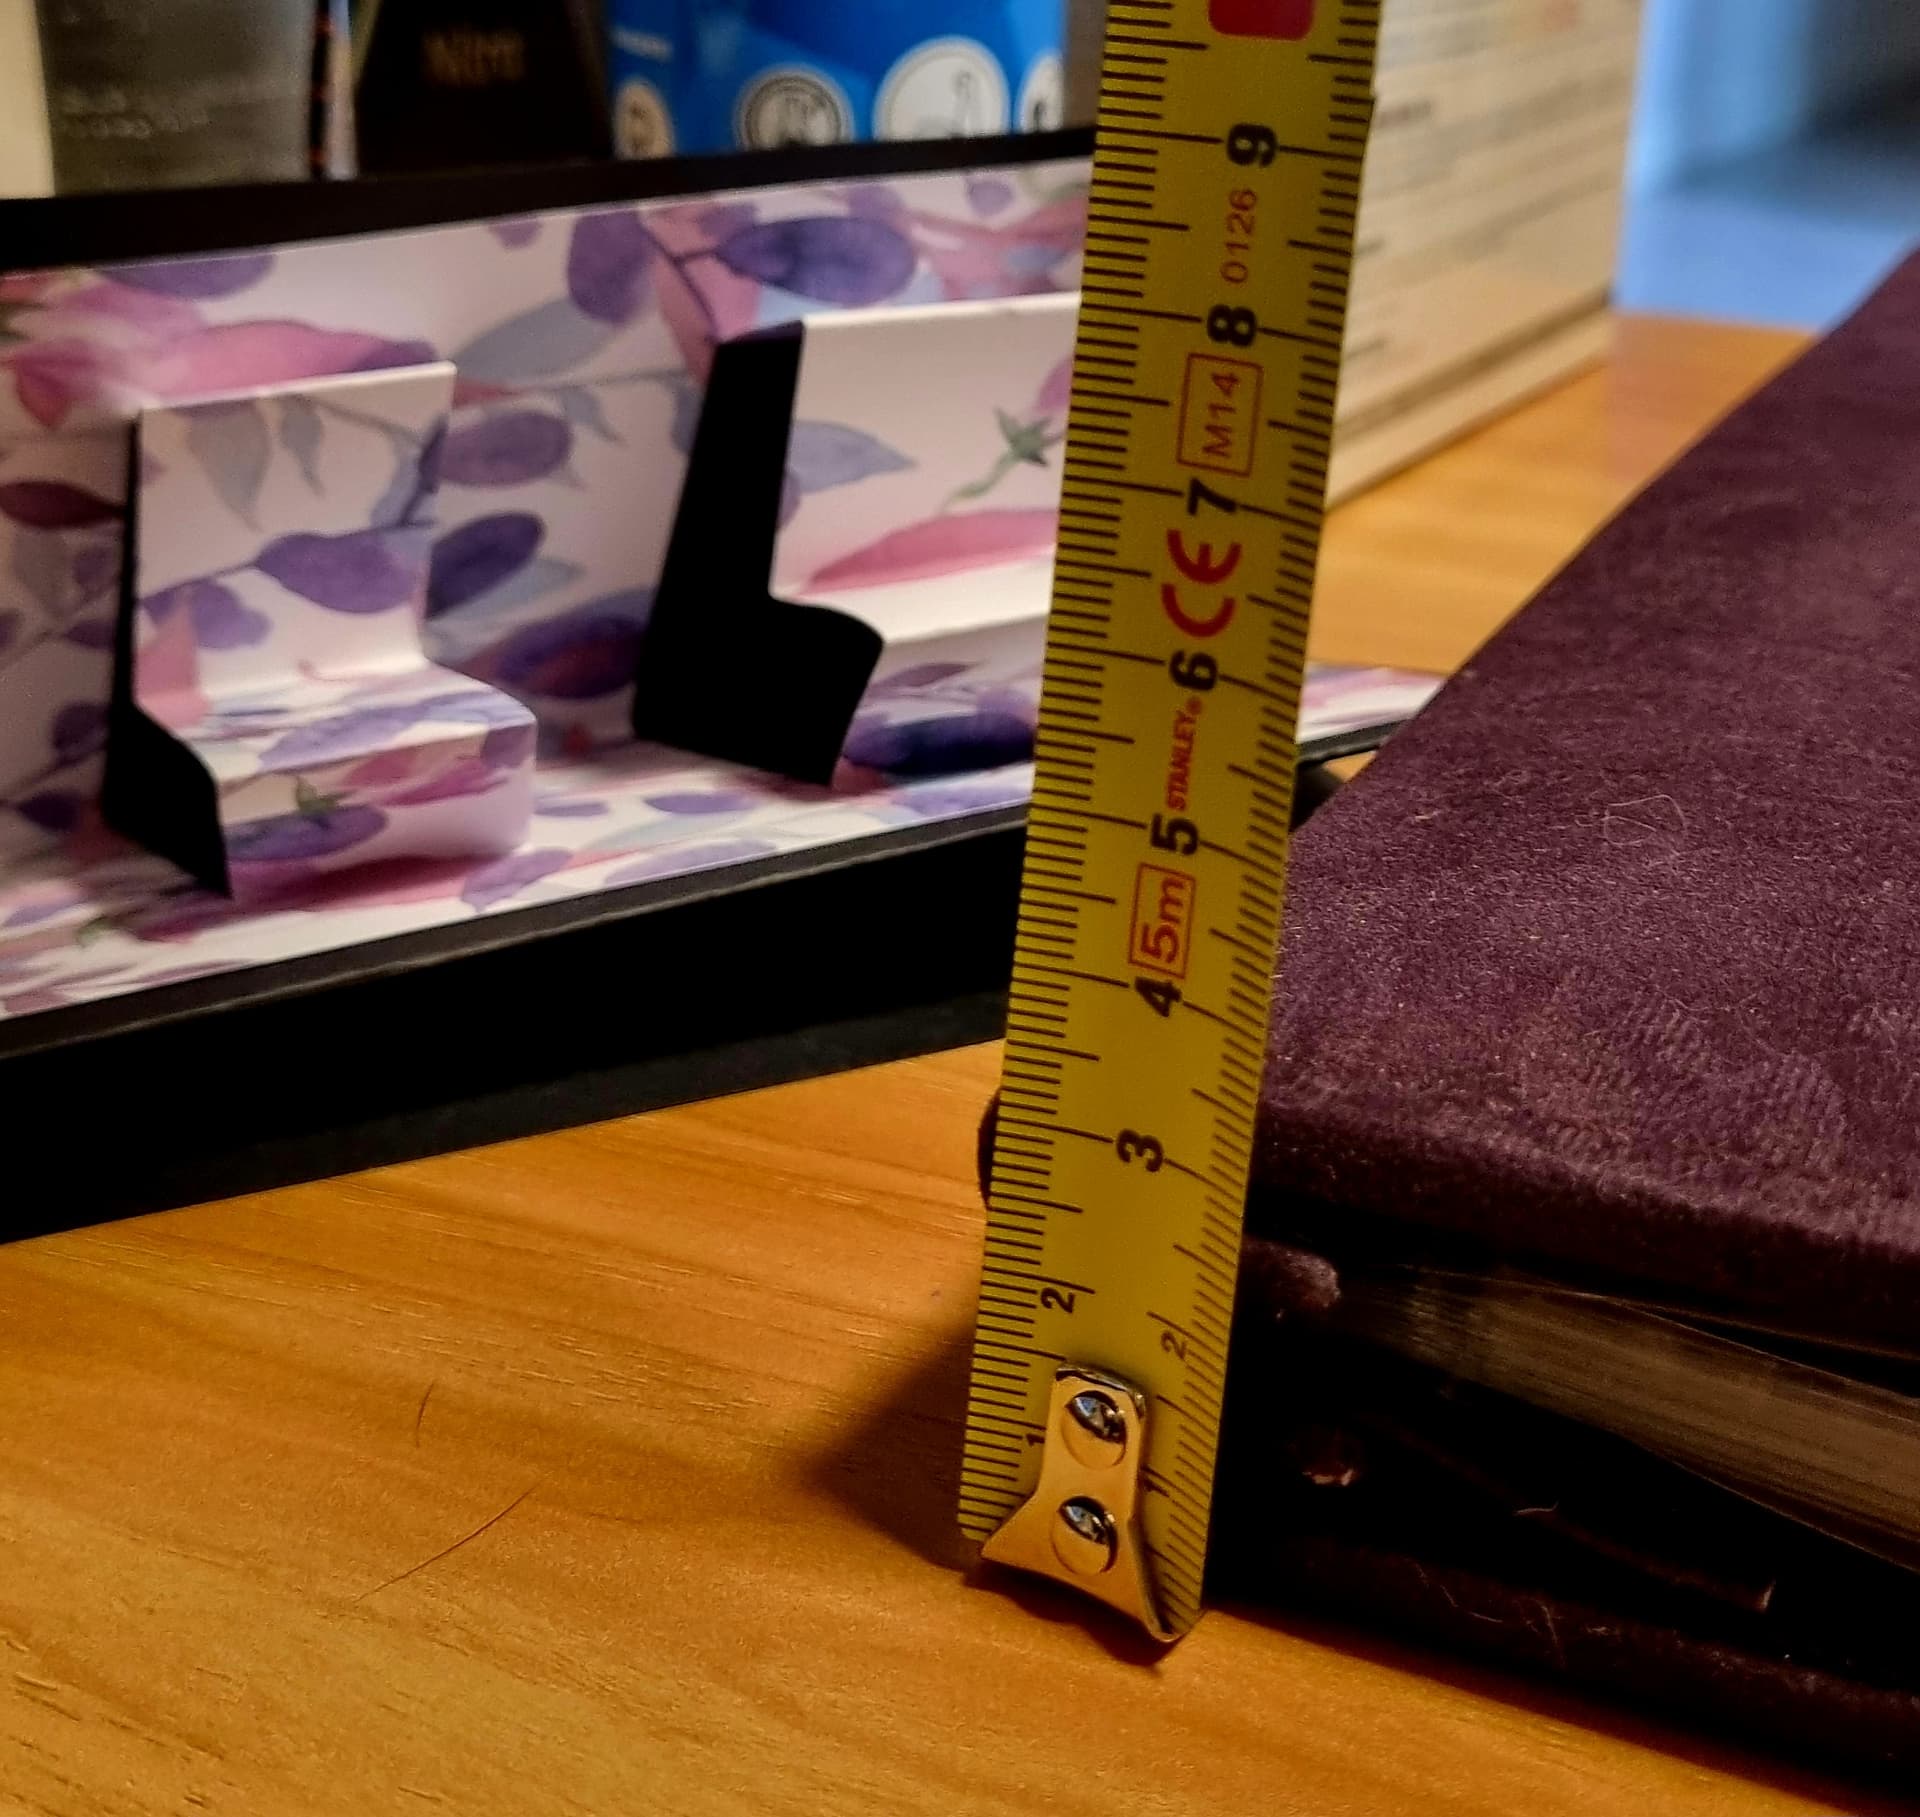
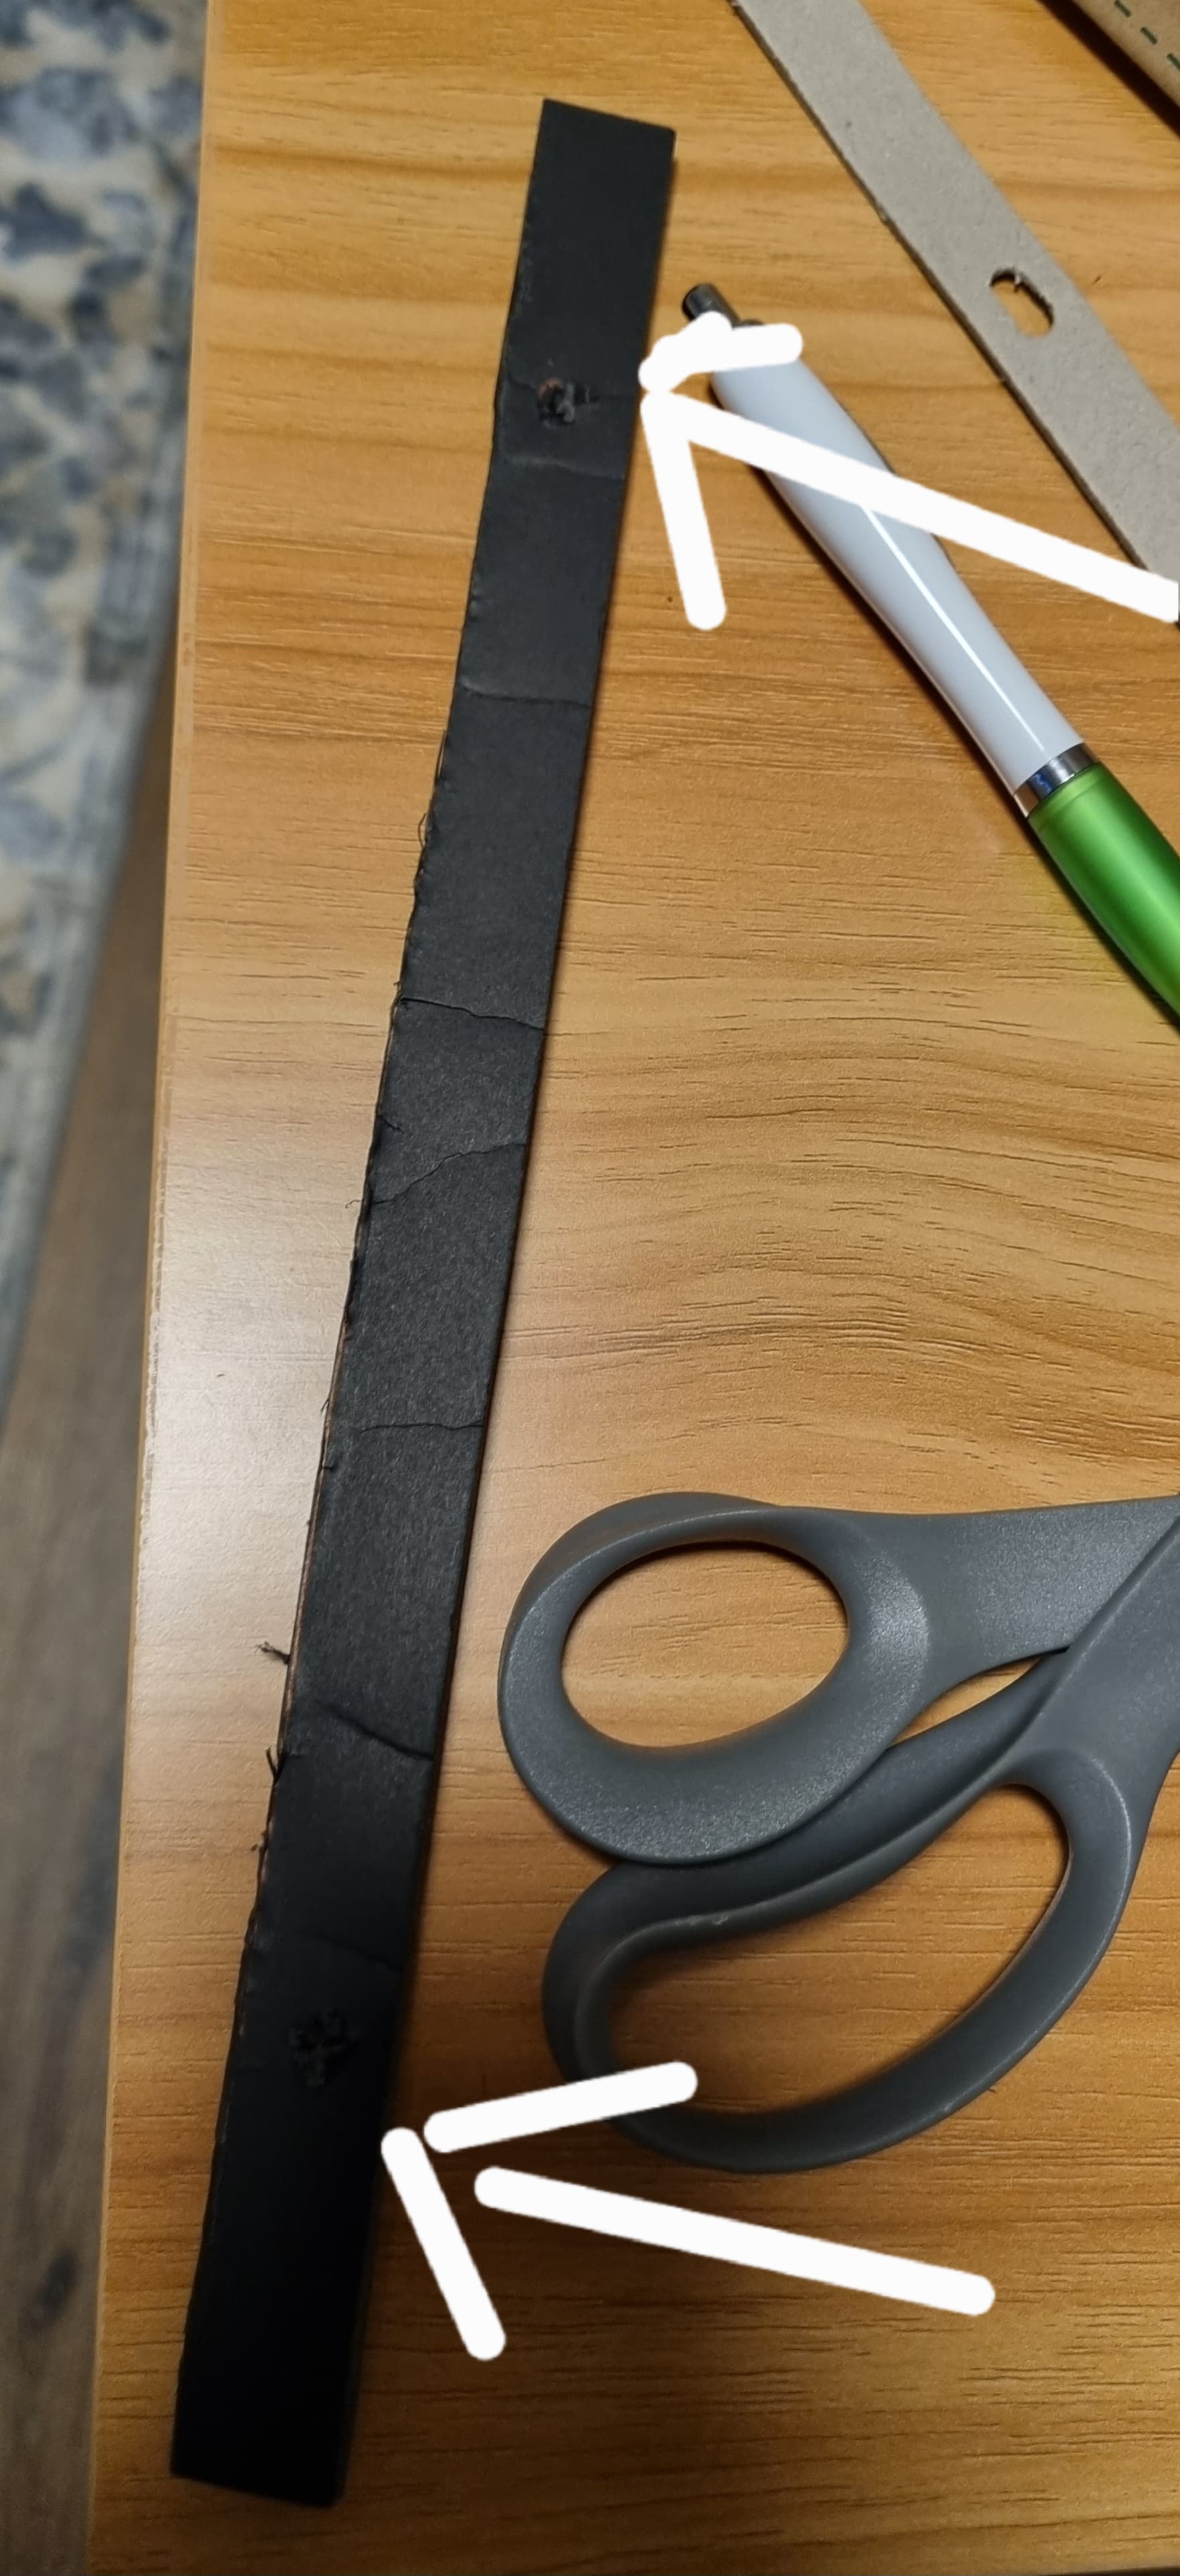
I took some 5mm thick foam board and cut 1.5cm wide strips off it.
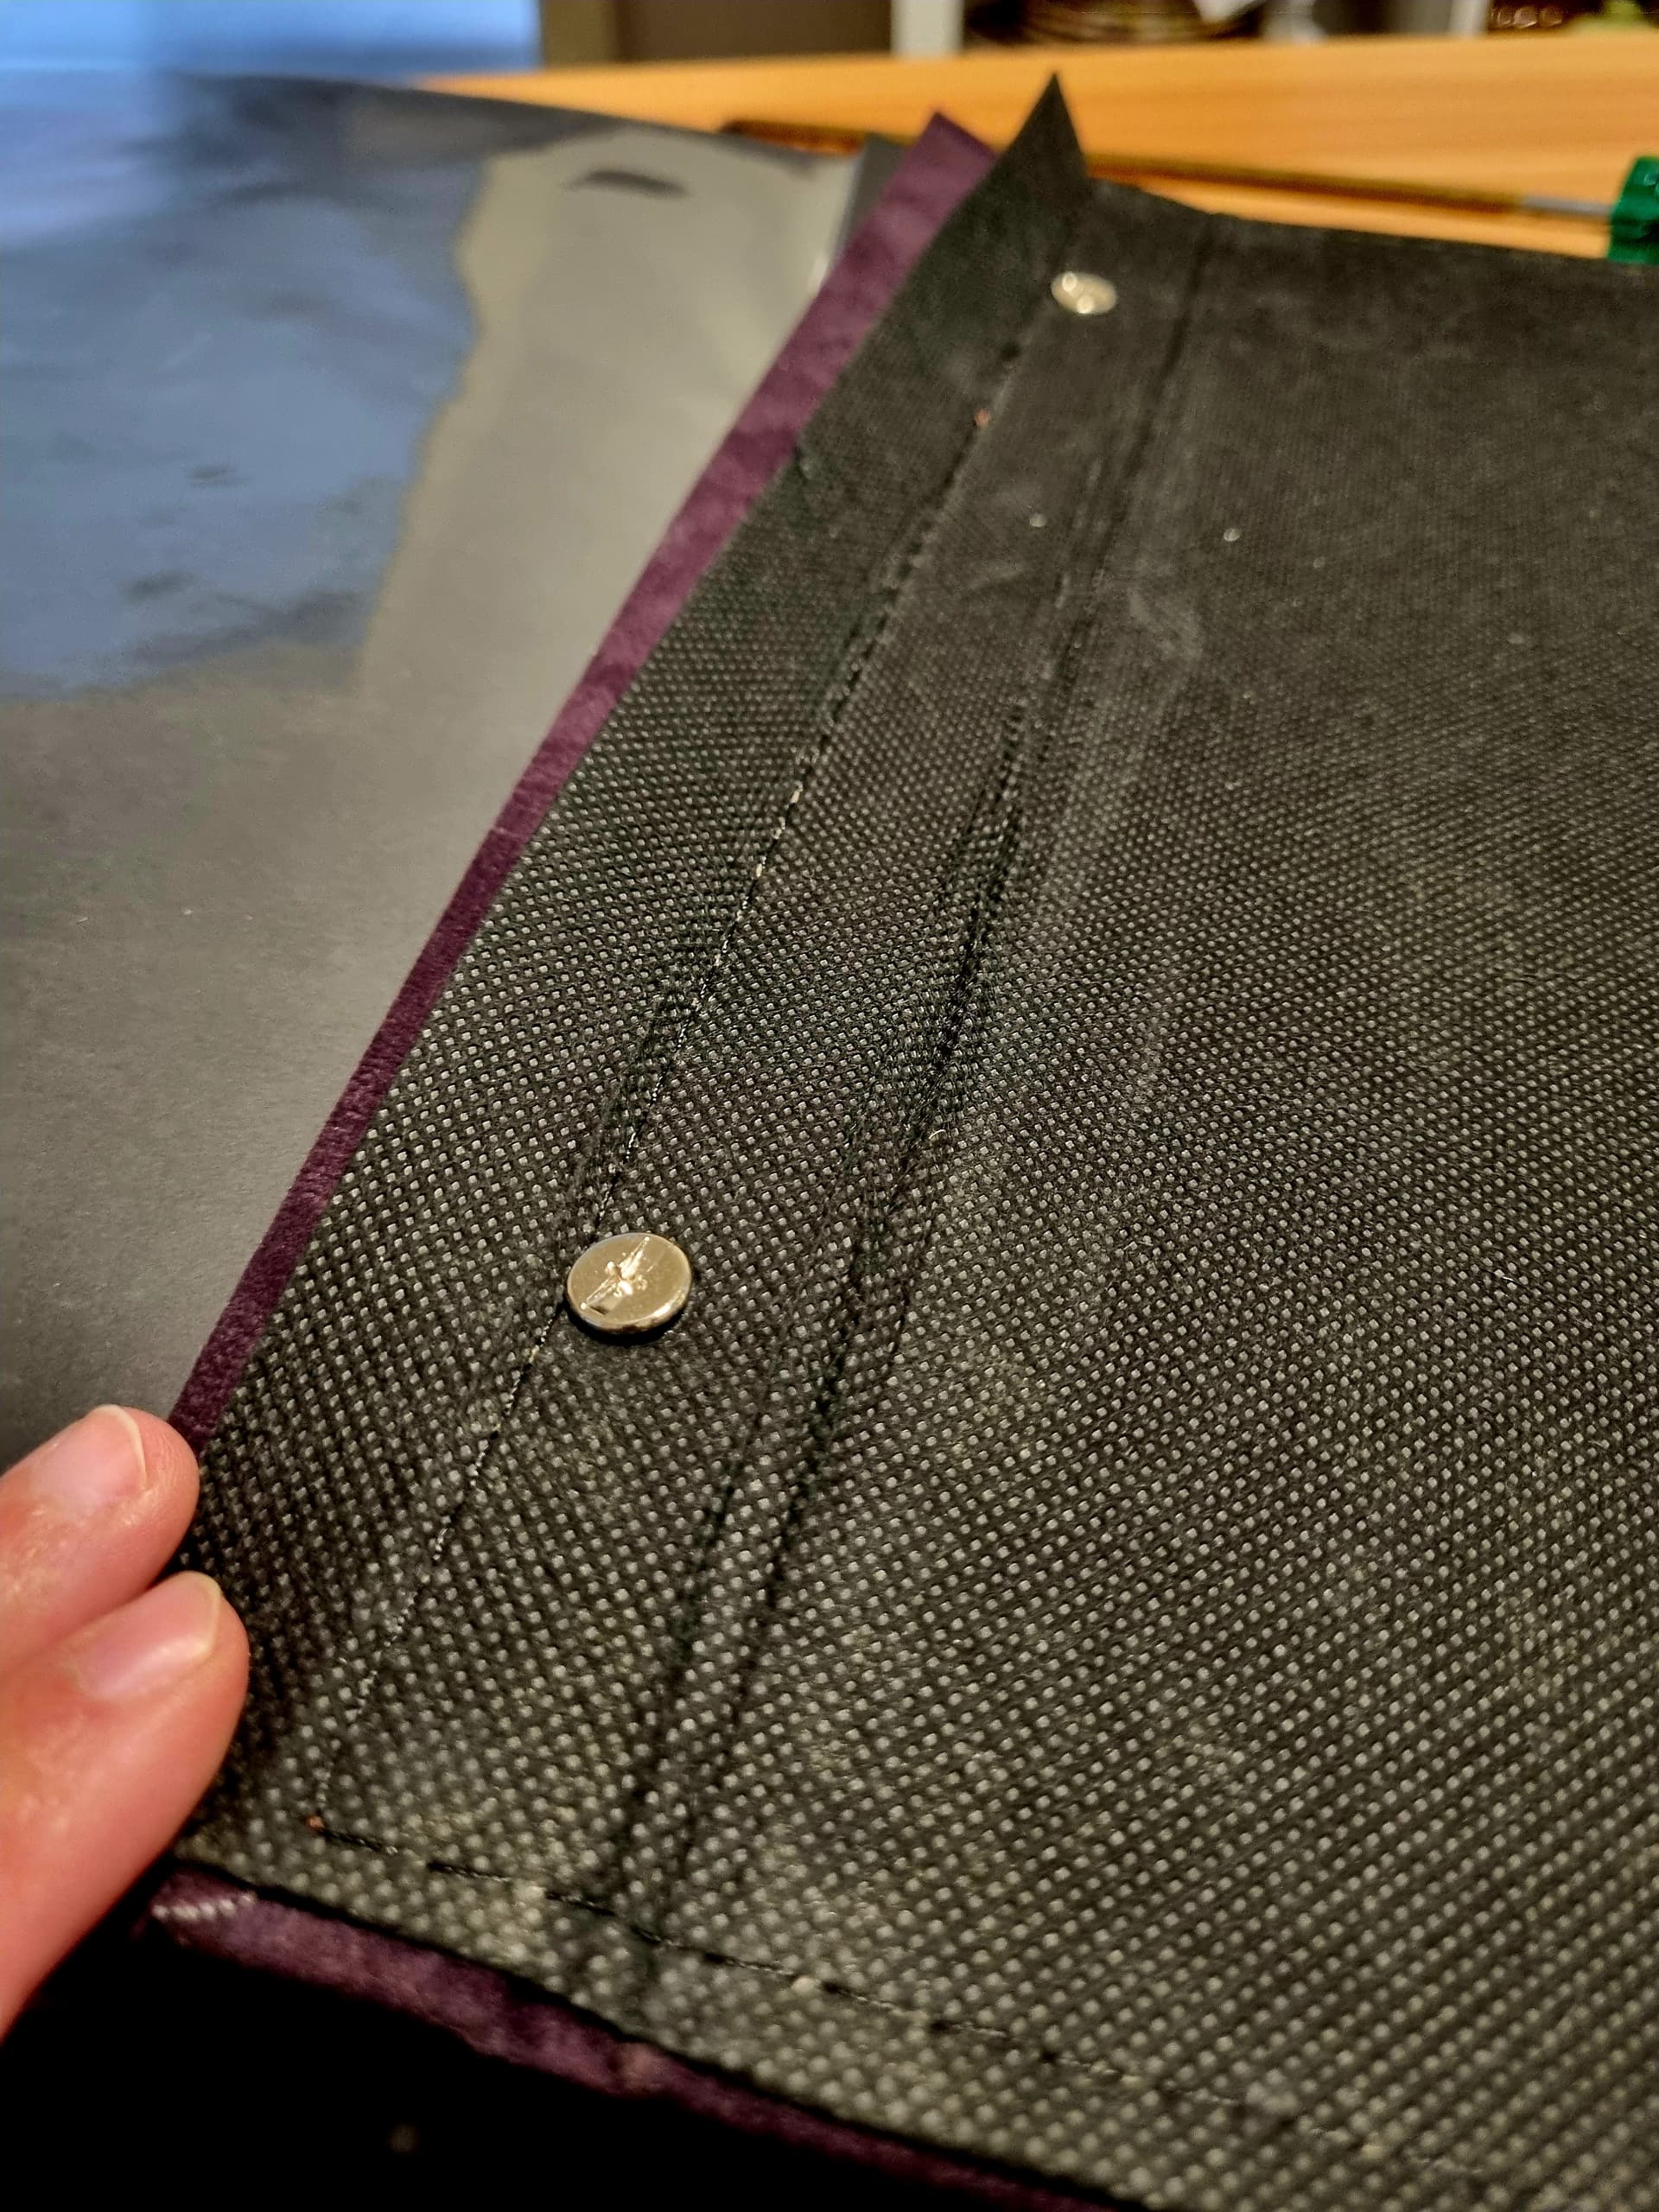
I added screw holes to the strips. The extension parts I picked up are about as thick as the strips.
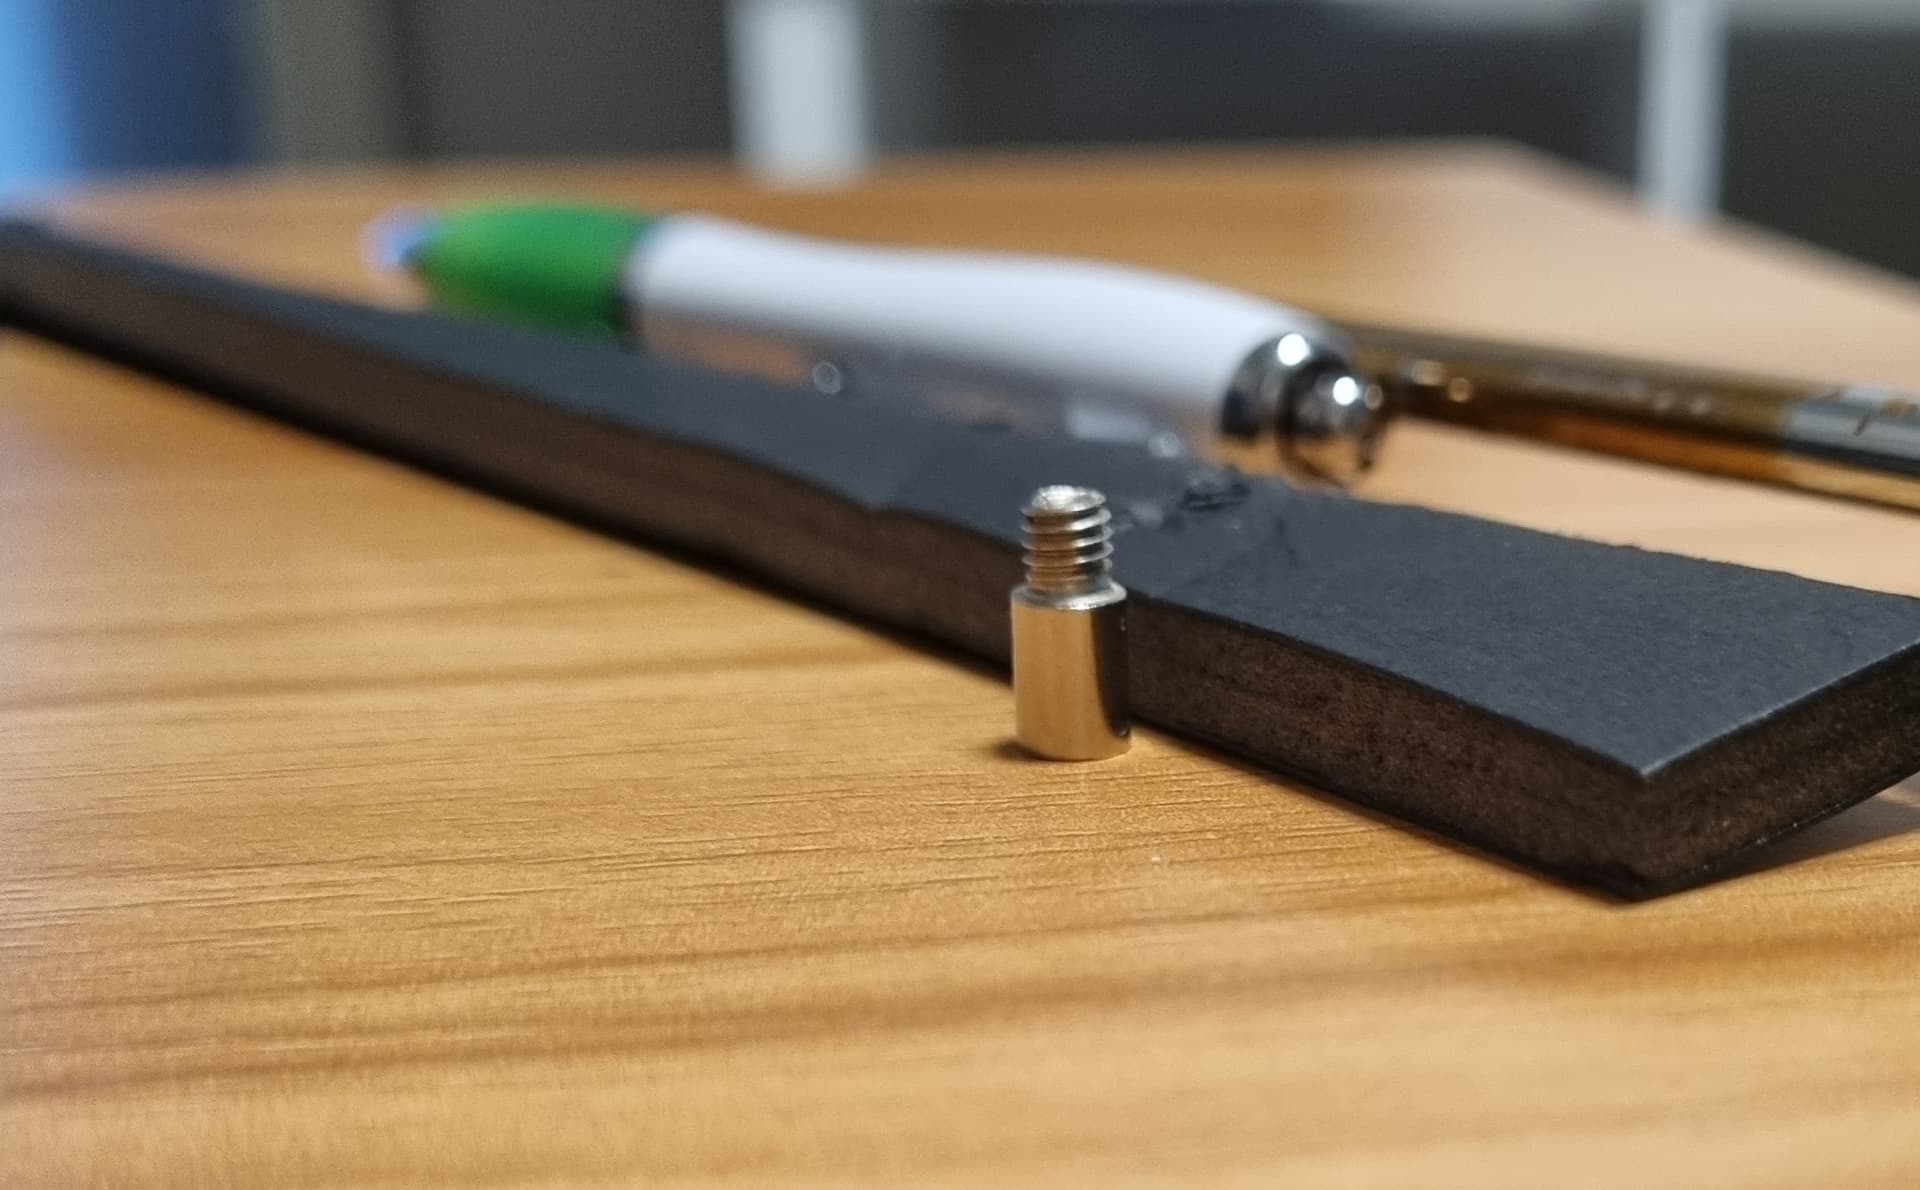
I opened the album and lifted the screw cover flap. I unscrewed the screw on one side first. This bit gets tricky the more you add because everything wants to spring out.
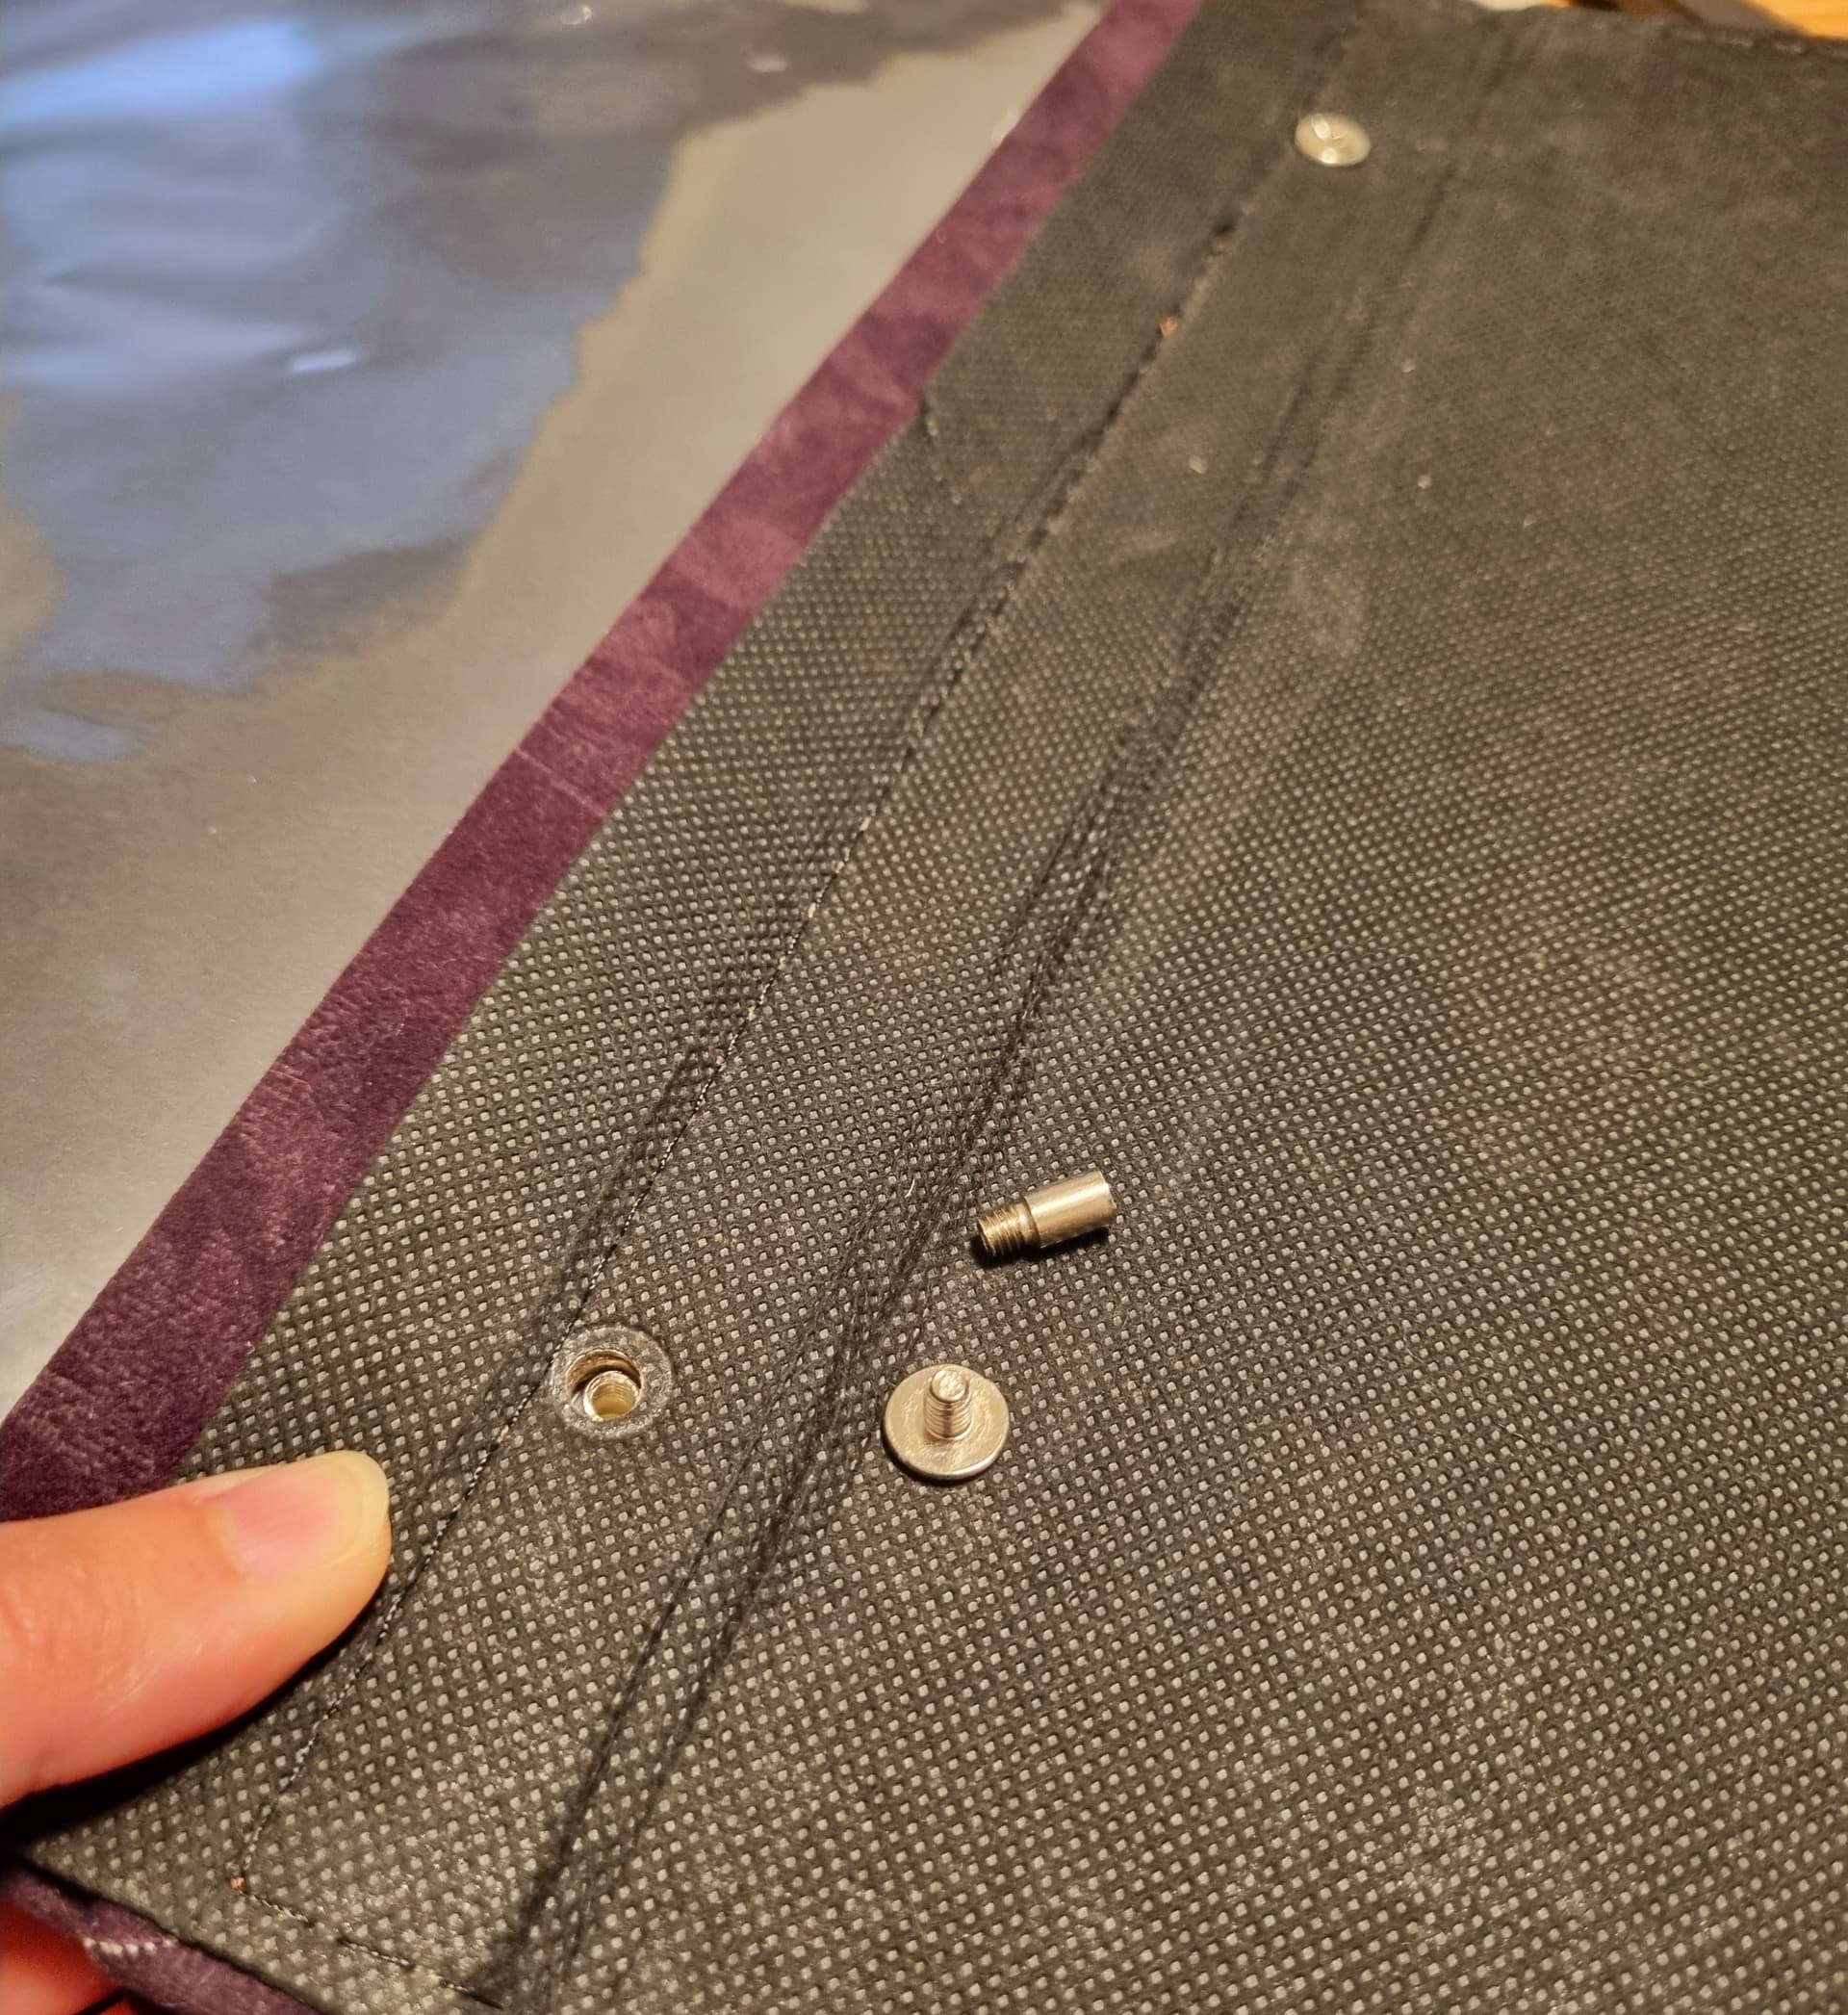
I added one of the foam board strips and the extender on the inner layer. I then folded everything down. I screwed it back into place and repeated it on the other end of the album.
This added an extra 5mm.
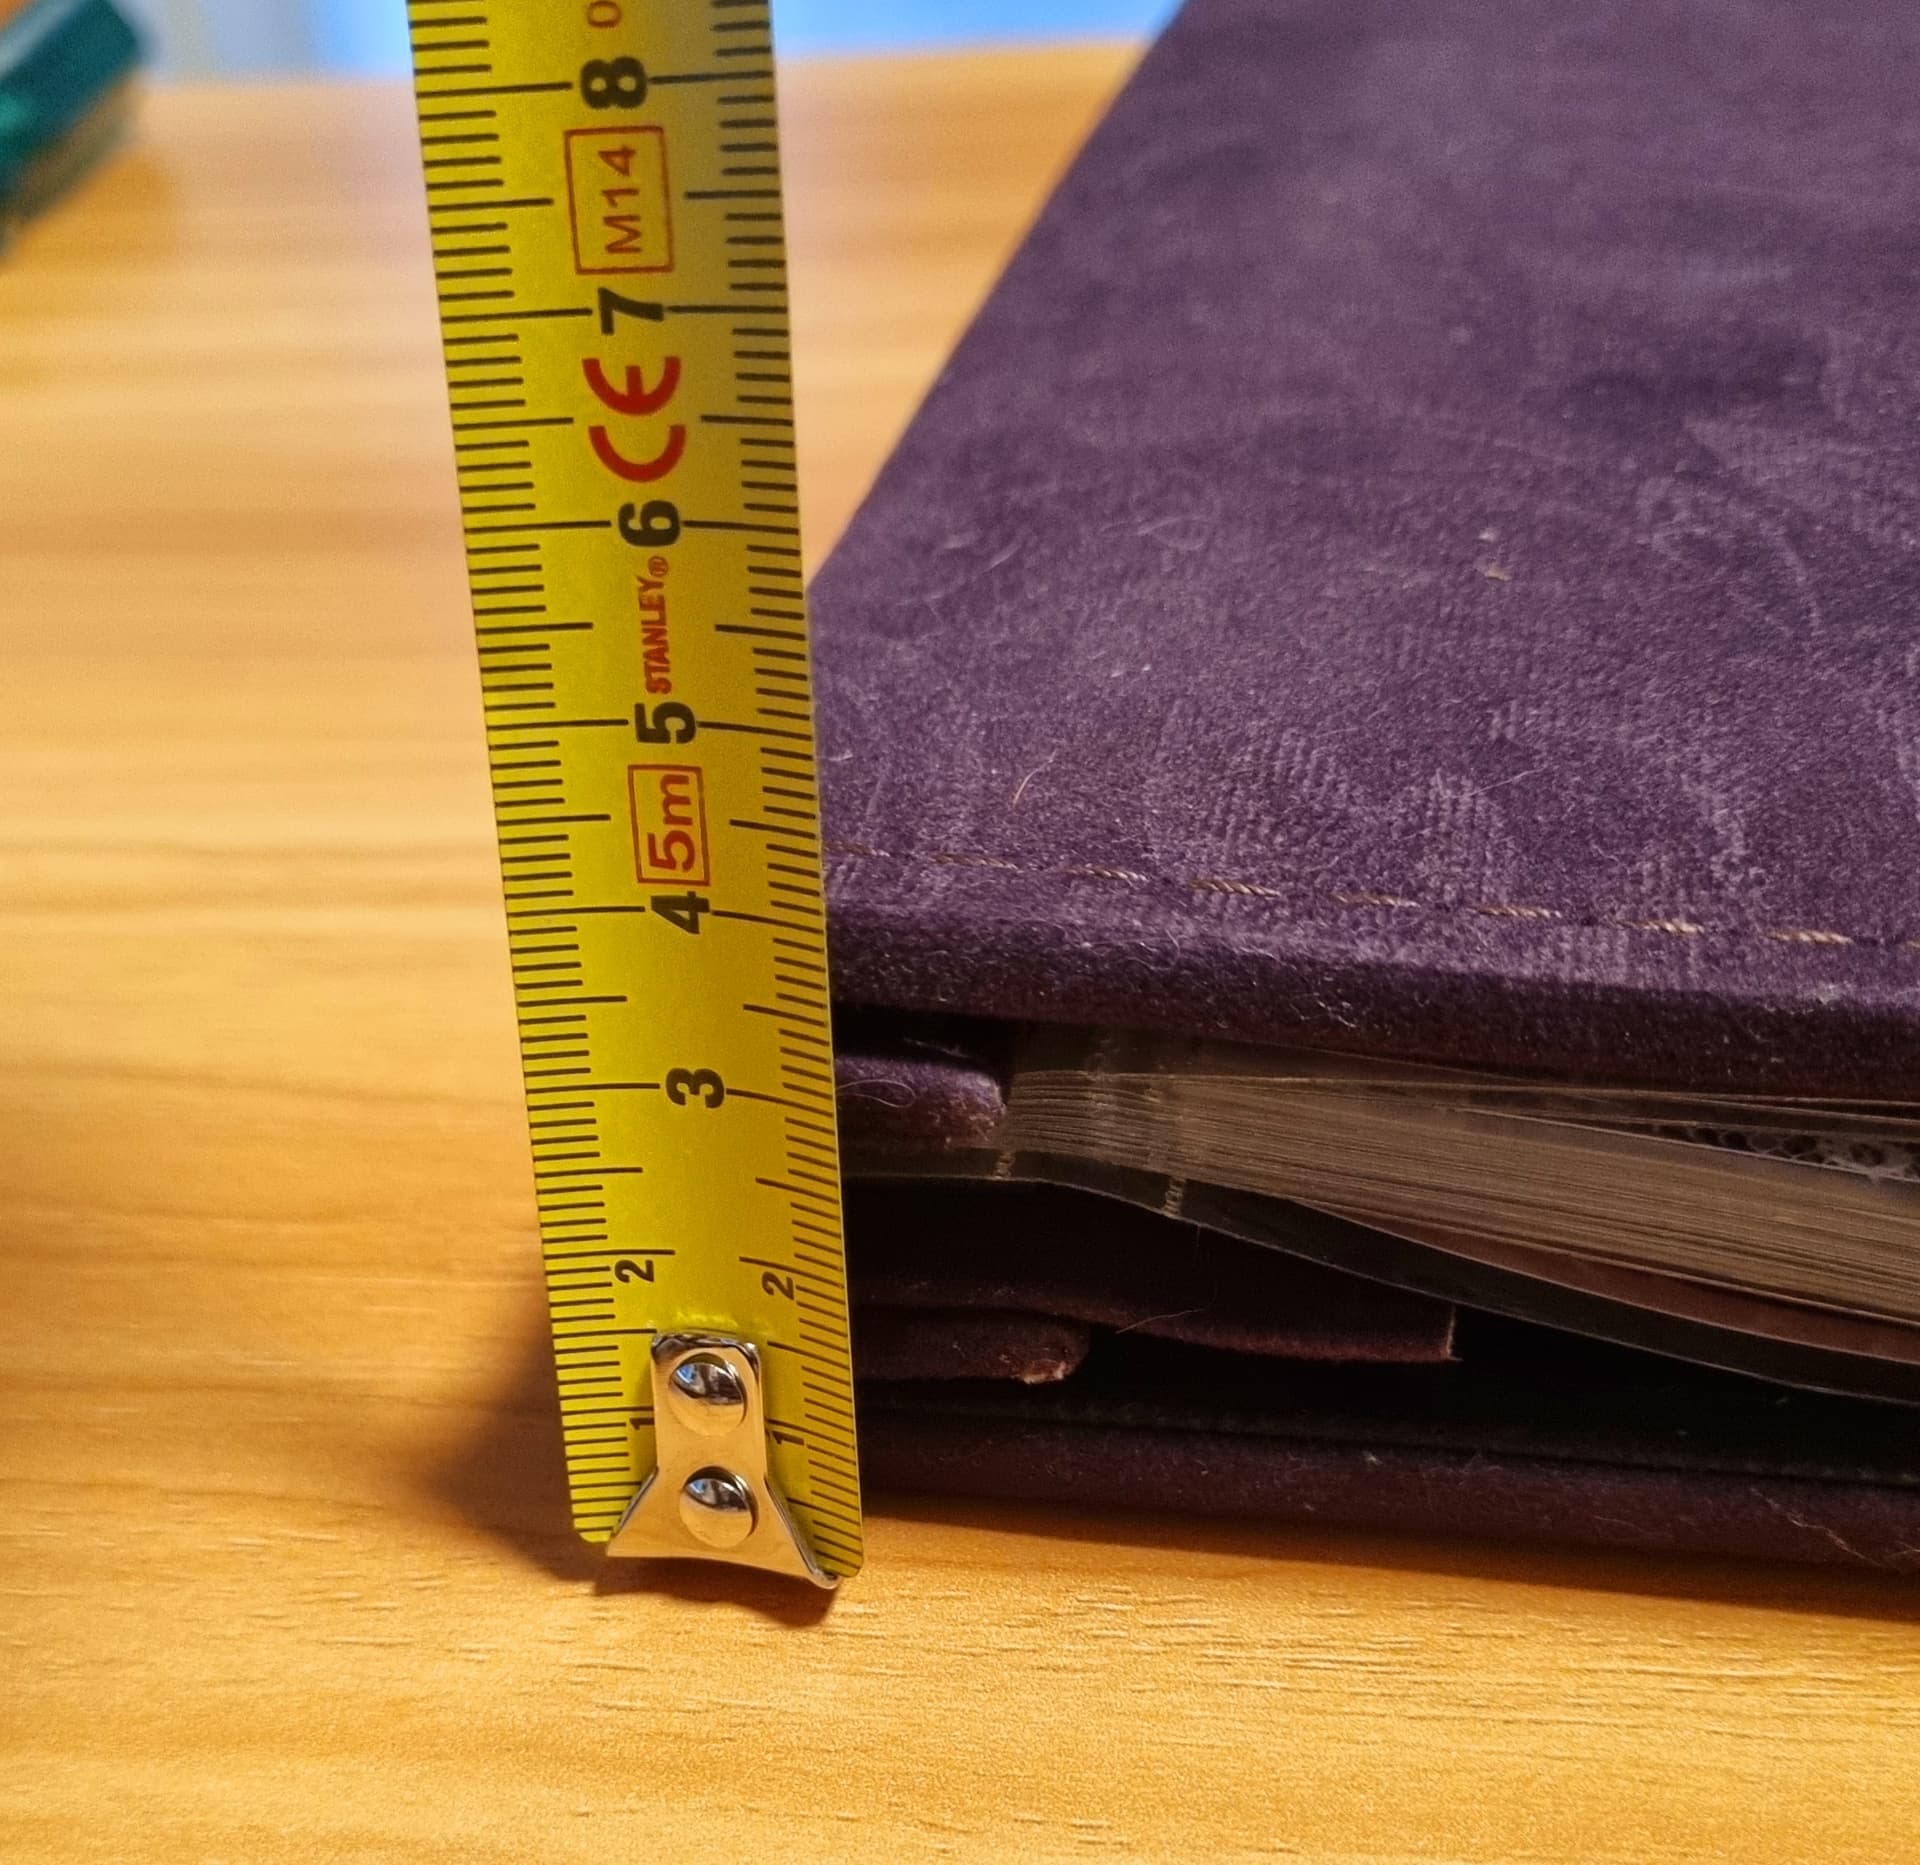
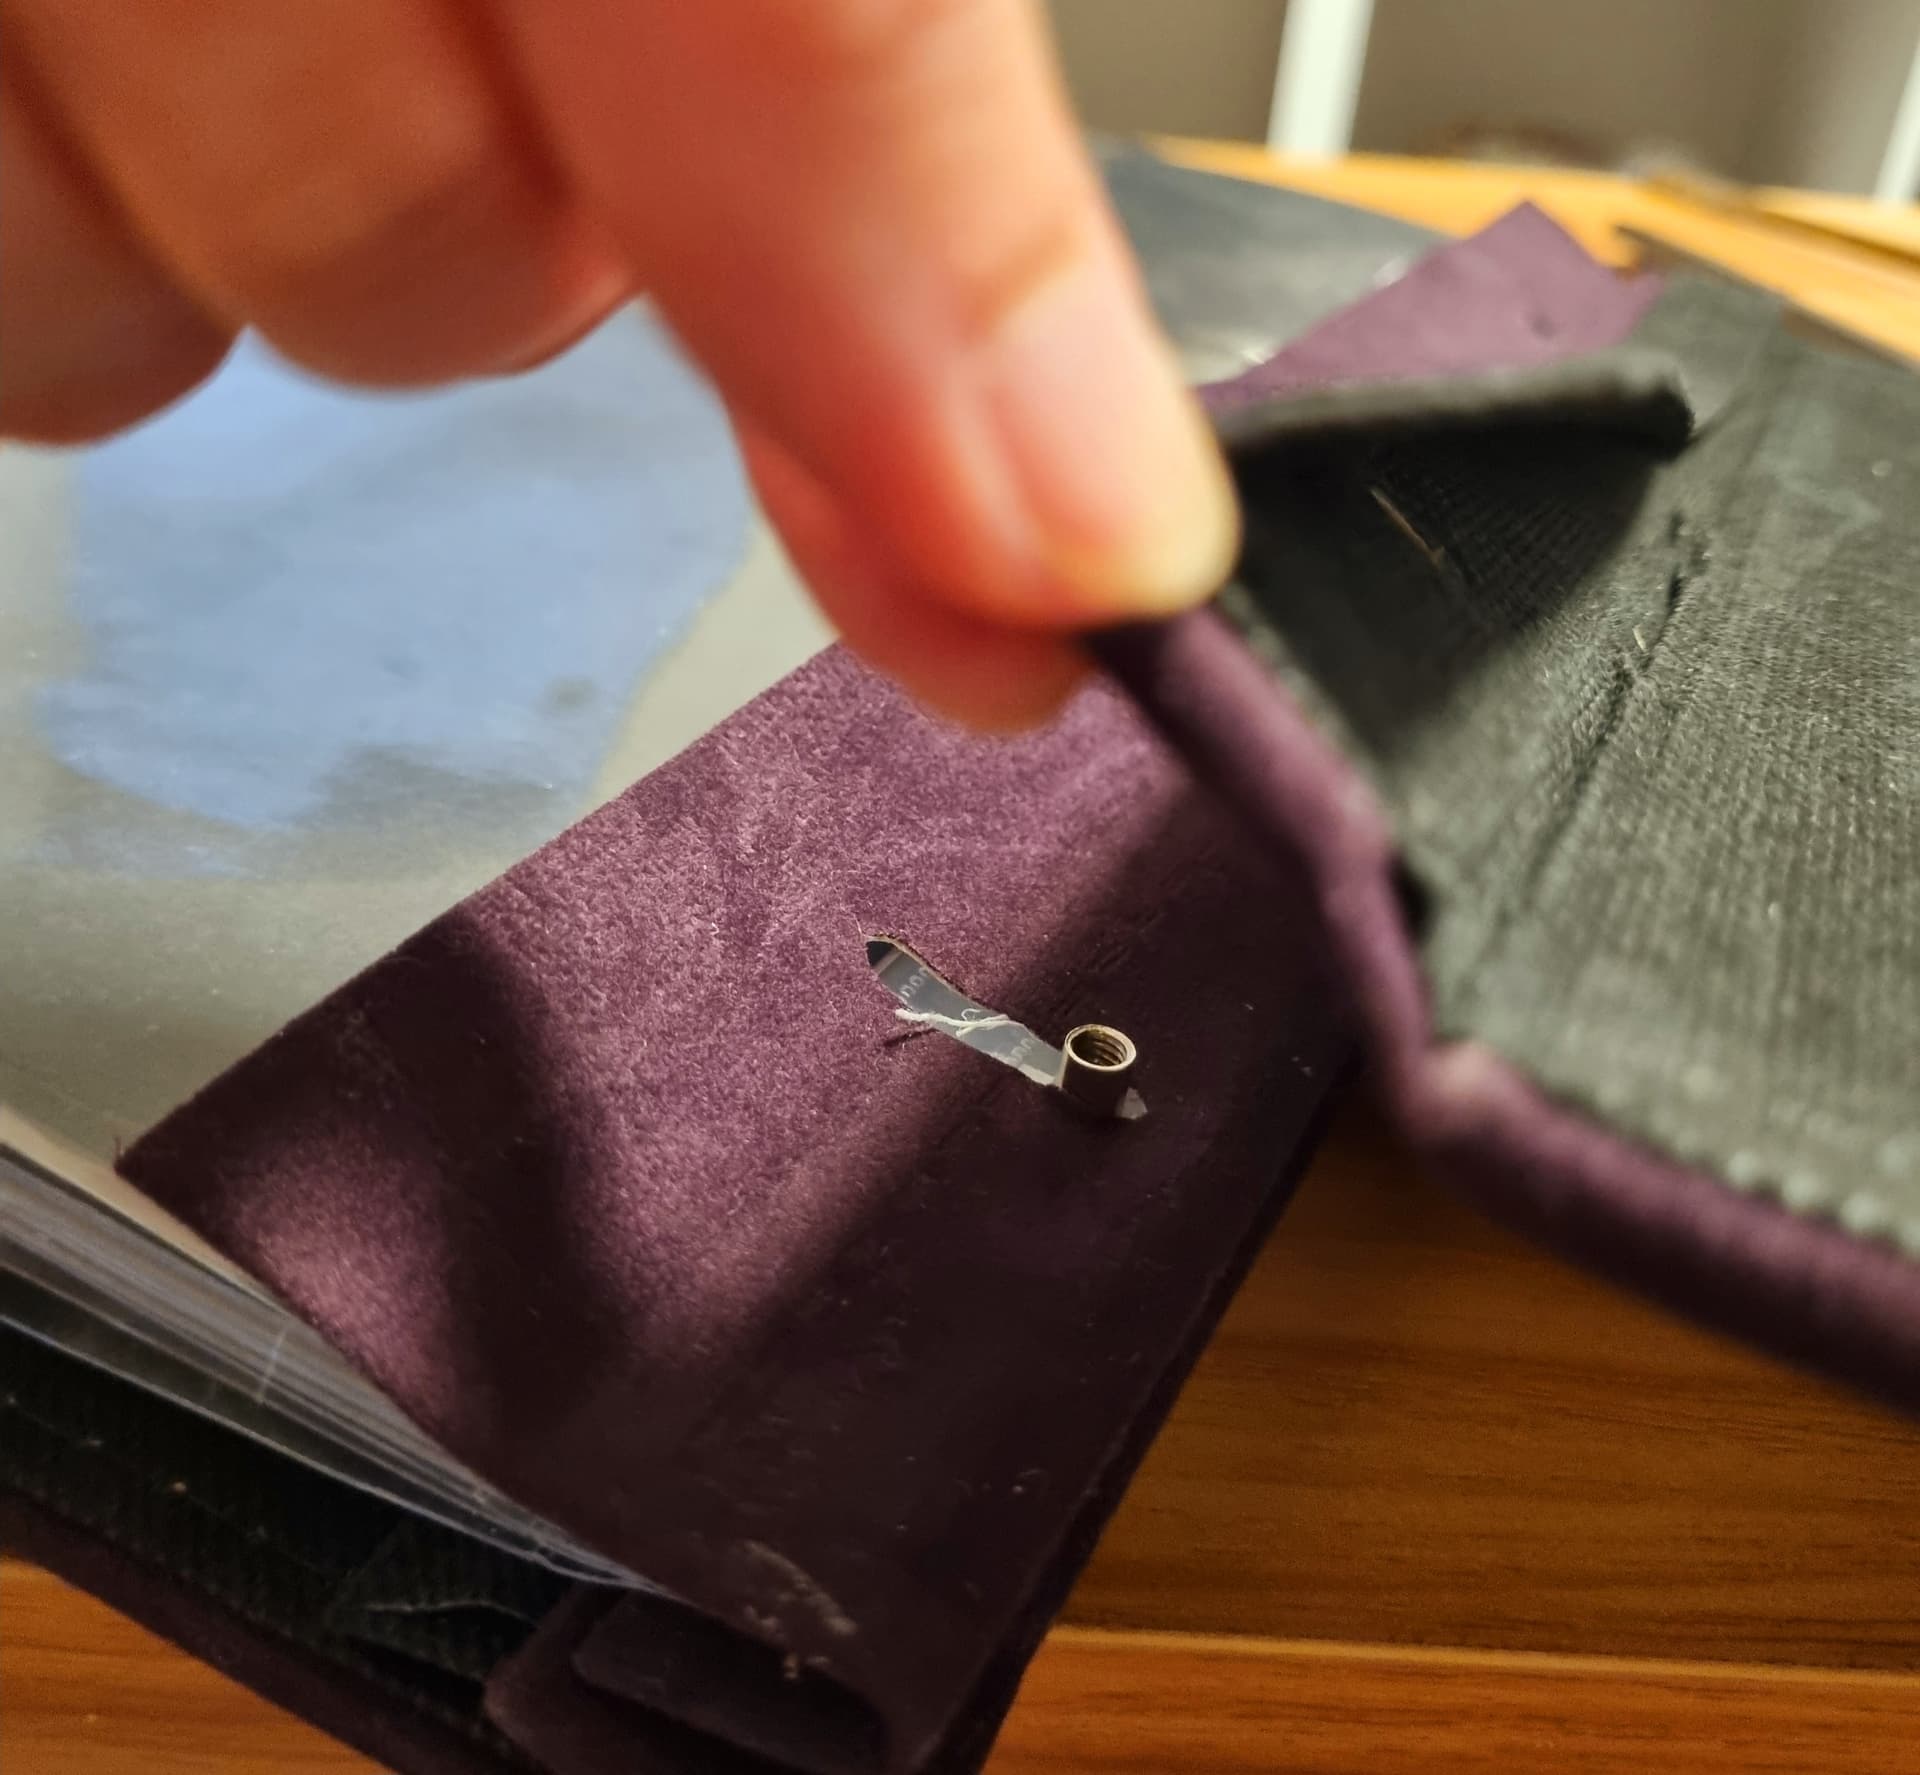
I turned the album over and added foam board to the other side giving me the full cm. And now the album sits flat when closed.
It has been quiet in the group (I almost feel like I should be whispering). I am assume everyone is as busy as I am with Christmas a month away. Gifts, food, shopping, holidays, arranging supports, changing circumstances.
Just that time of year.
Hopefully it is all going well, if not, I hope you have the help you need.
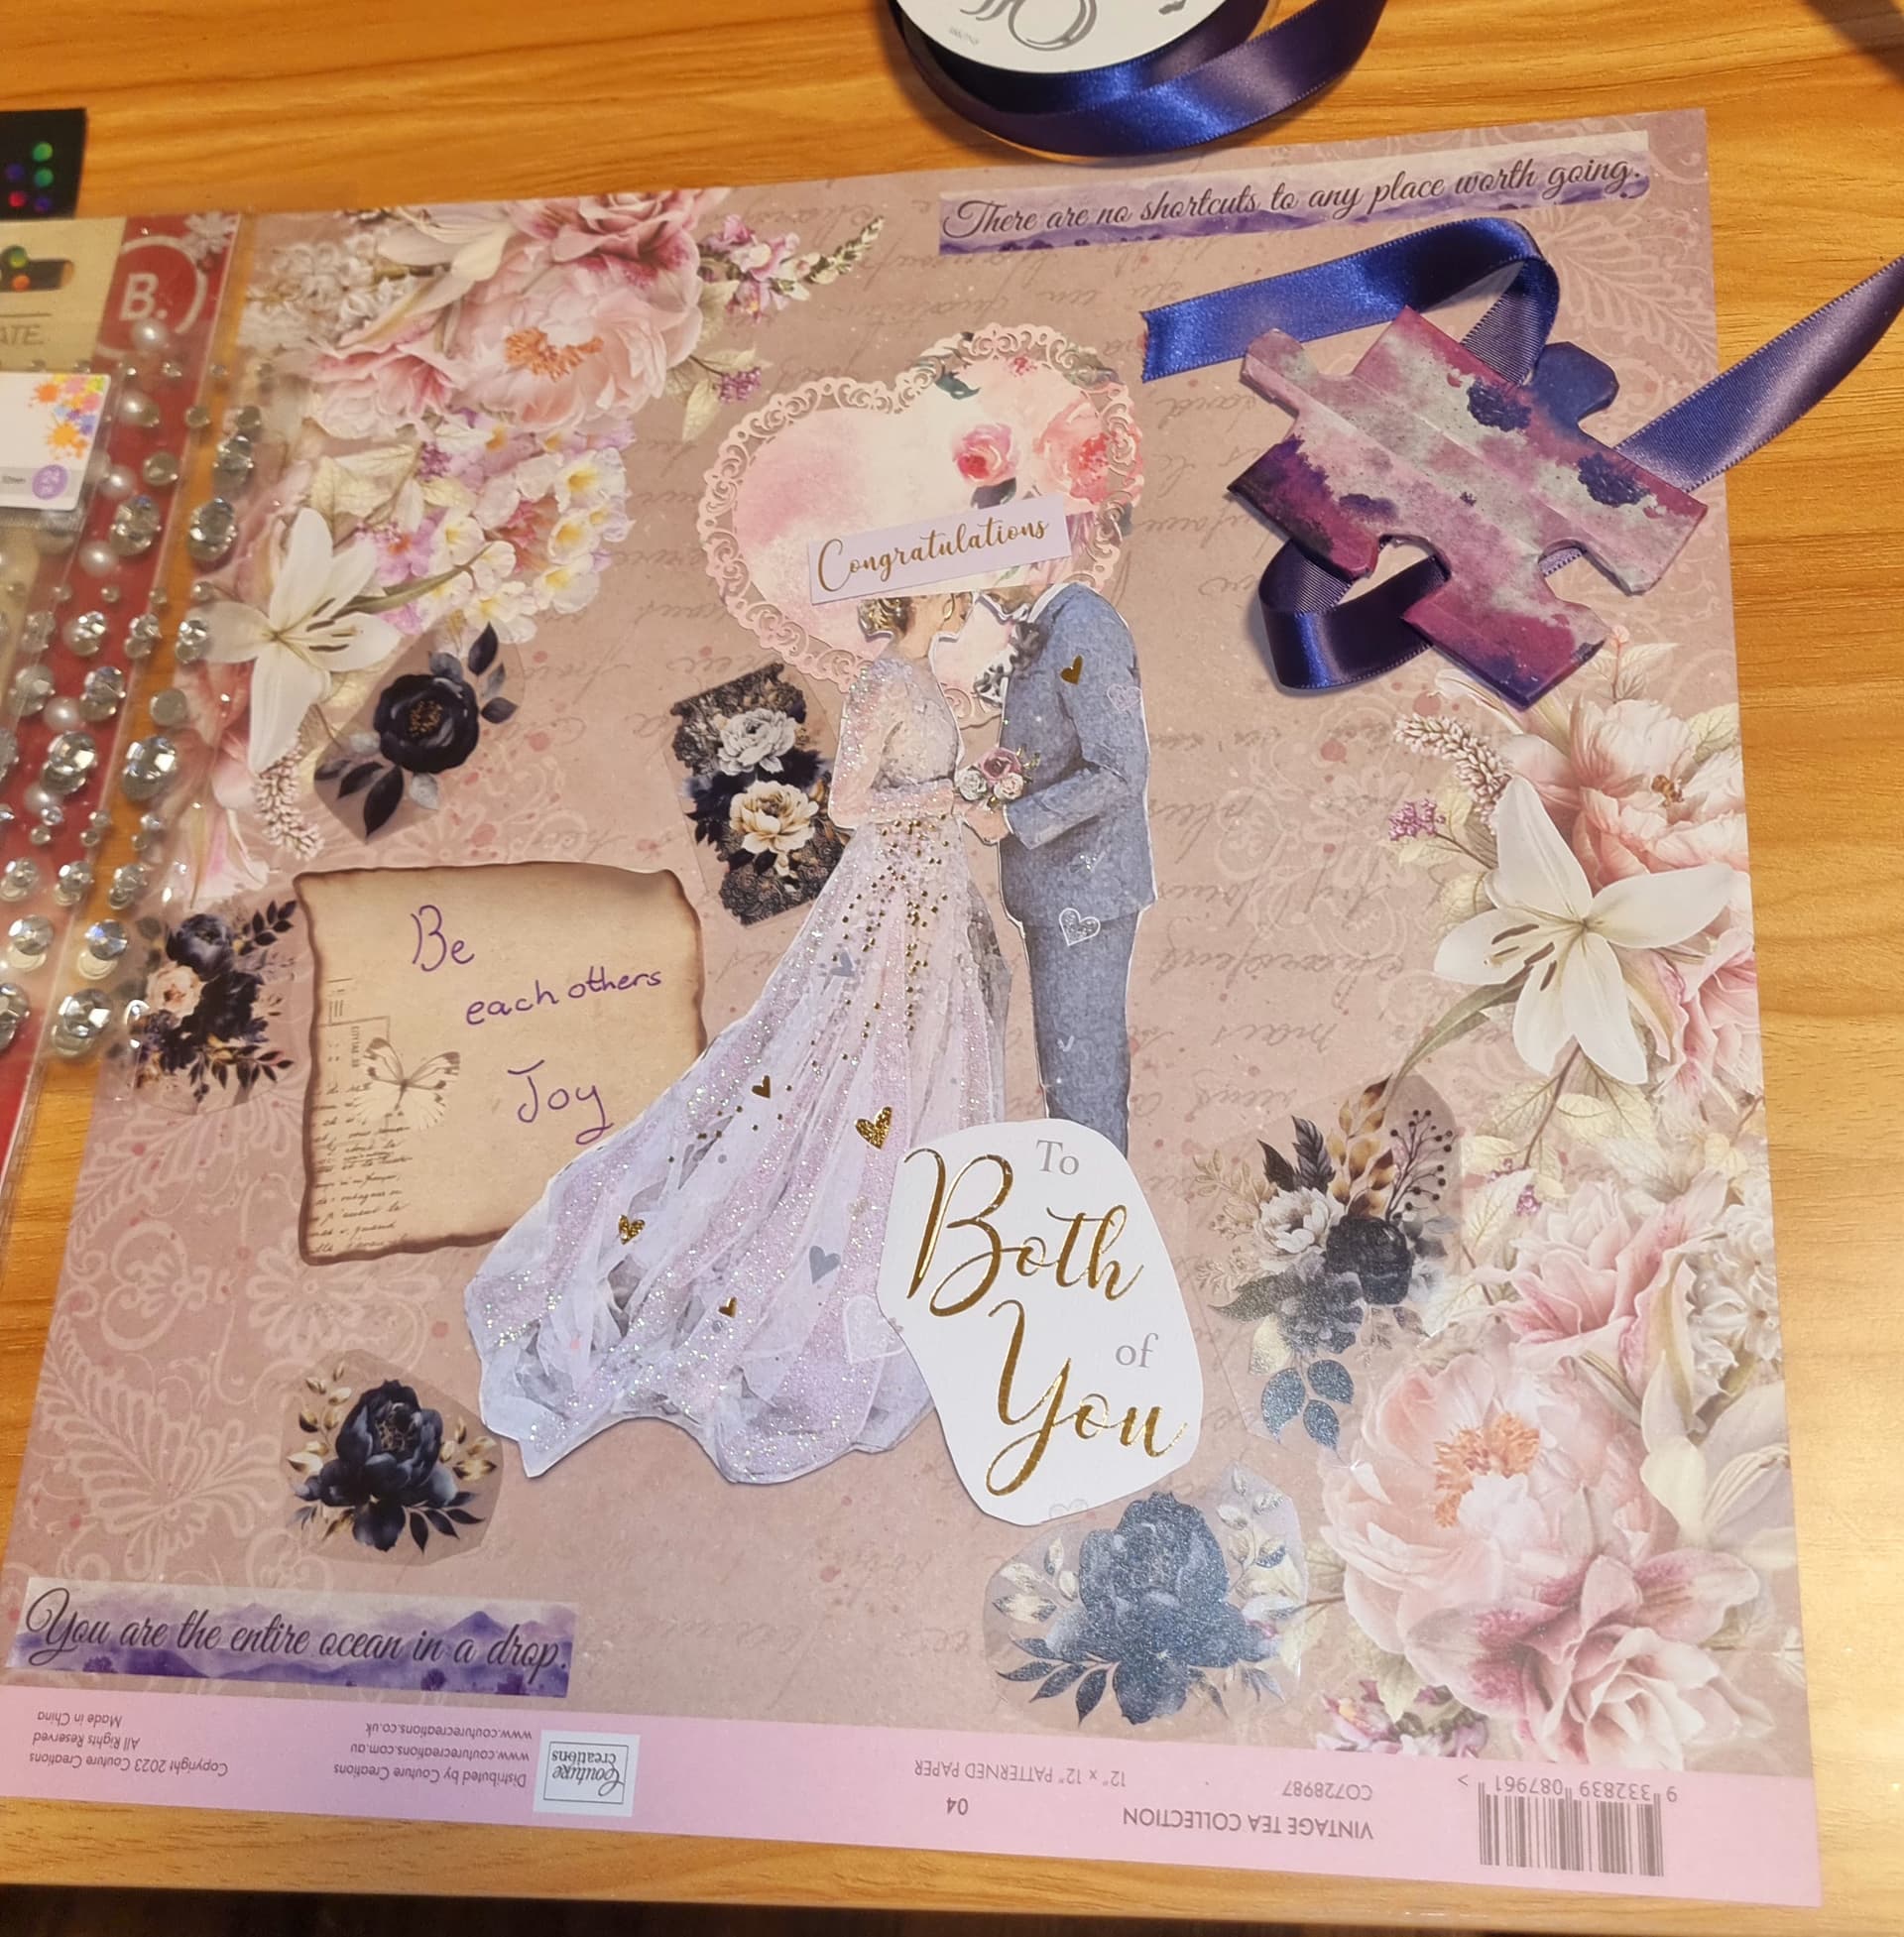
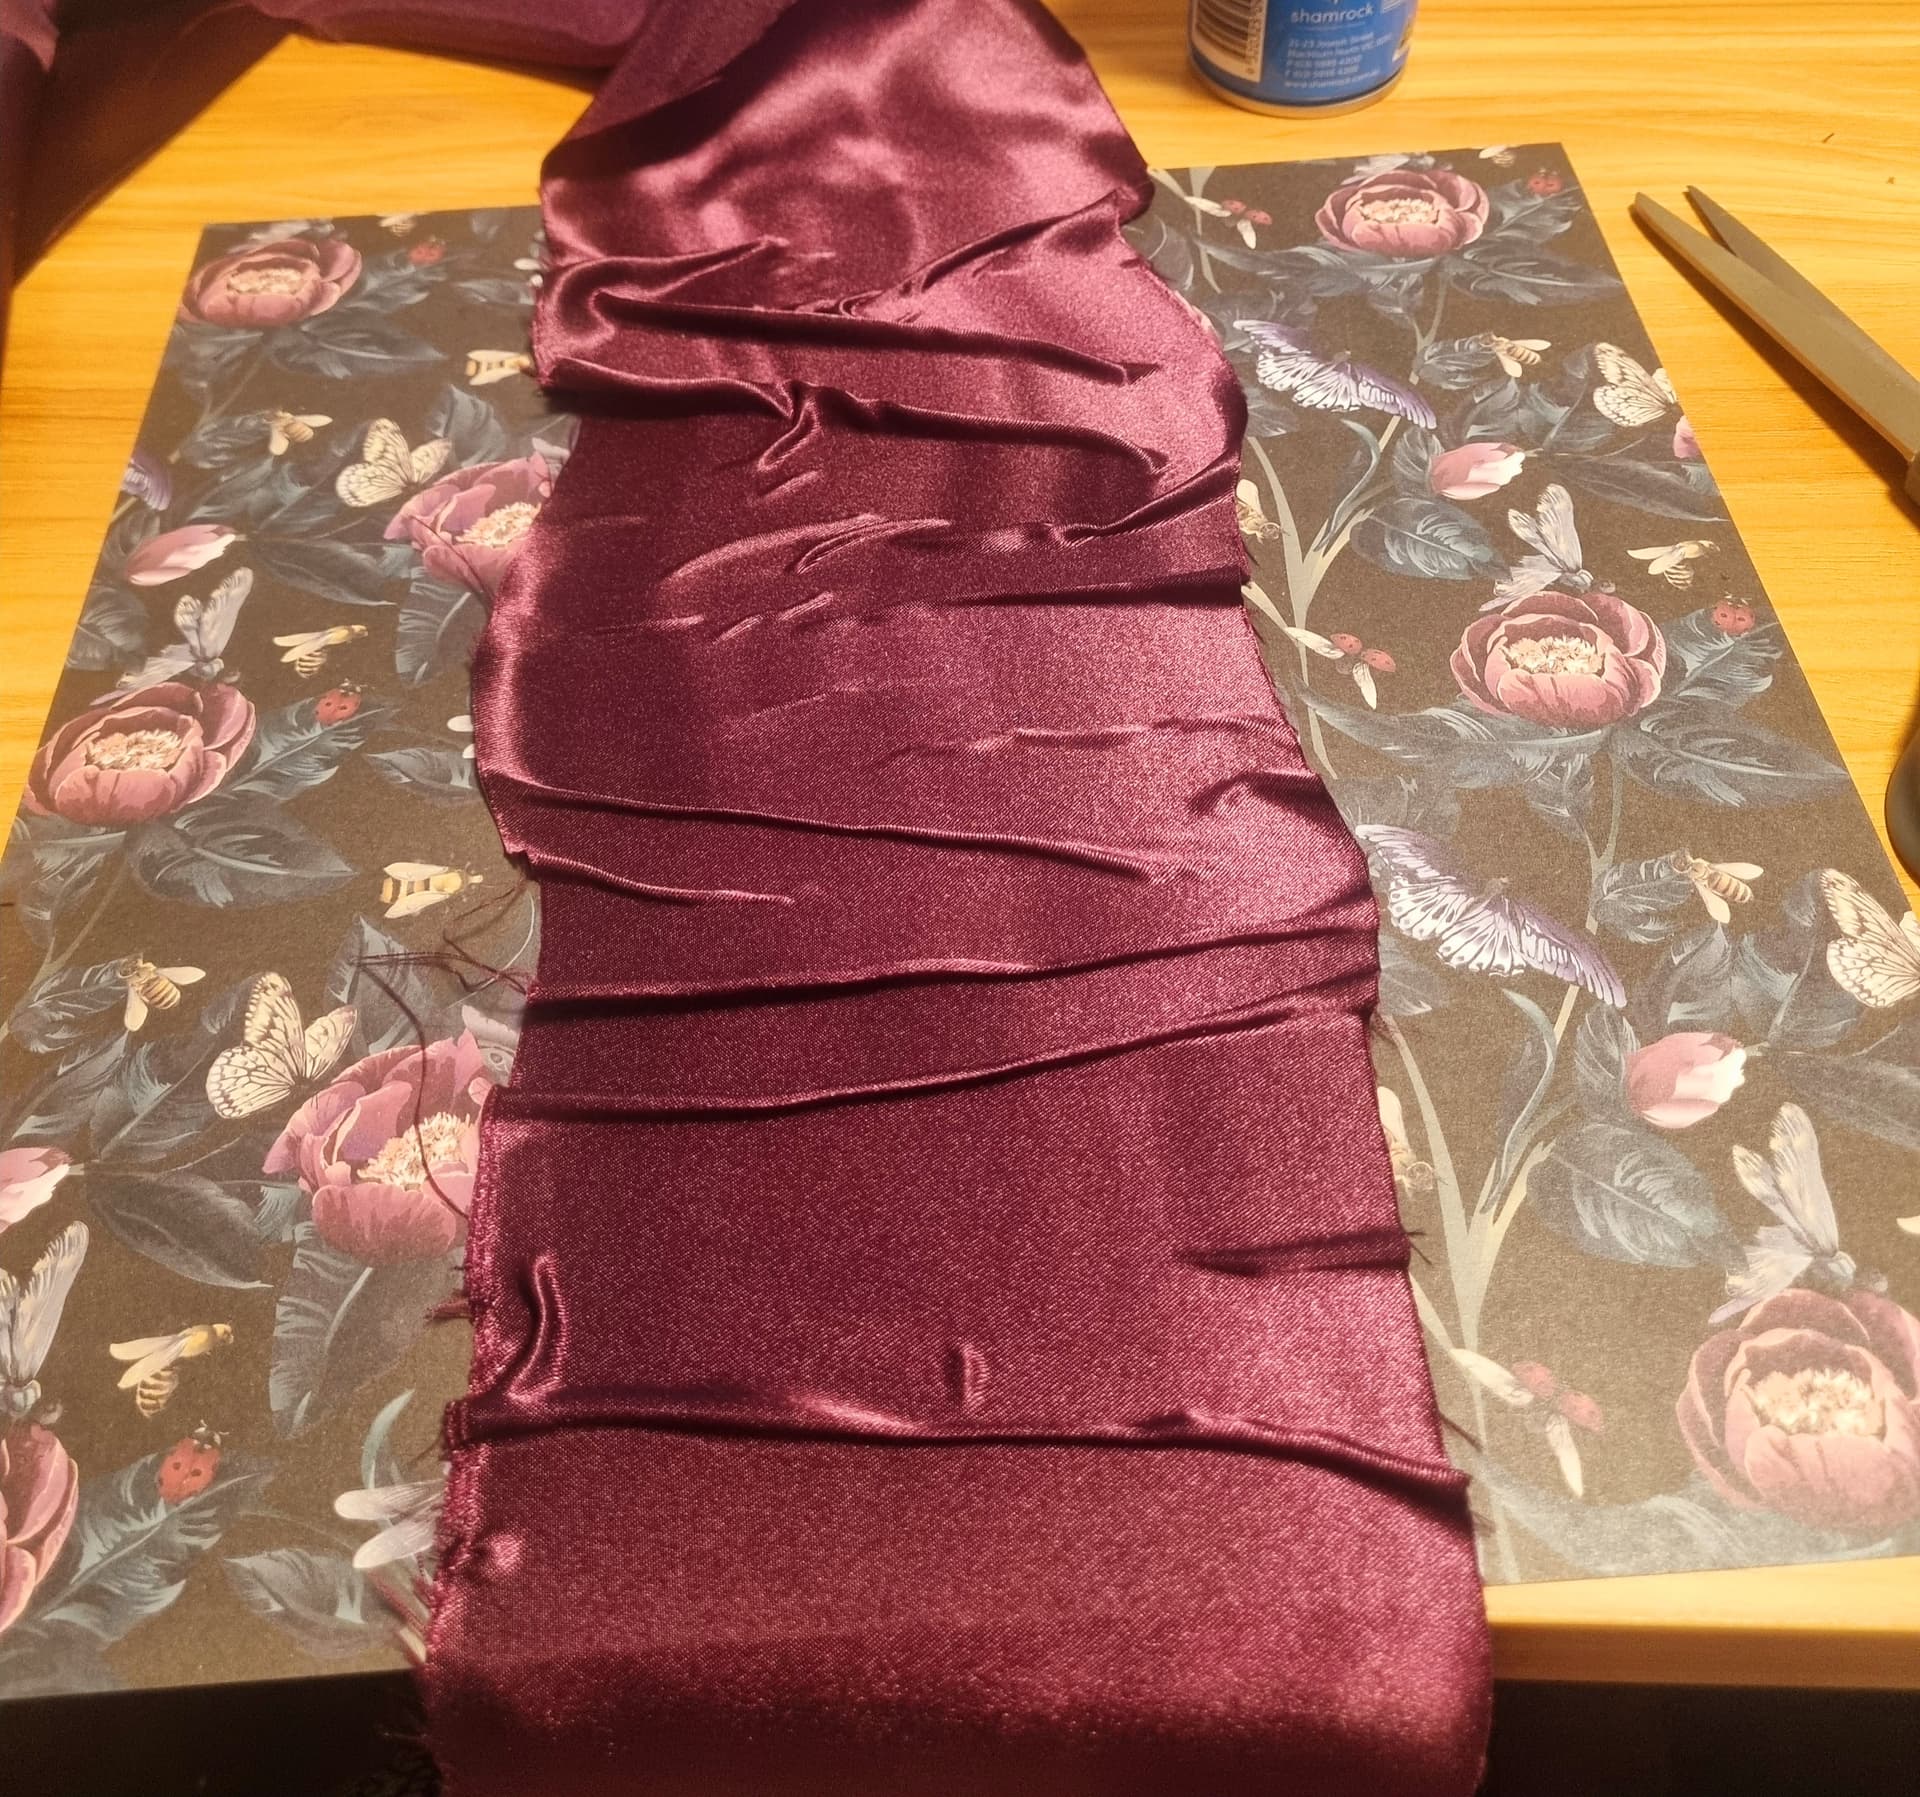
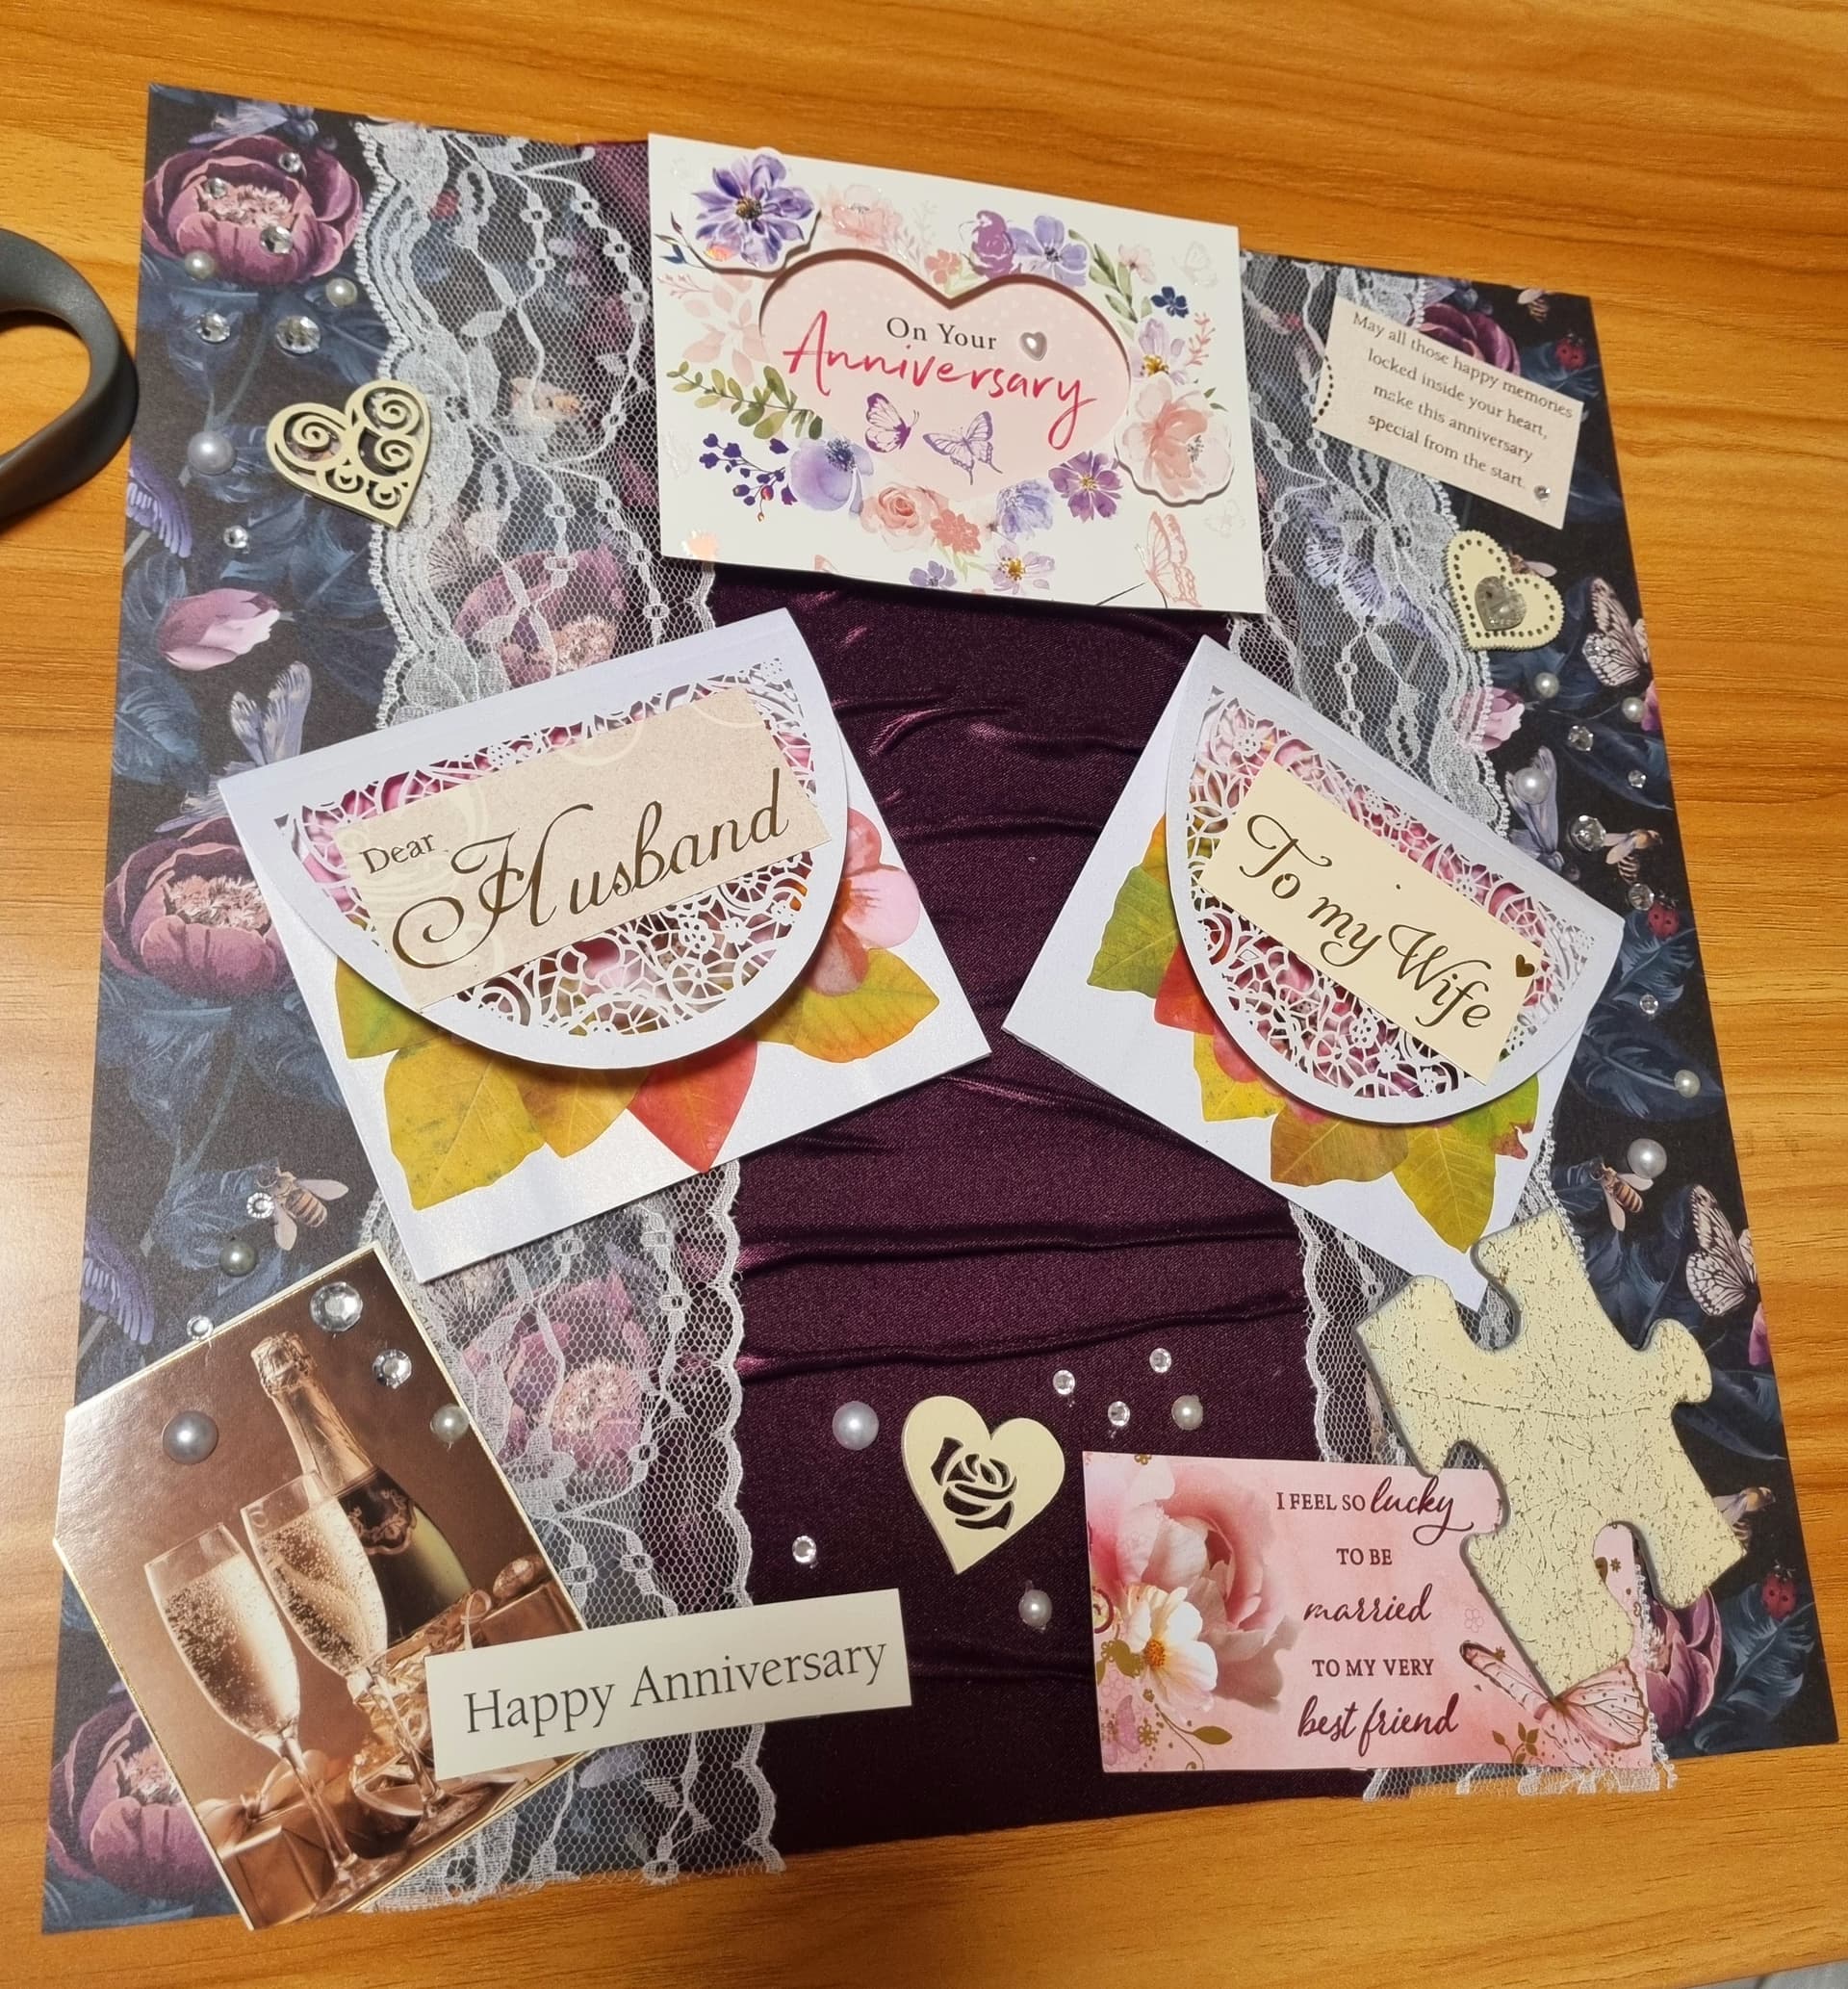
On to todays episode. I am making the one year wedding anniversary page. I decided to go with a dark background as the decorations are light colours.
I used a strip of silk and some spray glue to create an interesting texture by making small folds in the fabric.
After that I couldn’t decide if i wanted black or white lace.

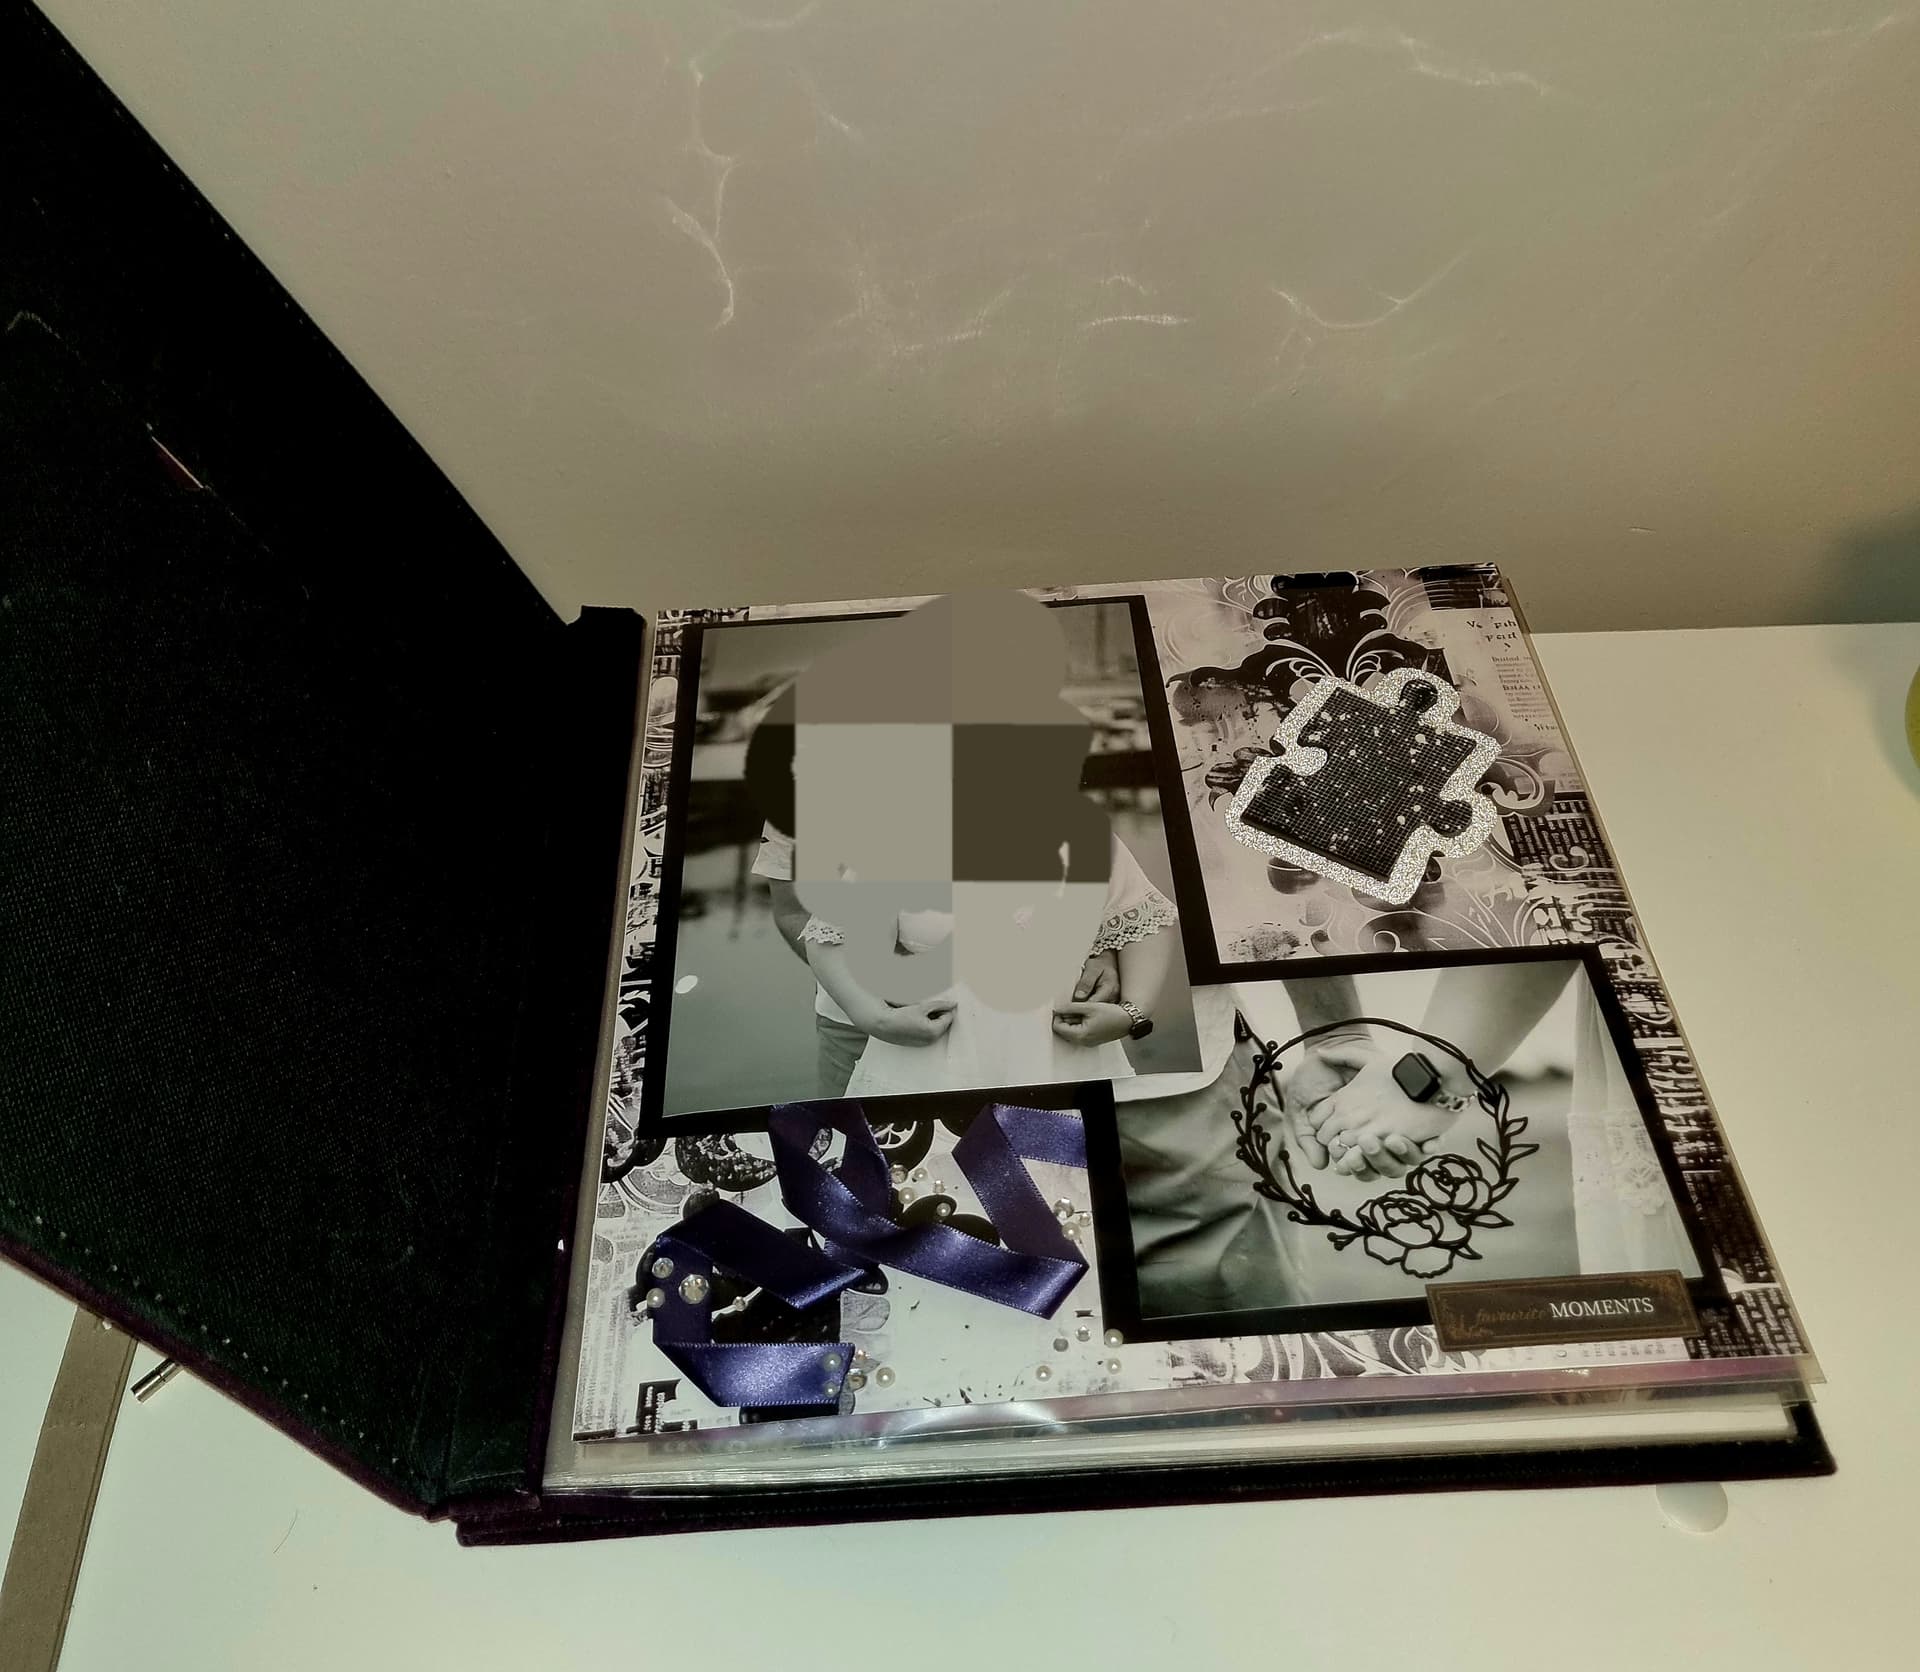
I placed most of the decorations on the page to see which suited better. I found these super cute wedding gift bags.
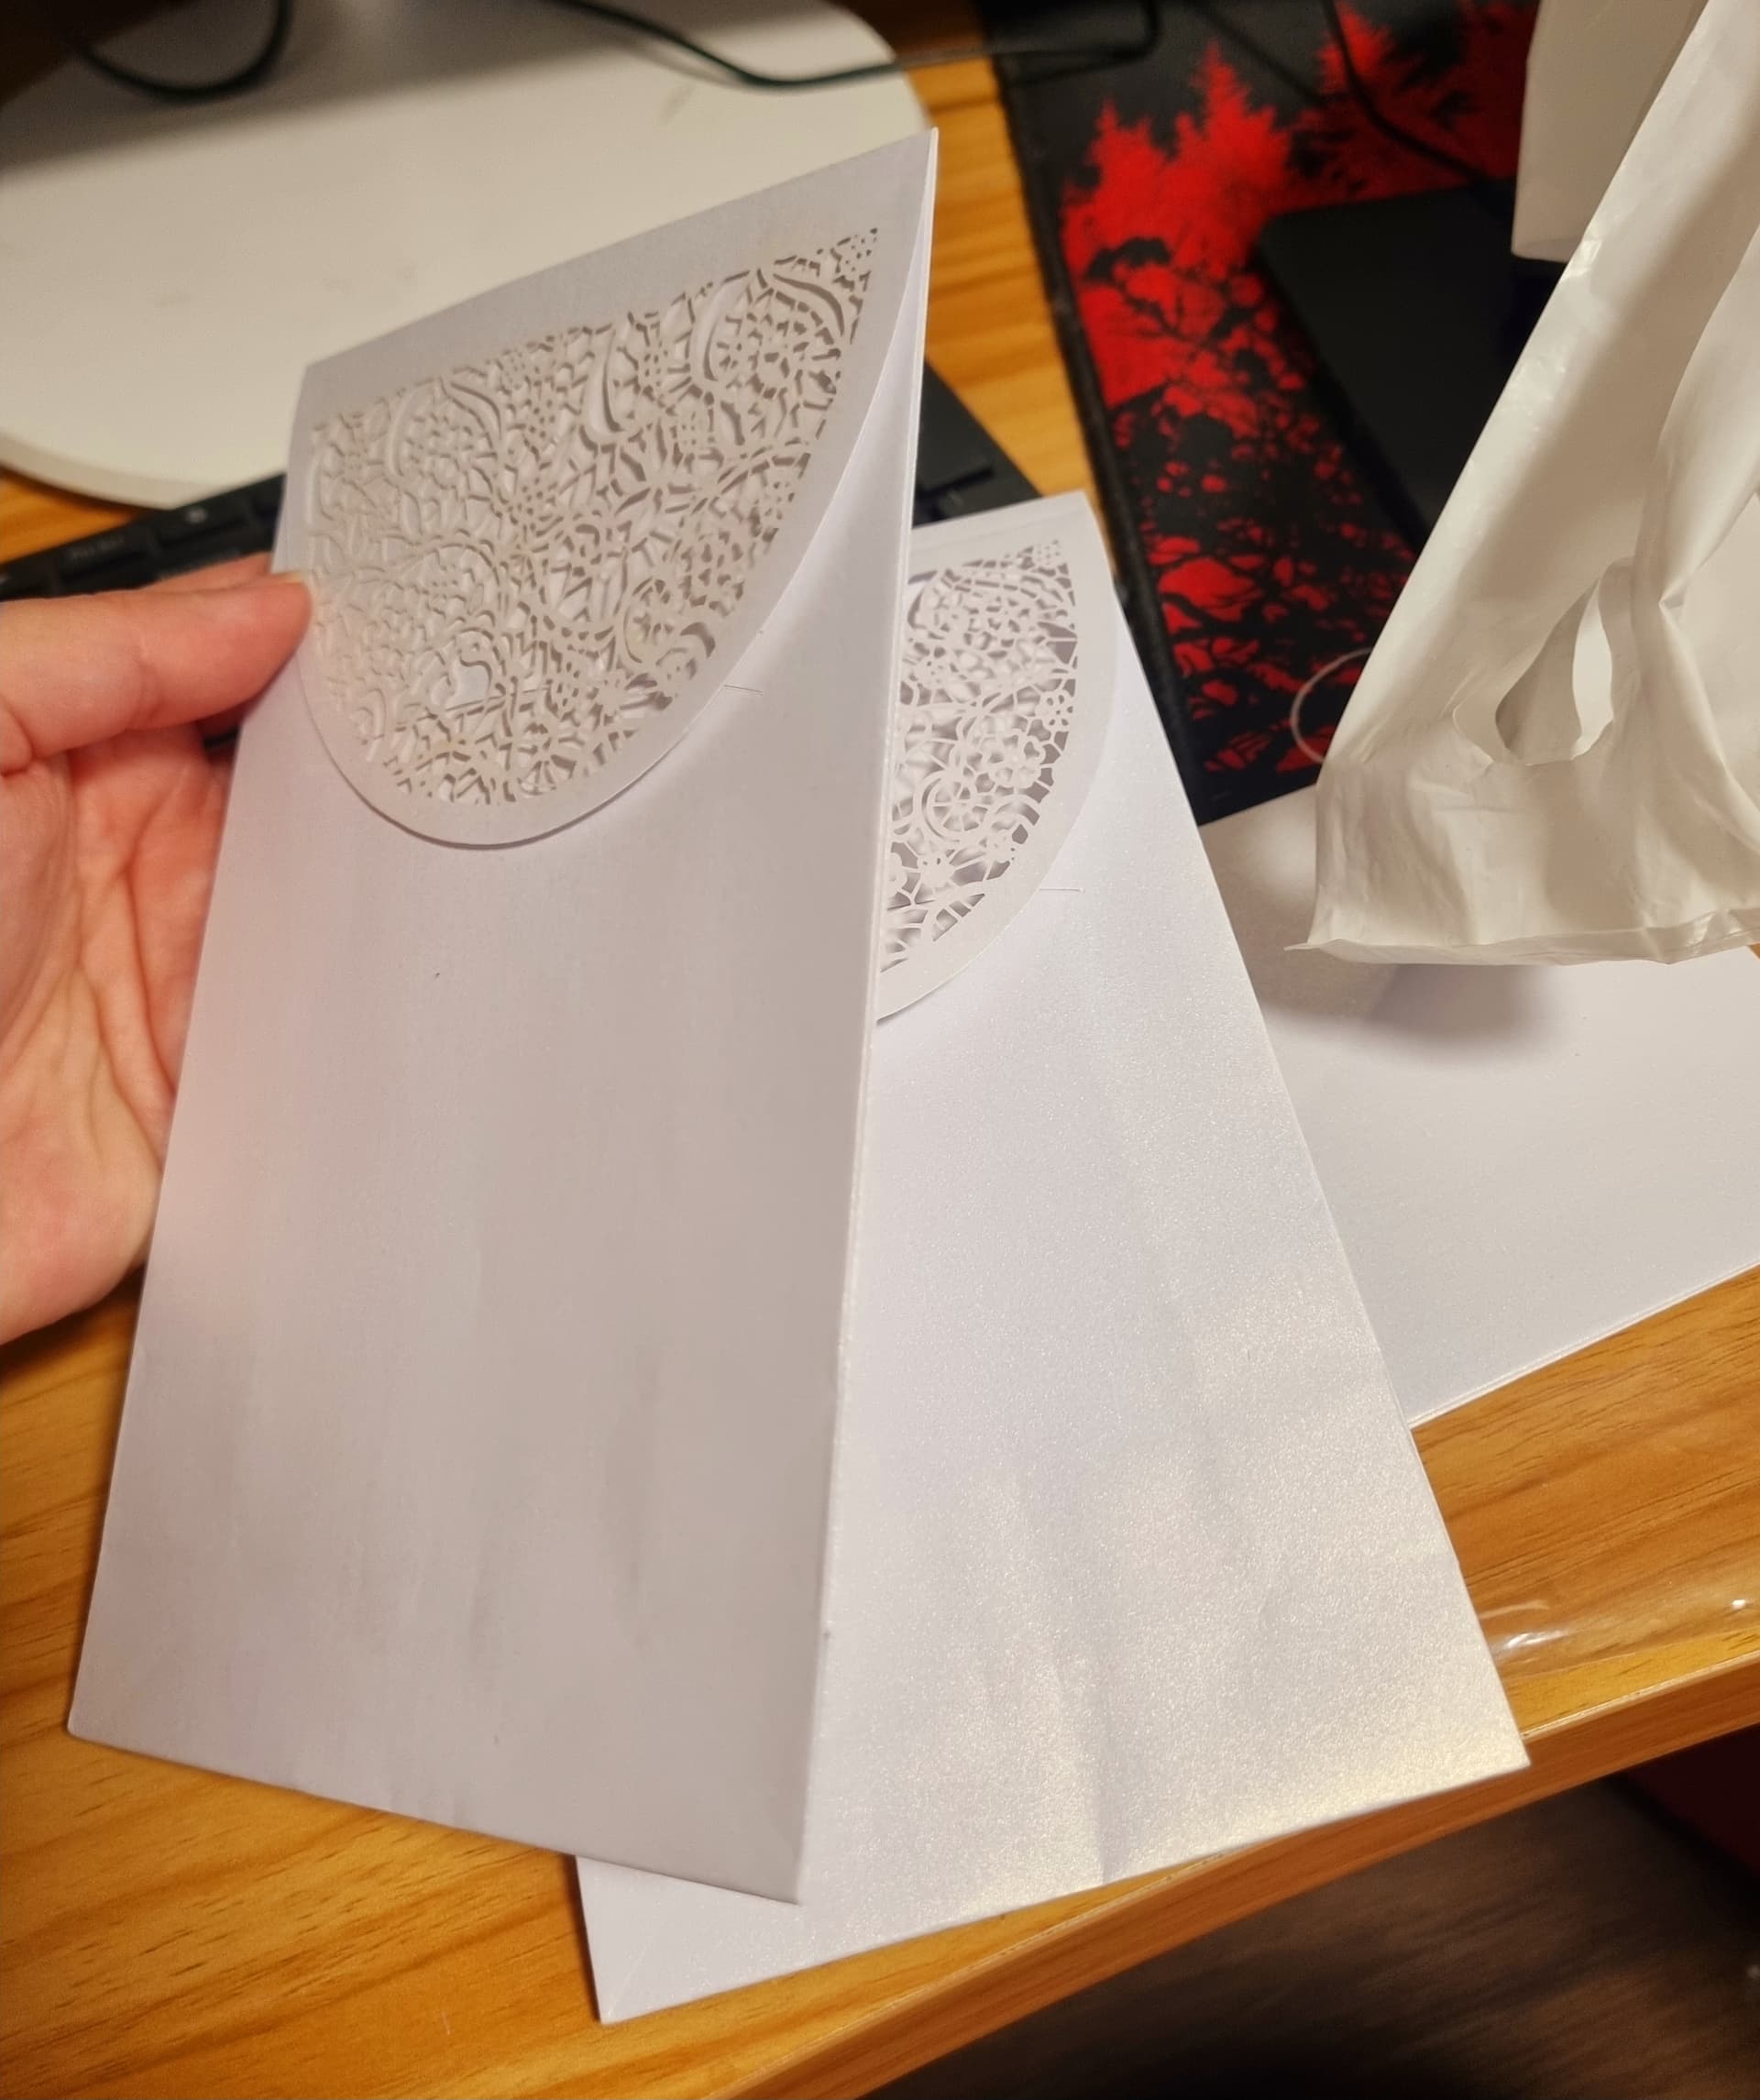
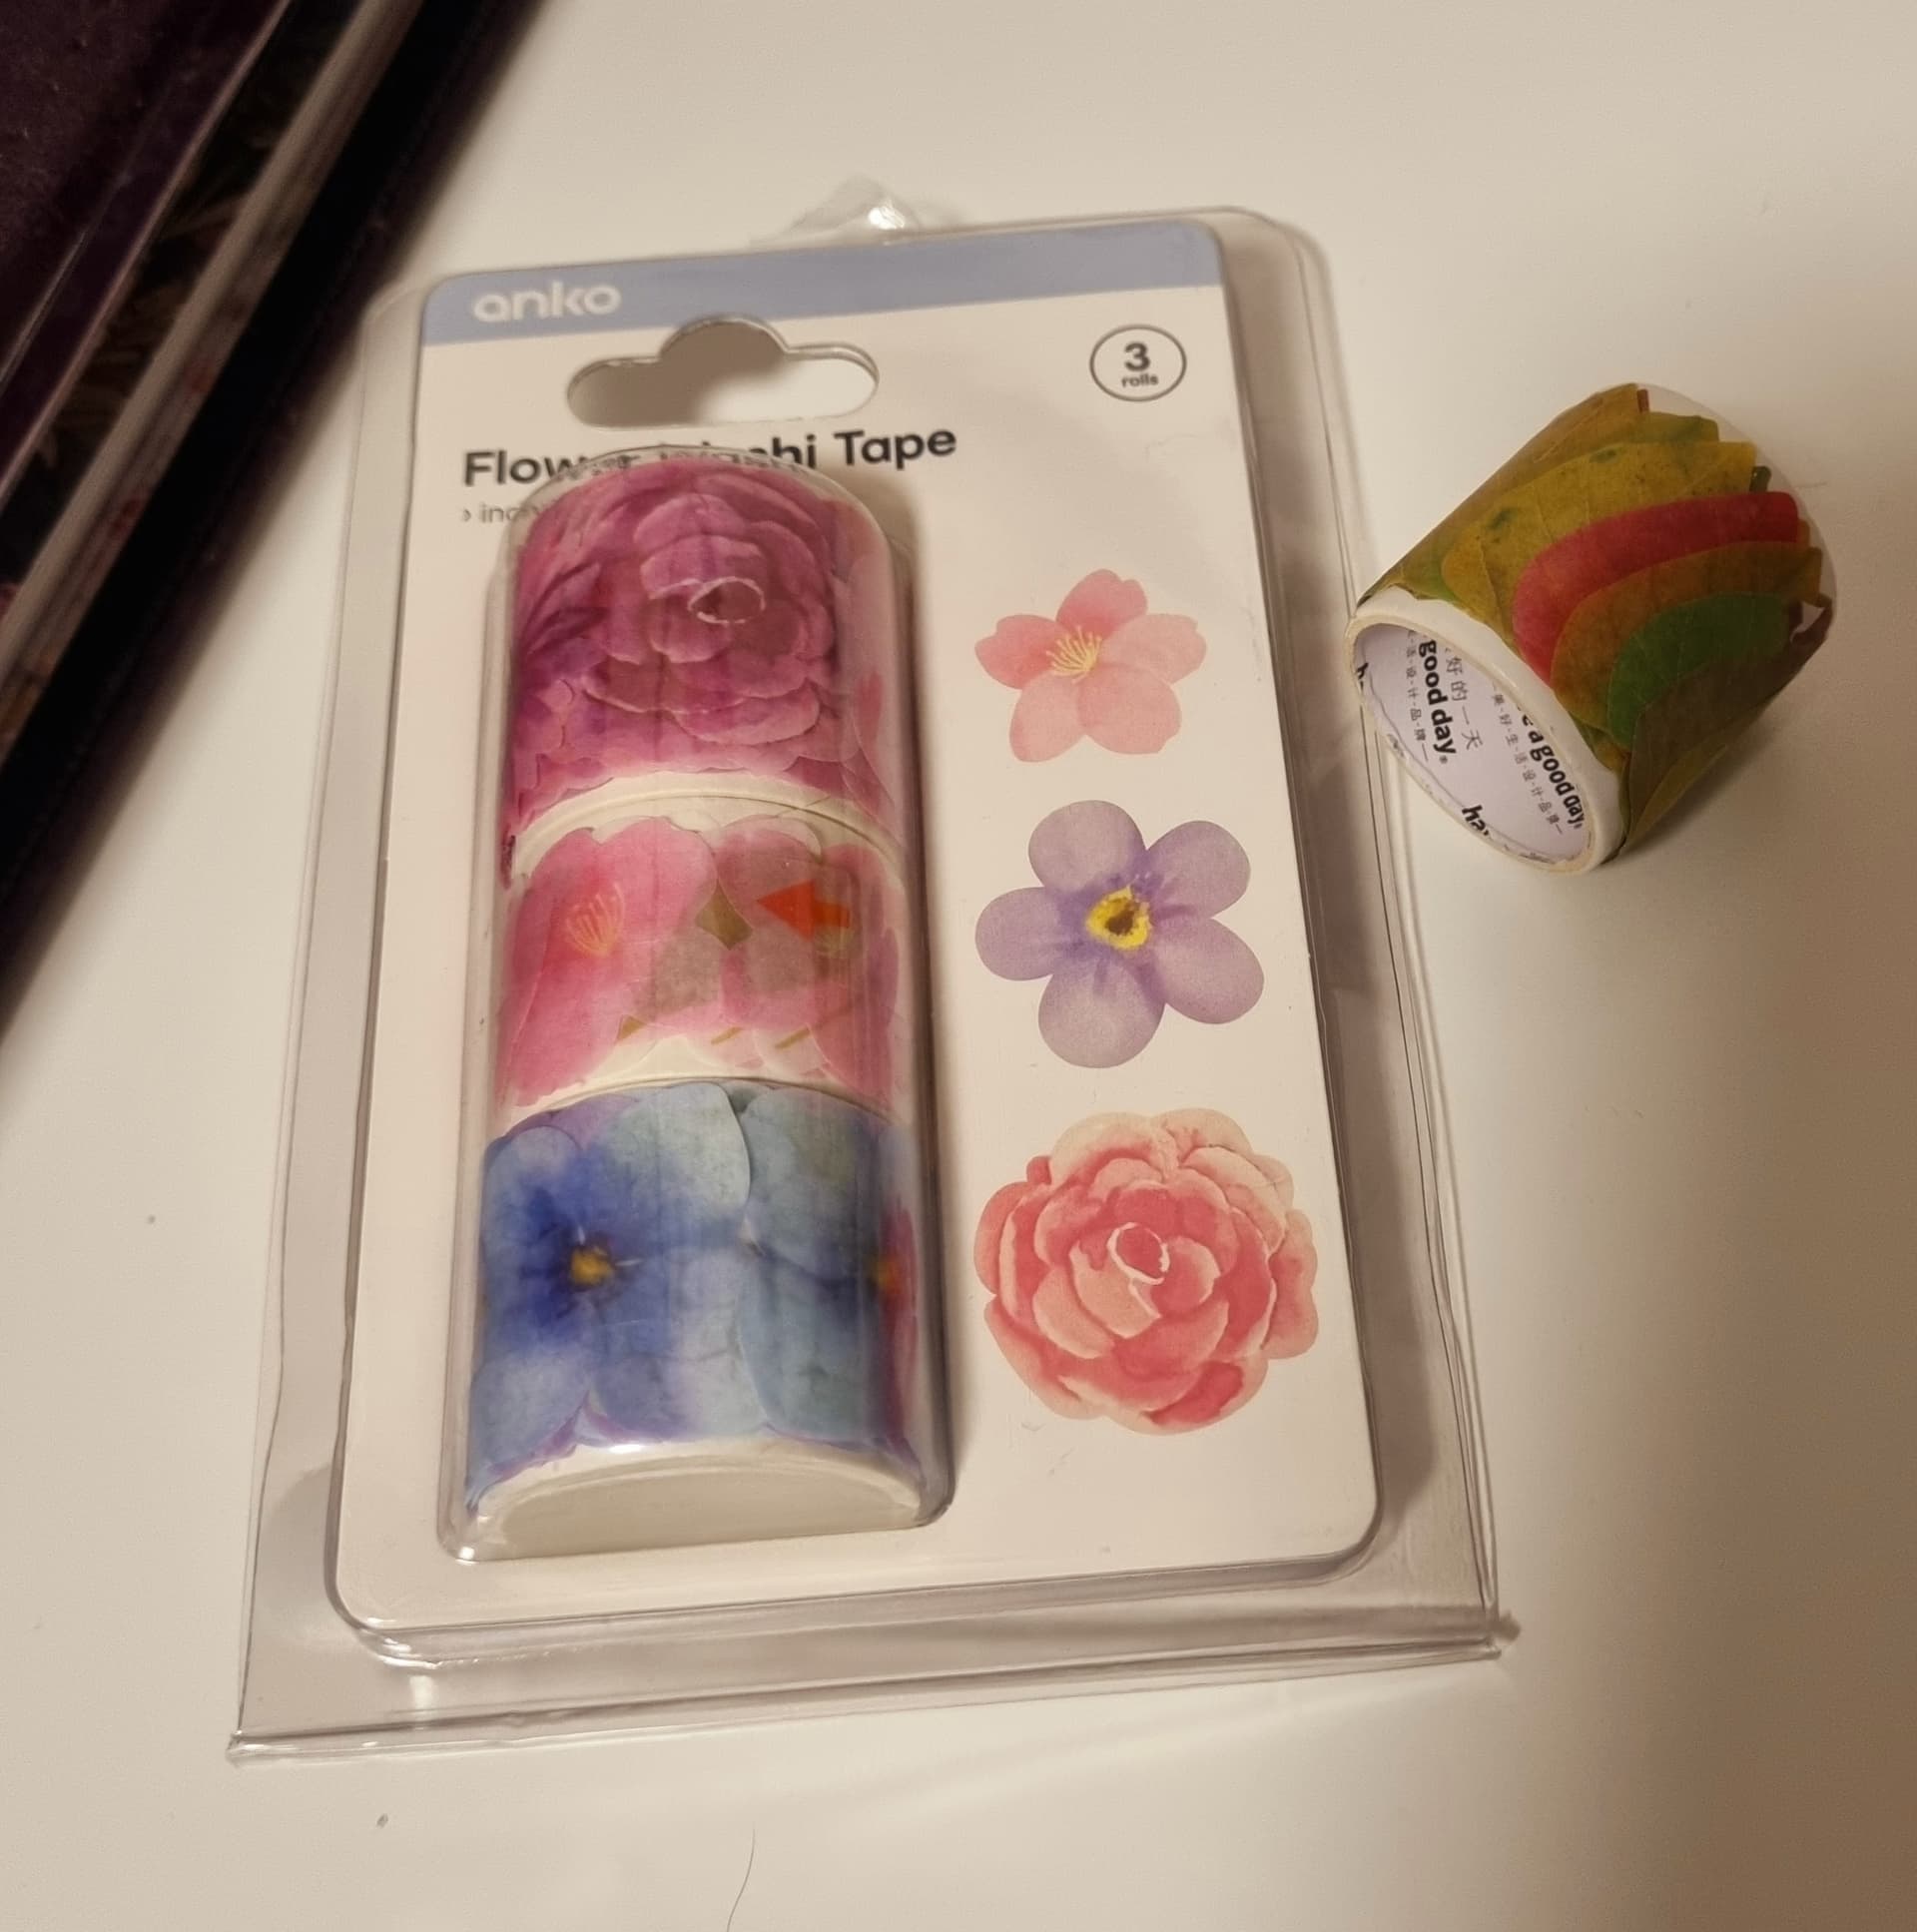
I cut the bottoms off and glued them to make envelopes. Im going to use them to hold letters from the bride and groom to open and read on the anniversary day. I used washi tape flower and leaf stickers to decorate them, and I cut up gift cards to add labels and special messages for the couple.

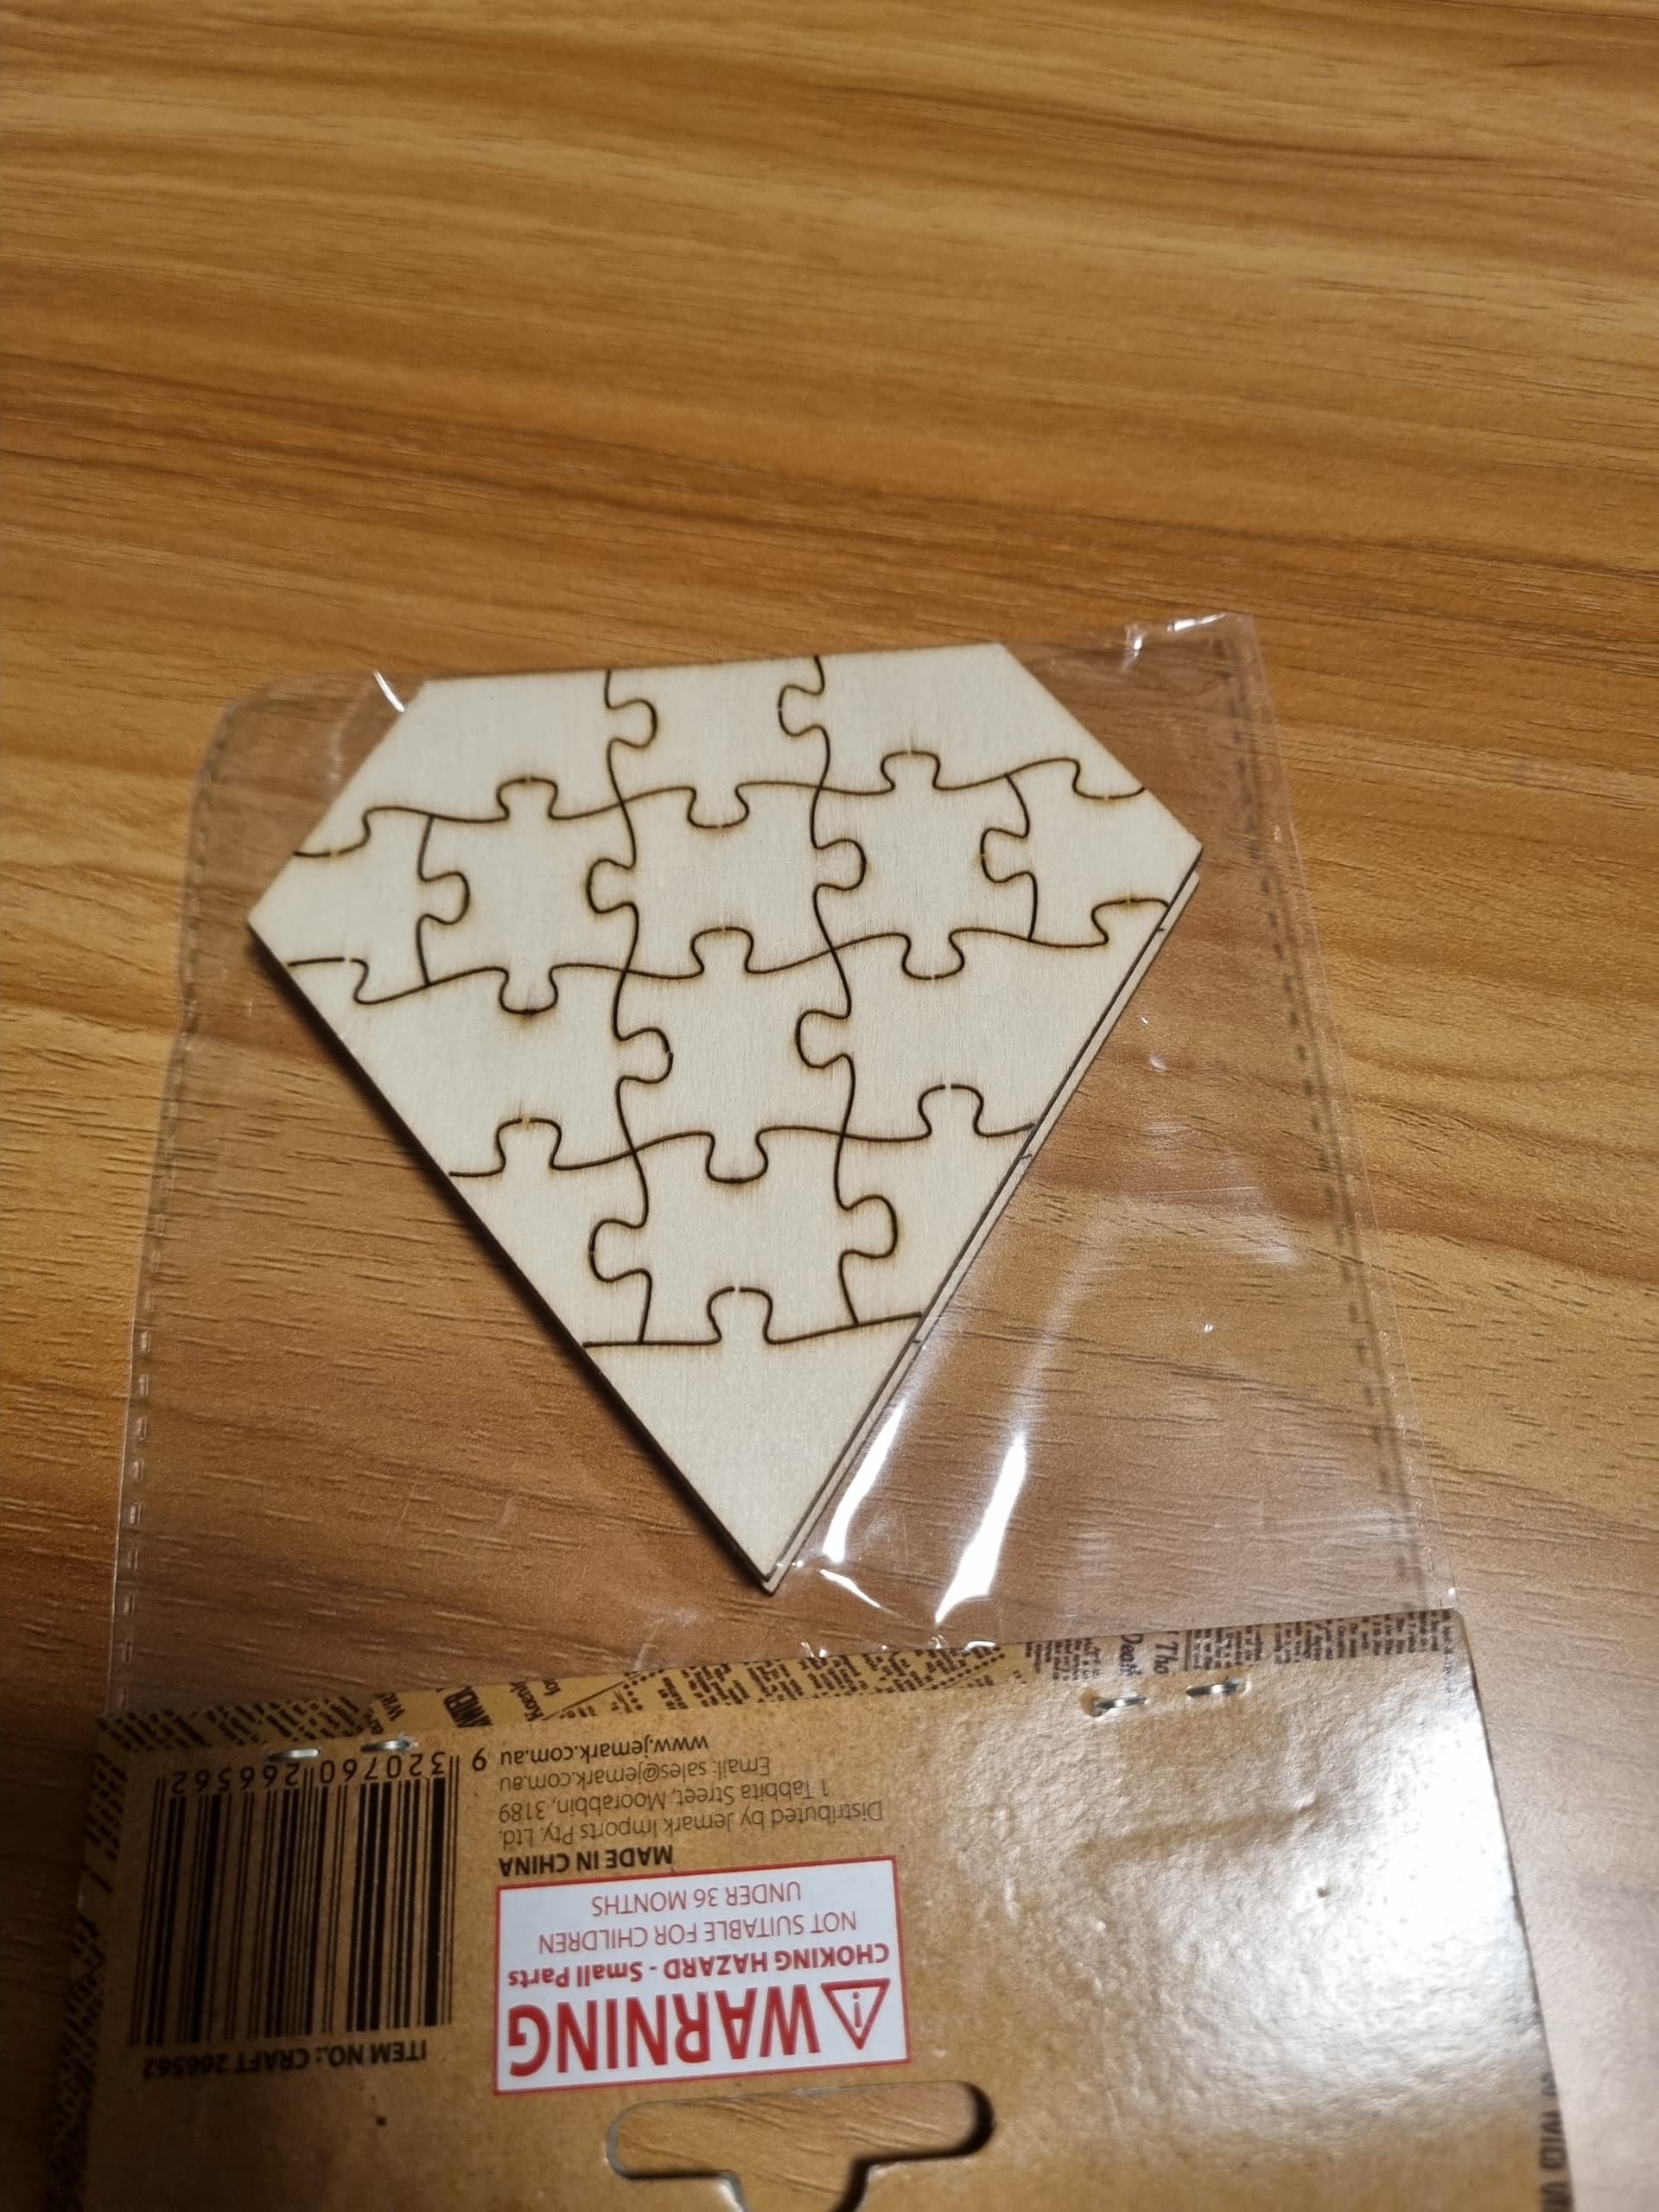
After placing everything, I liked the white lace. I proceeded to stick everything down. I added some wooden hearts painted ivory and crystals, pearls and a puzzle piece to decorate.
I will be in Sydney from the 6th where I will catch up with the bride and groom and their families to get things to add.
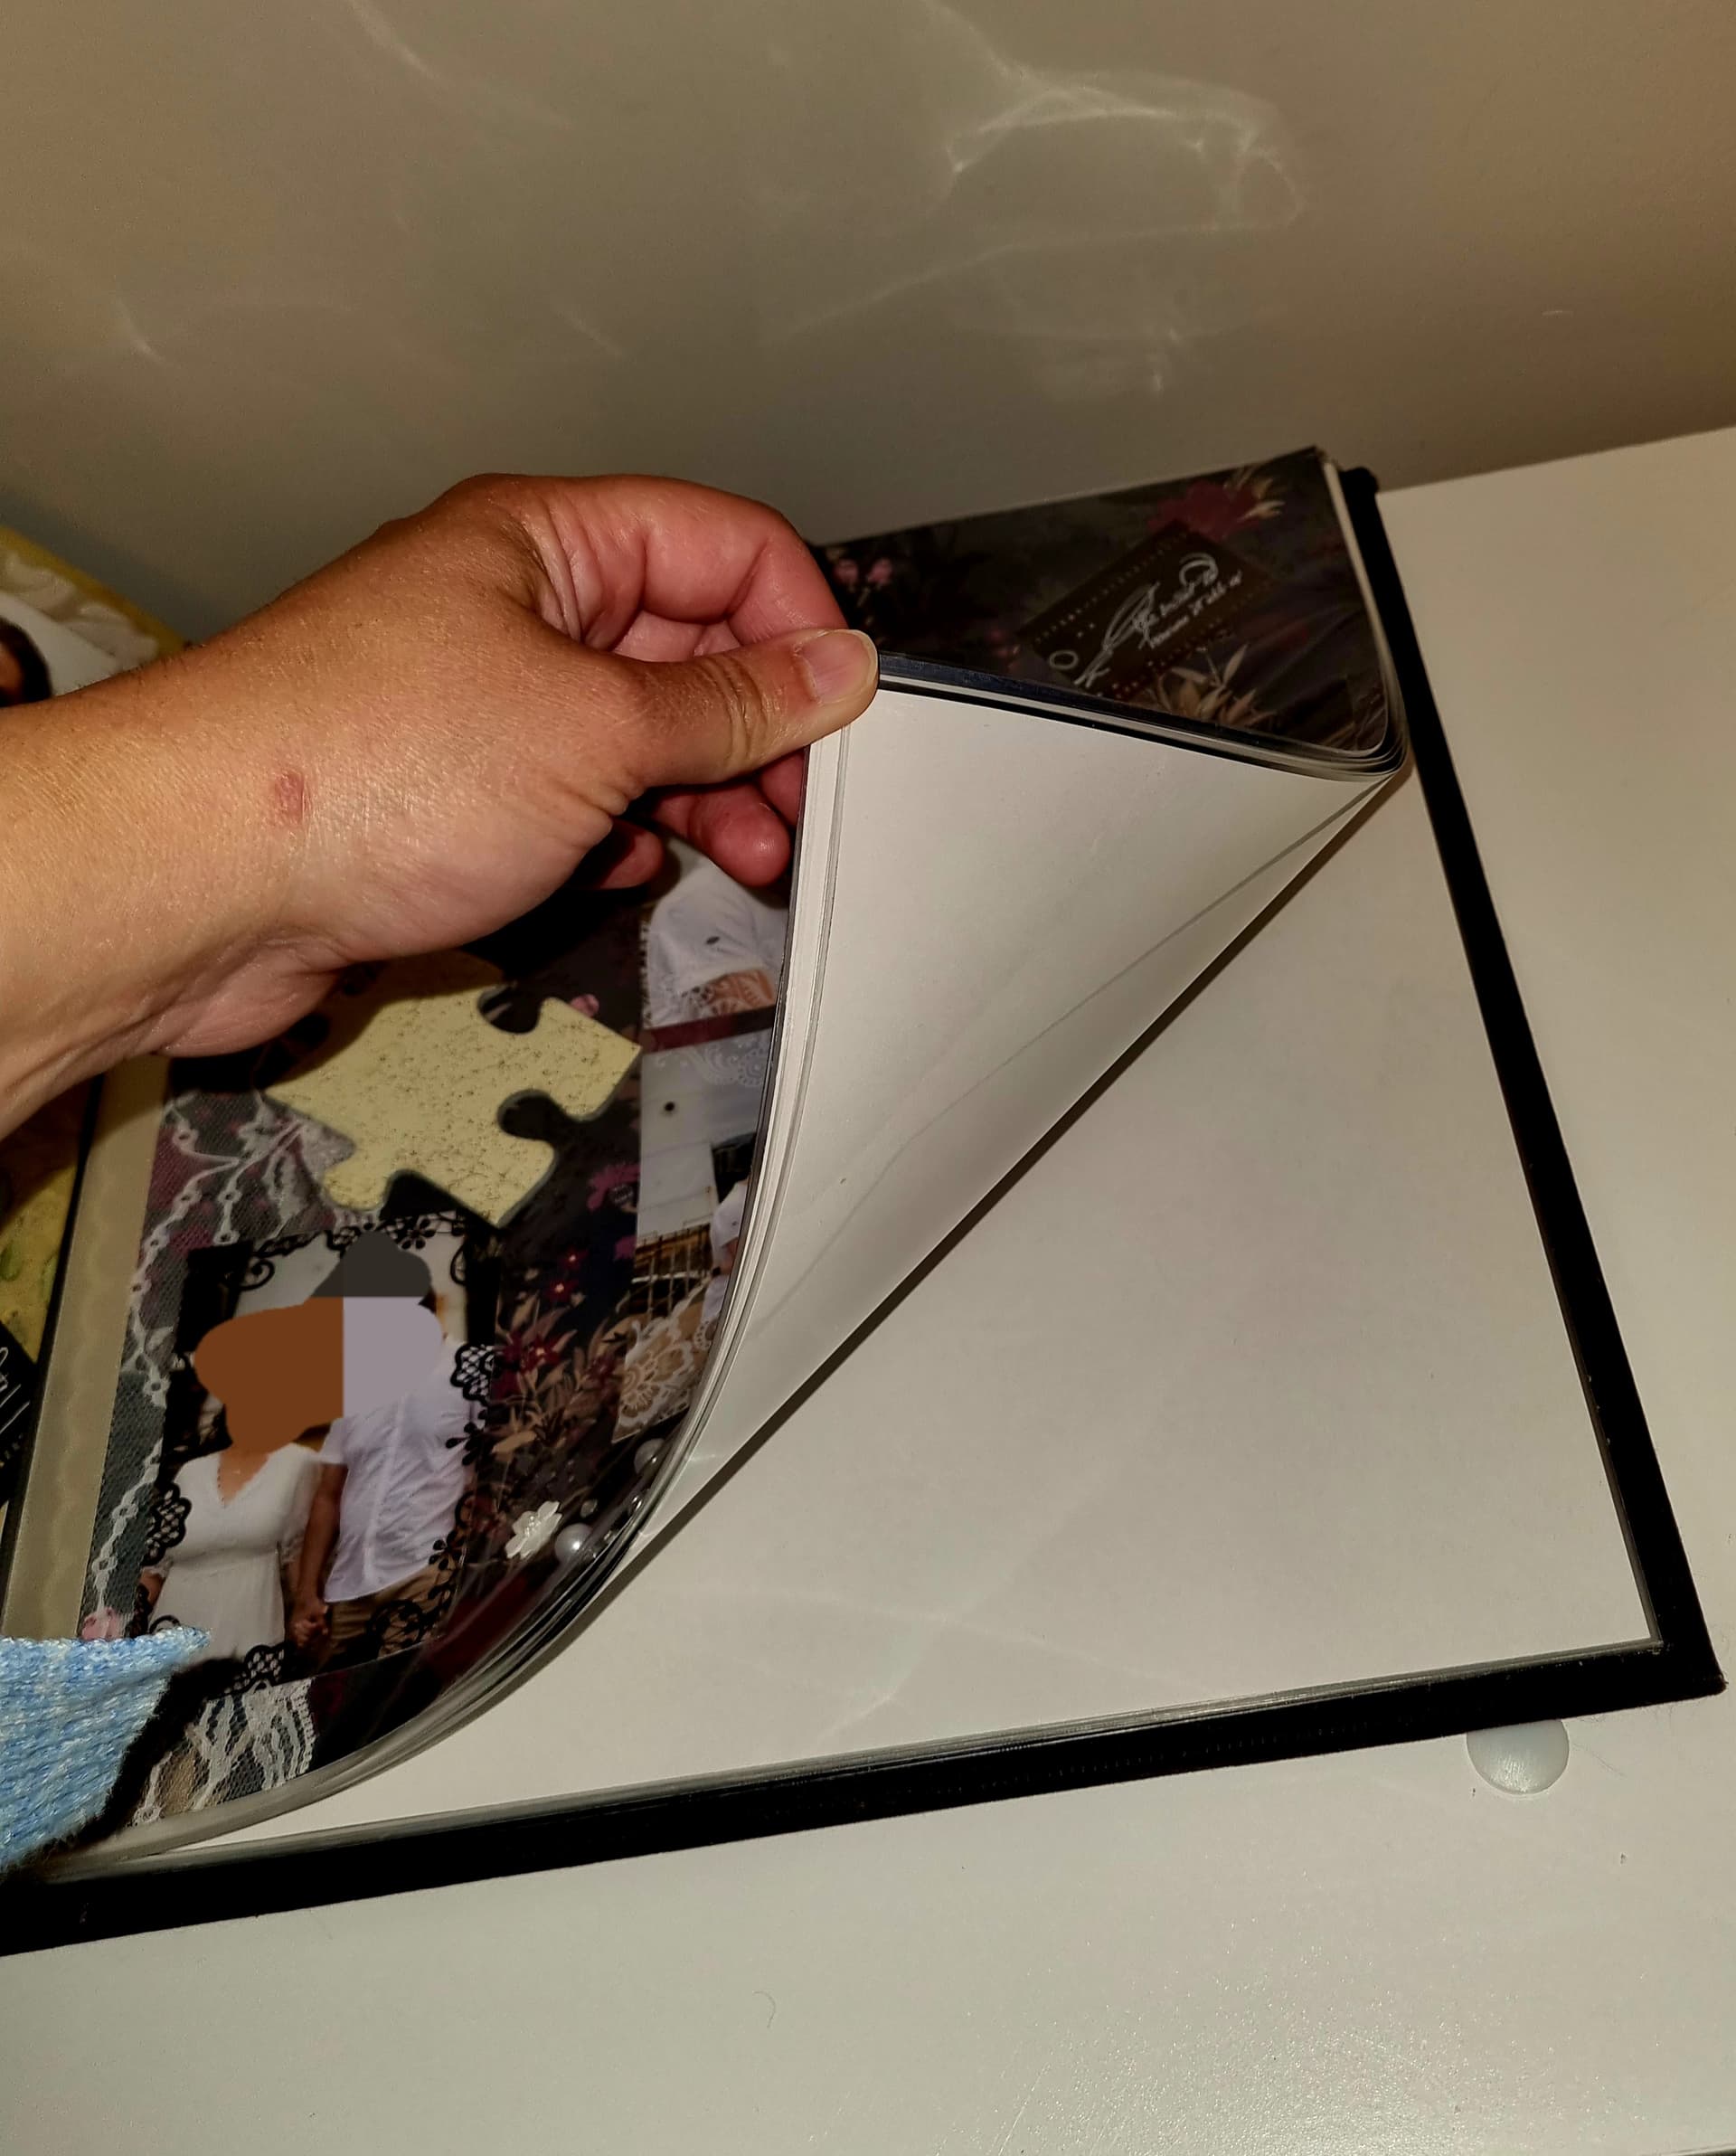
Today I made the “Where it began” pages with the bride and grooms childhood photos.
I decided to decorate them with similar pieces but did his in black and hers in ivory to tie them together. They were pretty straight forward. His tastes are a little different to hers so I tried to use different backgrounds to reflect that. It is a good example of not everything needing to be matchy matchy for it to work
